
This guide will walk you through the steps to configure OpenStack network services to establish access from external networks to OpenStack instances. If you don't know how to install OpenStack, please go through the article Installing OpenStack on Red Hat, CentOS or Fedora Linux.
STEP1 - Modify Network Interface Configuration Files
To begin with creating OpenStack networks from dashboard, first you need to create an OVS bridge and modify your machine's physical network interface to bind as a port to OVS bridge.
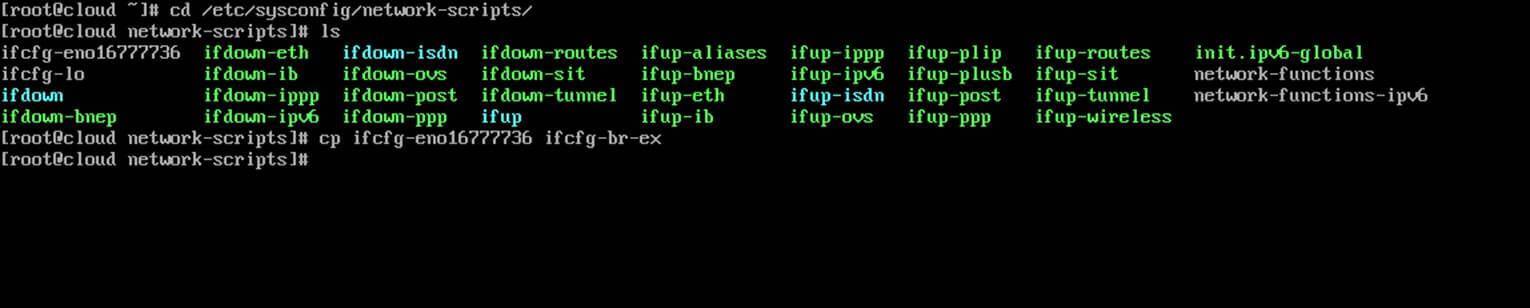
login to your server through SSH and get into network interfaces directory scripts and use the physical interface as an excerpt to setup OVS bridge interface by executing the following commands:
Now, edit and modify the bridge interface (br-ex) using your favorite text editor.
Interface br-ex file contents:
Repeat the same step with the physical interface (eno16777736), but make sure it looks like this:Interface eno16777736 file contents.
Important: While modifying interfaces, make sure you replace the physical interface name, IPs and DNS servers according to your environment
Once you’ve modified both network interfaces, restart network service to update changes and verify the new configurations using ip command.

STEP2 - Create a New OpenStack Project (Tenant)
Login to Openstack web interface (dashboard) with admin credentials and navigate to Identity > Projects > Create Project and create a new project as shown in image below.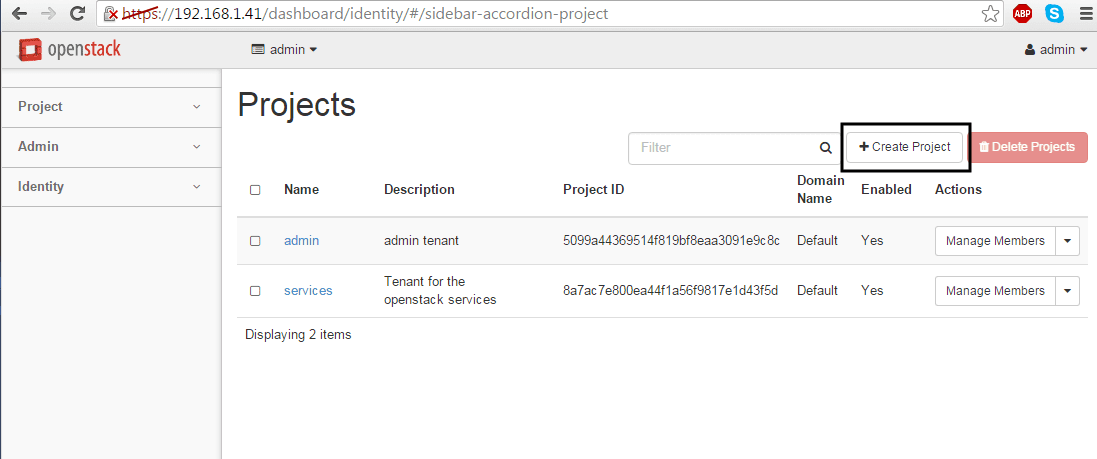
Provide new project information

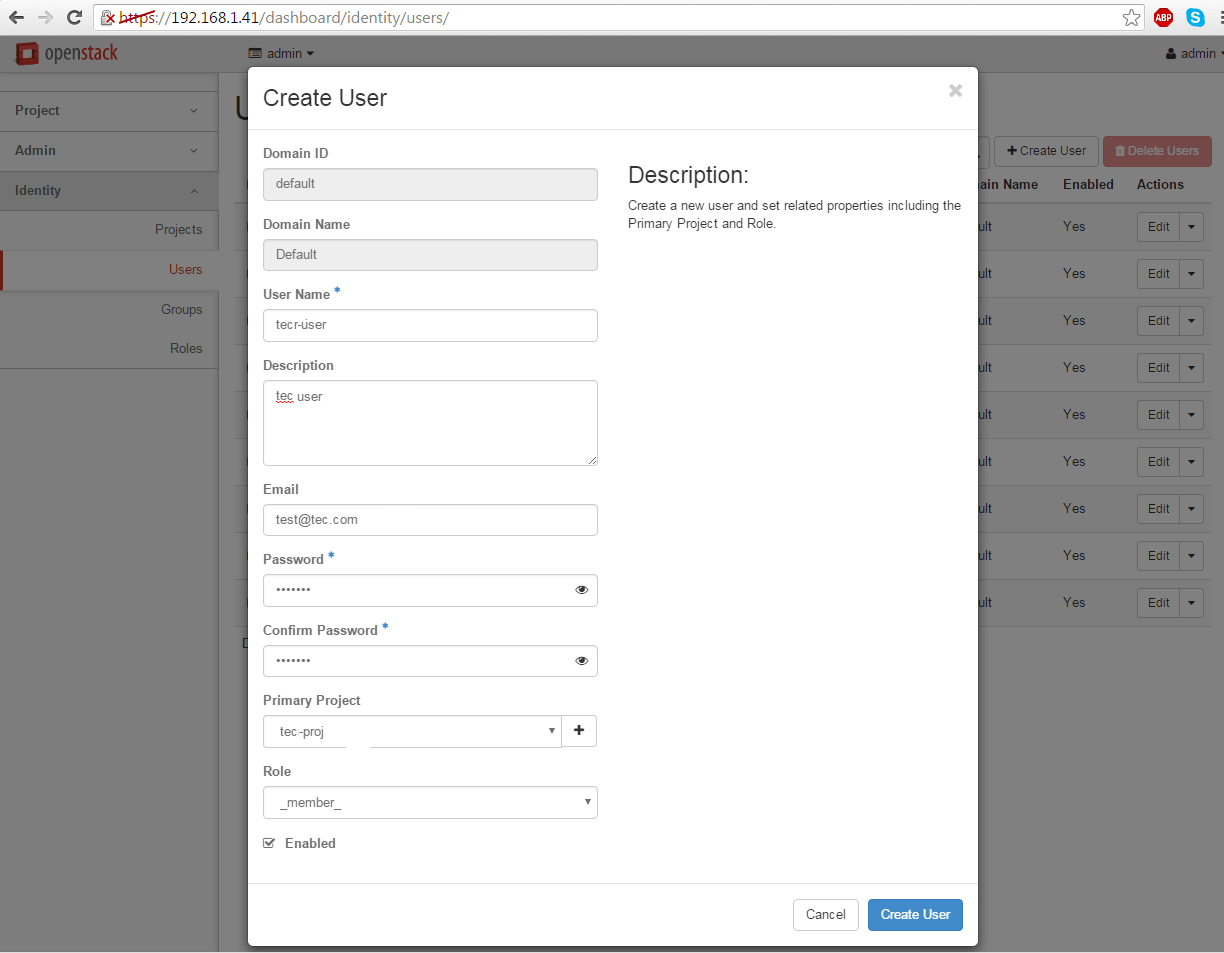
Now, navigate to Identity > Users > Create User and create a new user by providing all the the required information.
Make sure that new user has the Role assigned as a _member_ of the newly created tenant (project).
STEP3 - Configure OpenStack Network
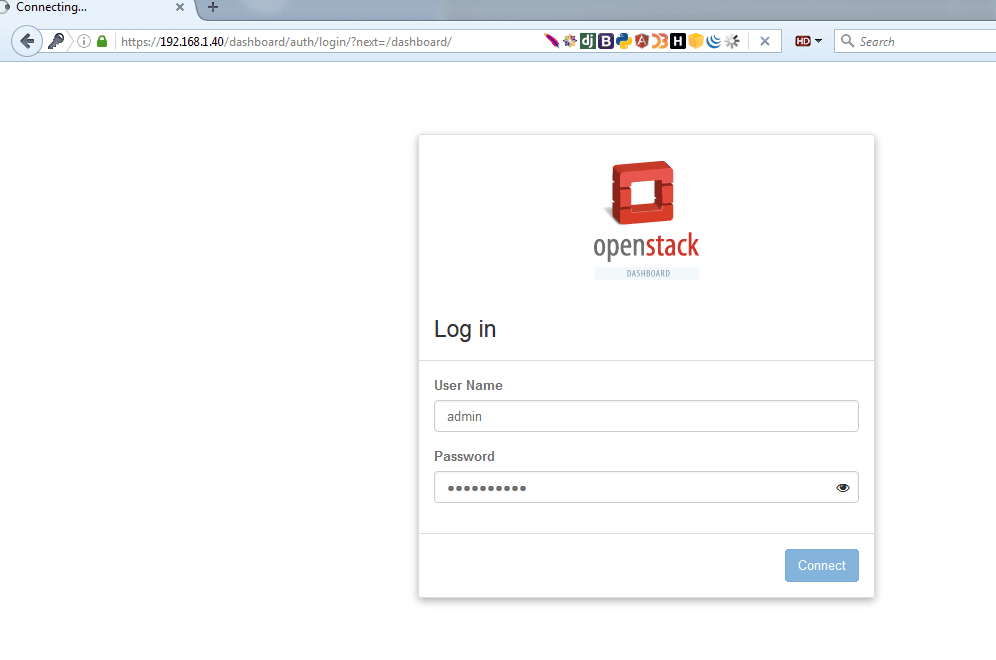
Now, log out admin from the openstack dashboard and login with the new user to create one internal and one external network.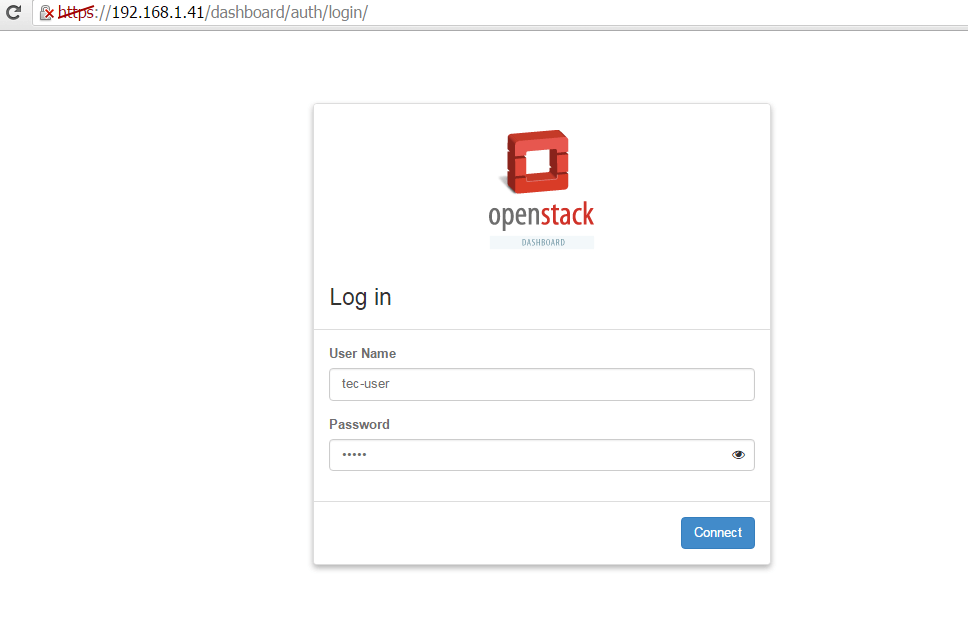
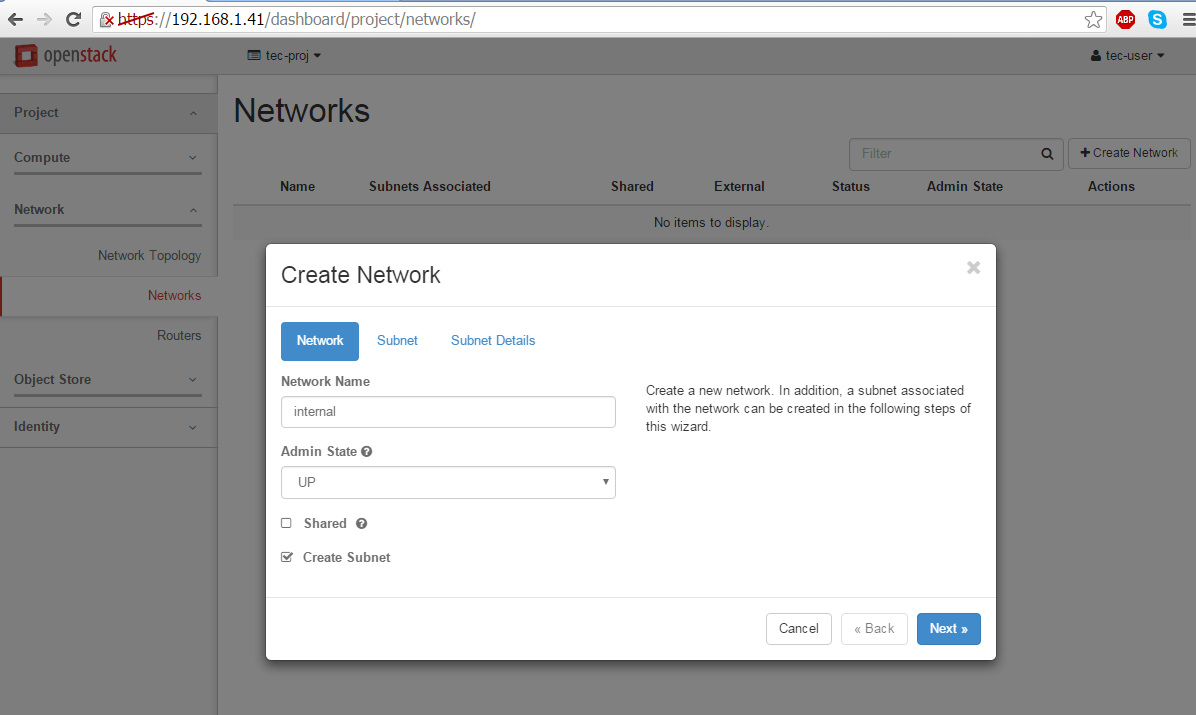
Navigate to Project > Networks > Create Network and setup the internal network as shown below: Don't forget to replace the Network Name, Subnet Name and IP addresses with yours...
Click Next
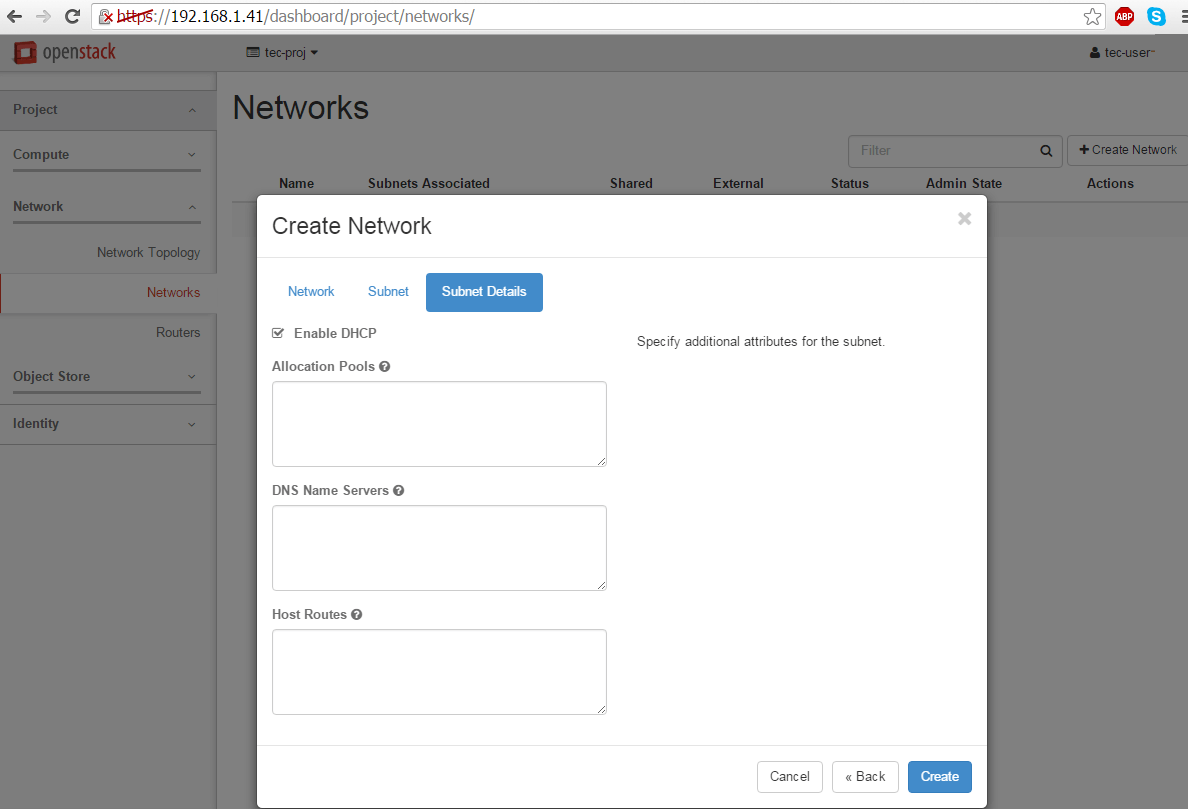
Provide information and click Next

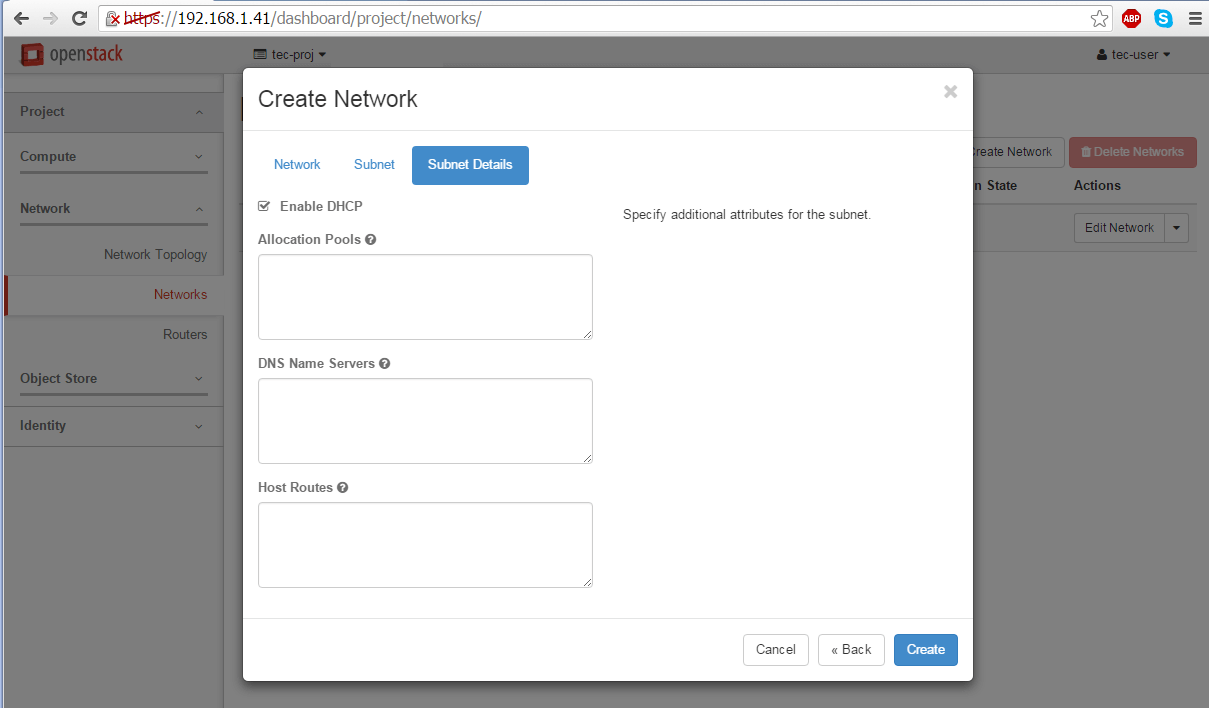
Enable DHCP and click create.
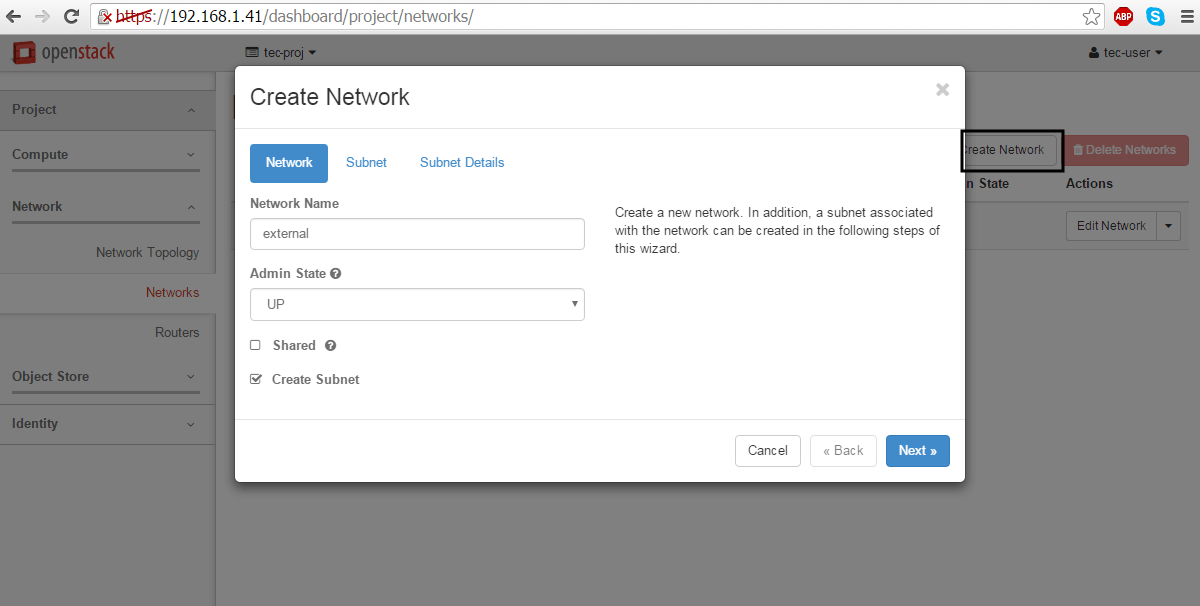
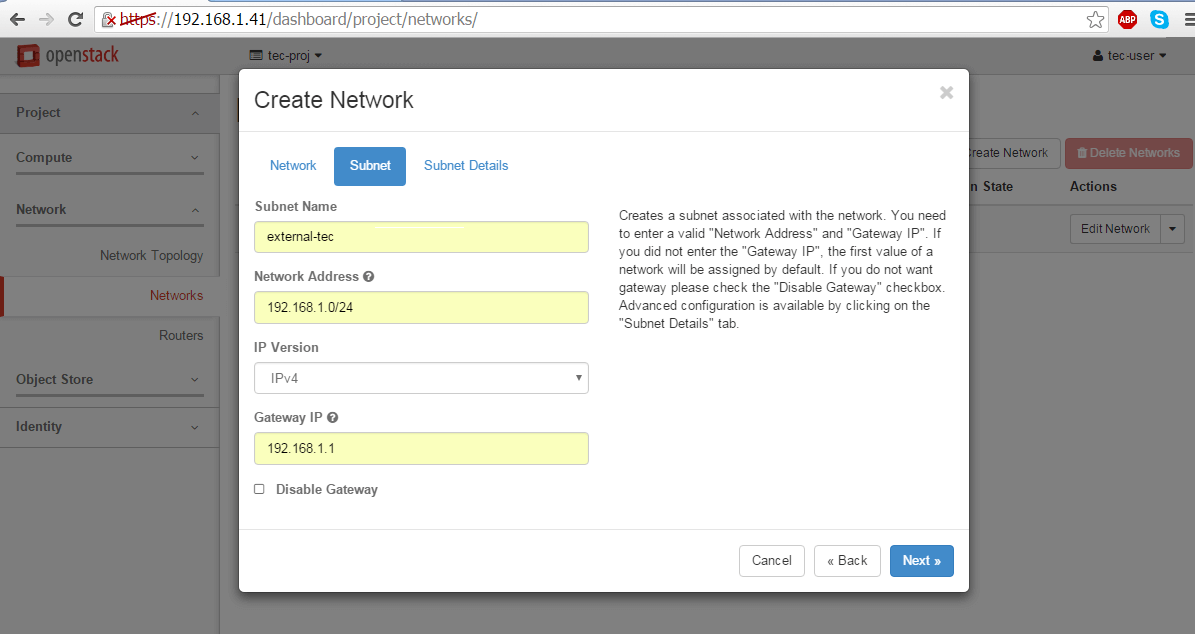
Repeat the same steps to create the external network. Make sure the IP address for external network is in the same network range as your uplink bridge interface IP address range.
For example, if the br-ex interface has 192.168.1.1 as a default gateway for 192.168.1.0/24 network, the same network and gateway IPs should be configured for external network too.
Click Next
Click Next
Click Create
Now, you need mark external network as External to allow communication with the bridge interface.
Login to openstack web interface with admin credentials.
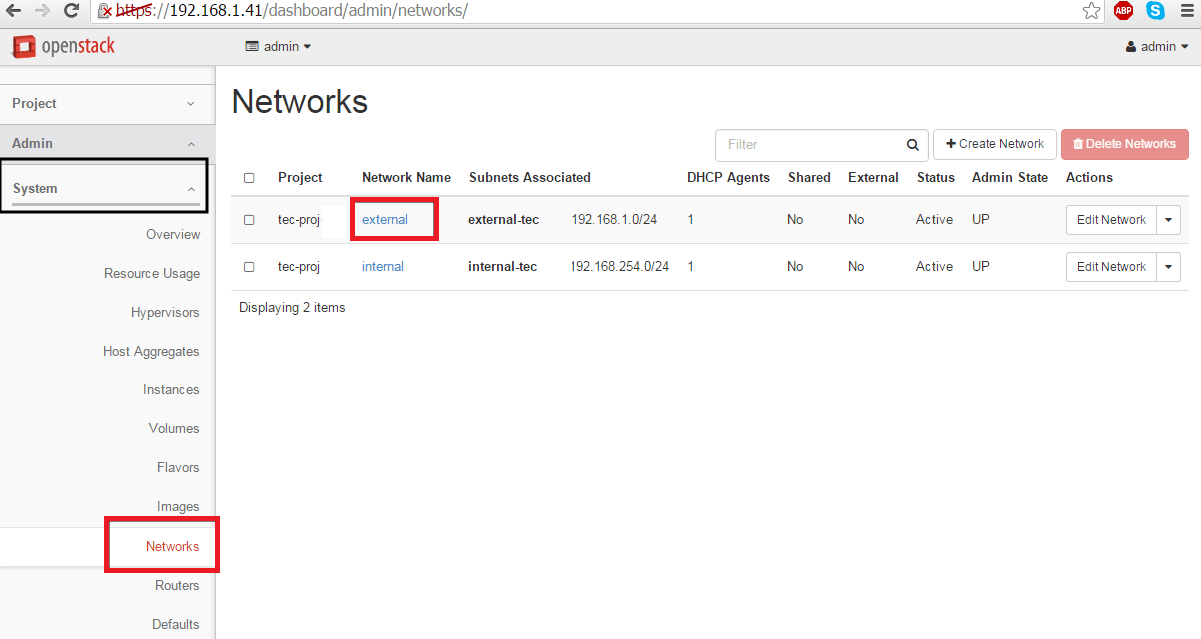
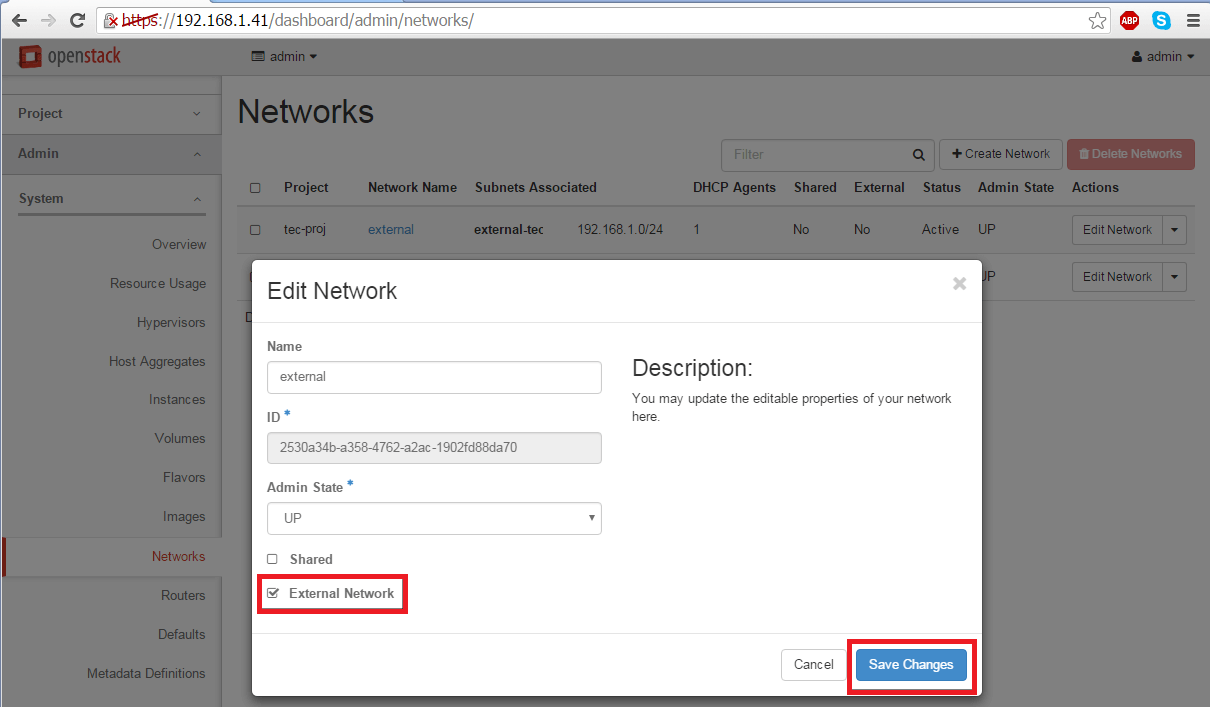
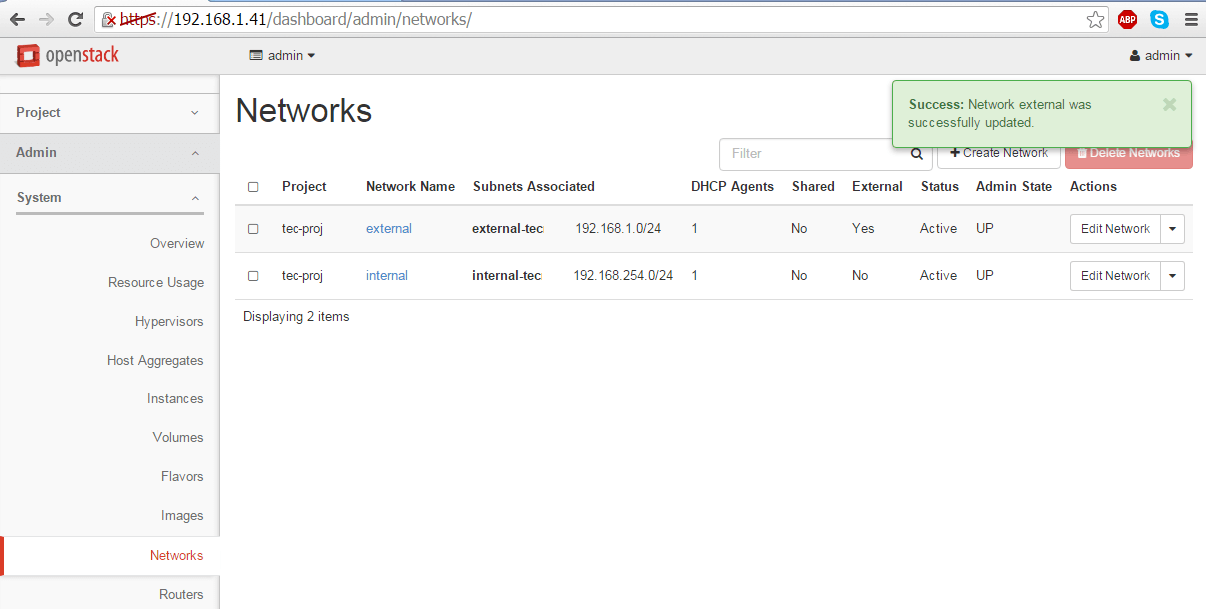
and navigate to Admin > System > Networks, click on the external network, check the External Network box and click on Save Changes to apply the configuration.
Check External Network, Click Save Changes
Done.
Logout from admin user and login with the custom user again to proceed to the next step.
Now, we need to create a router for our two networks in order to transmit packets back and forth. Navigate to Project > Network > Routers and Click on Create Router button. Add the following info for the router.

Once the Router created, you should be able to see it in the dashboard. Click on the router name, go to Interfaces tab and click on Add Interface button and a new prompt should appear.

Select the internal subnet, leave the IP Address field blank and click Submit button to apply changes and after a few seconds your interface should become Active.

To verify OpenStack network settings, navigate to Project > Network > Network Topology and a network map will appear as show in image.

Conclusion
You have successfully completed OpenStack network configuration and it is now ready for virtual machines traffic.