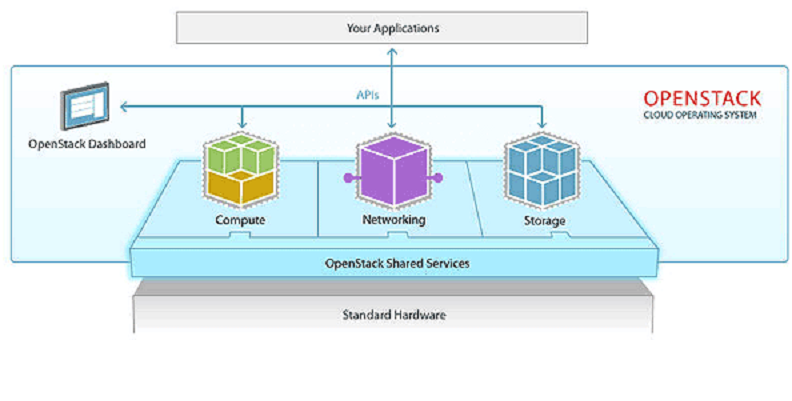
This guide will walk you through the steps to deploy your own private cloud infrastructure with OpenStack installed on a single node in Red Hat, CentOS 7 or Fedora Linux using rdo repositories.
What OpenStack is?
OpenStack is an open source software platform which provides infrastructure-as-a-service for public and private clouds. It controls resources of a datacenter like Compute, Image Service, Block Storage, Identity Service, Networking, Object Storage, Telemetry, Orchestration and Database.
The administration of those components can be managed through the web-based interface or using the OpenStack command line interface.
Prerequisites
One Red Hat Enterprise Linux Server, CentOS 7 or Fedora (Whatever your favorite distribution is) with minimal installation.
STEP1 - Initial System Configurations
To begin with OpenStack installation, first we need ensure our linux distribution is up to date. Login your linux machine with root user and execute the following command to list all running services:
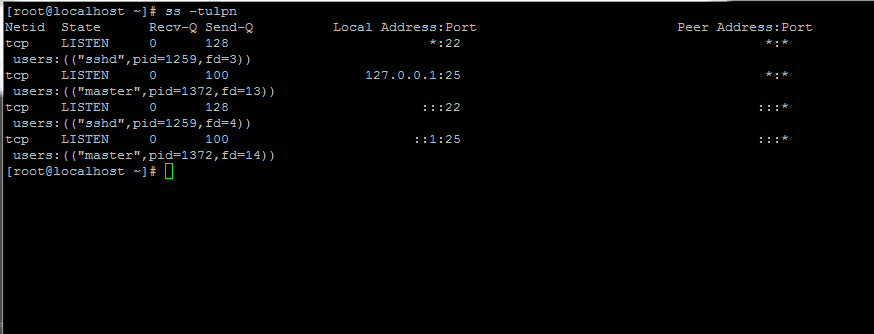
Now identify unnecessary services, stop, disable and remove them. Primarily Postfix, NetworkManager and Firewalld. After that, the only service that would be running on your linux machine should only be sshd.
Permanently disable Selinux policy on your linux machine by executing the following commands. Also edit /etc/selinux/config file and modify SELINUX from enforcing to disabled as show in the image below.

Now set your linux machine's hostname using the hostnamectl command and Replace FQDN variable according to your domain environment.
Lastly, install ntpdate in order to synchronize time with an NTP server.
STEP2 - Install OpenStack in CentOS and RHEL
To deploy OpenStack, first you need to enable rdo repository (RPM Distribution of OpenStack) on your linux machine by executing the following command on RHEL .
You do not need any extra repository on CentOS 7 because it has builtin extras repo contains OpenStack and you can install it by executing the following command.
Lets install Packstat package on your linux machine using the following command:
Now you need to generate an answer file for Packstack with the default configurations which will be edited later with the required parameters in order to deploy a standalone installation of Openstack (single node).
The answer file will be named after the current day timestamp when generated (day, month and year).
Now edit the answer file with your favorite text editor.
and replace the following parameters to match the below values. In order to be safe replace the passwords fields accordingly.
Access OpenStack dashboard via HTTP with SSL enabled.
The root password for MySQL server.
Set a password for nagiosadmin user in order to access Nagios web panel.
Save and close the file.
Now edit SSH server configuration file and uncomment PermitRootLogin line.
Restart SSH service to update changes
STEP3 - Start Openstack Installation Using Packstack Answer File
Start Openstack installation process via the answer file edited above by executing the following command:

Once the installation of OpenStack components completed, the installer will show few lines with the local dashboard links for OpenStack and Nagios including the required credentials which you have already configured in above steps in order to login on both panels.
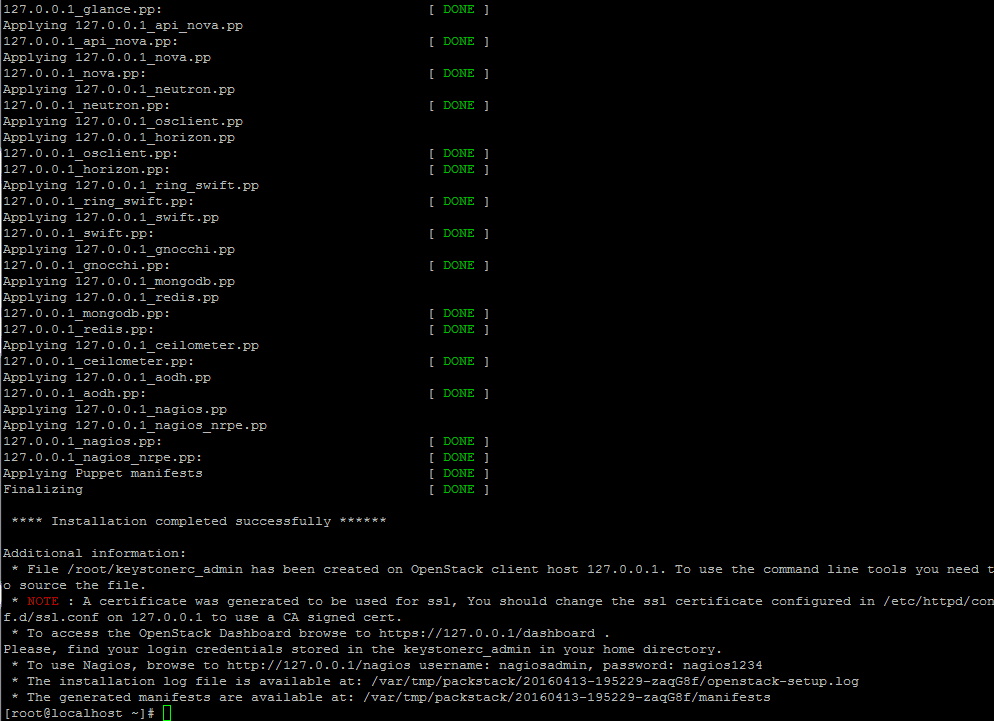
The above stated credentials are also stored under your home directory in keystonerc_admin file.
In case the installation process interrupts with an error regarding httpd service, the edit /etc/httpd/conf.d/ssl.conf file and comment the following mentioned line.
Restart Apache to apply changes.
Note: If you still can’t access Openstack web interface on port 443 then restart the installation process from the scratch with the same command mentioned in above steps.
STEP4 - Remotely Access OpenStack Dashboard
To access OpenStack web interface from a remote host, open the link https://openstack-ip-address or https://hostname.domainname. Accept the error and login to the dashboard with the user admin and the password you have set on CONFIG_KEYSTONE_ADMIN_PW parameter in answer file.


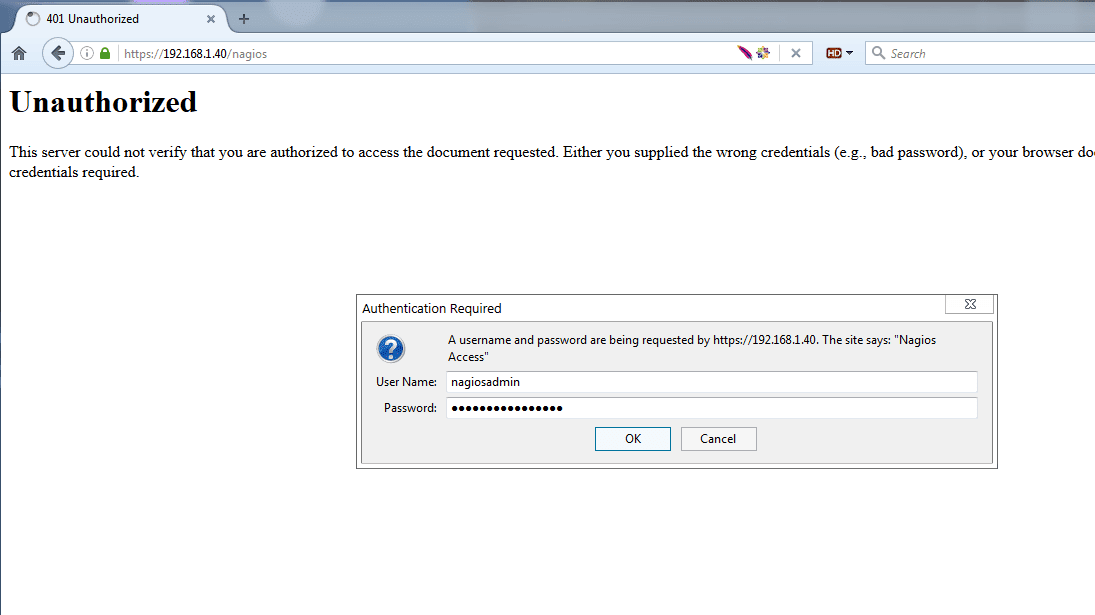
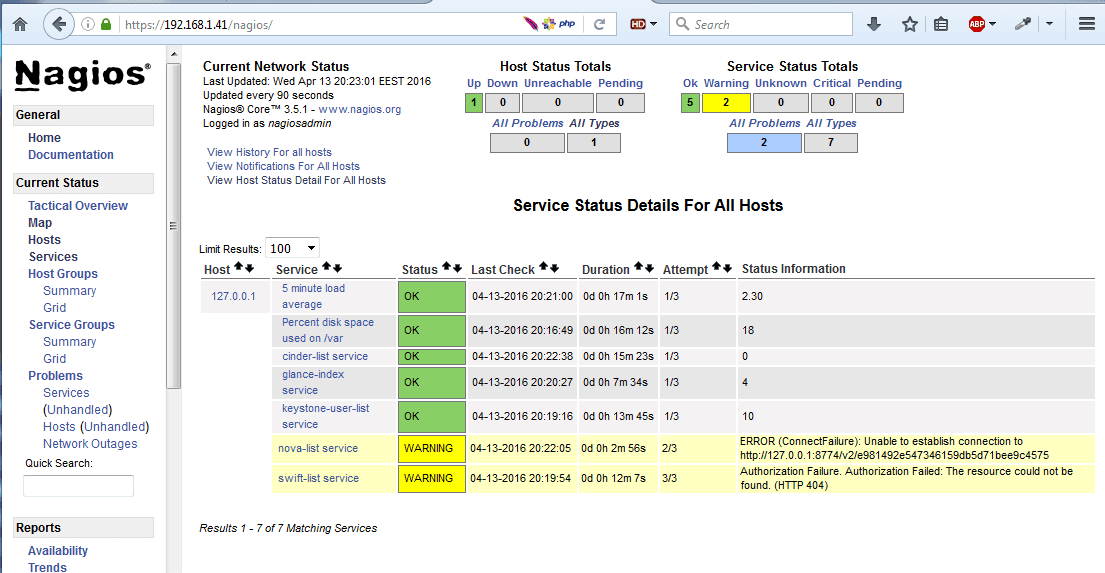
Alternatively, if you install Nagios component for OpenStack, you can browse Nagios web panel using the following url and login with the credentials you have setup in answer file.
https://192.168.1.40/nagios
Conclusion
We demonstrated OpenStack installation on Red Hat, CentOS and Fedora Linux. Now you can set up your own private cloud environment.