![](http://4.bp.blogspot.com/-I4rhnQ_jSqg/WEMayPDMUDI/AAAAAAAAMrQ/lcBZg-_Zn7kNuUhr6Kn_7b79kC2kLeB5QCLcB/s640/vCenter-Server-Appliance-6.5.png)
This guide will walk you through the steps to deploy and configure vCenter Server Appliance 6.5 with external platform services controller.
Related Articles:
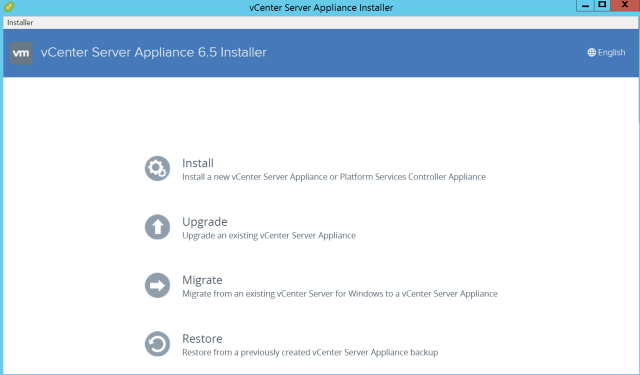
To begin with the installation, Navigate to ‘vcsa-downloaded-directory\vcsa-ui-installer\win32’ and Click installer.exe to start the deployment wizard.
![](http://1.bp.blogspot.com/-oXFTTIburfM/WEMJZLjFH_I/AAAAAAAAMpM/nHpzU6kwXbwORtS3vQbU05hPXEA2g3jEgCLcB/s1600/Deploying-vCenter-Appliance-6.5-with-external-psc-1.png)
The vCSA 6.5 deployment wizard will show you that the installation is a 2 stage process.
![](http://4.bp.blogspot.com/-VtuEoeN-or8/WEMJihNjbvI/AAAAAAAAMp0/AMqz5DURiZId7xSS9Q6fMVlXbcjkITaKQCLcB/s1600/Deploying-vCenter-Appliance-6.5-with-external-psc-2.png)
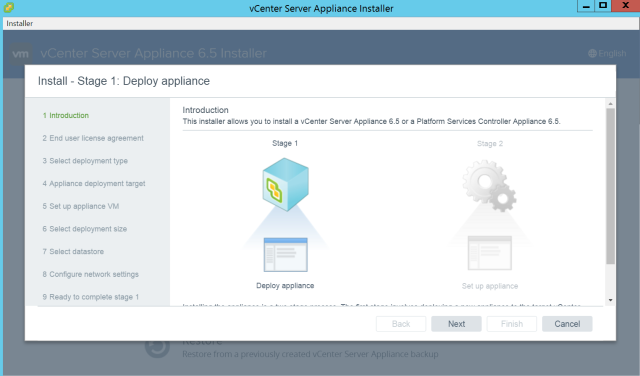
Accept "End User License Agreement" and Click Next.
![](http://4.bp.blogspot.com/-fddtT-8Vidg/WEMJlDfPuiI/AAAAAAAAMqk/mgtGq7rFxicciJXBr_7-ThF4W8_enDupQCLcB/s1600/Deploying-vCenter-Appliance-6.5-with-external-psc-3.png)
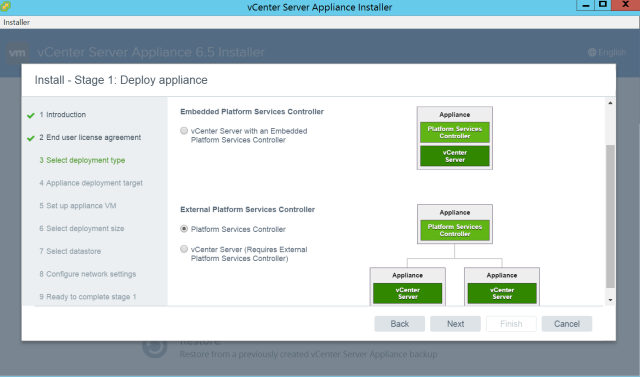
On the following screen, Select Platform Services Controller and Click Next.
![](http://4.bp.blogspot.com/-g0rw1Vfua5I/WEMJlGthoAI/AAAAAAAAMqo/7CrhIUX2_HMm6CZuUJ-C3vQDAbd6uQSRgCLcB/s1600/Deploying-vCenter-Appliance-6.5-with-external-psc-4.png)
Select ESXi host or vCenter as deployment target for PSC and provide credentials to connect to that target and Click Next. I'll be using vcentersrv01 as my target.
![](http://4.bp.blogspot.com/-ISVHhmRwTVA/WEMJltbCk6I/AAAAAAAAMqw/DoDtttBlm7ESLFS7k3Bj2RO30tl7S3zpwCLcB/s1600/Deploying-vCenter-Appliance-6.5-with-external-psc-5.png)
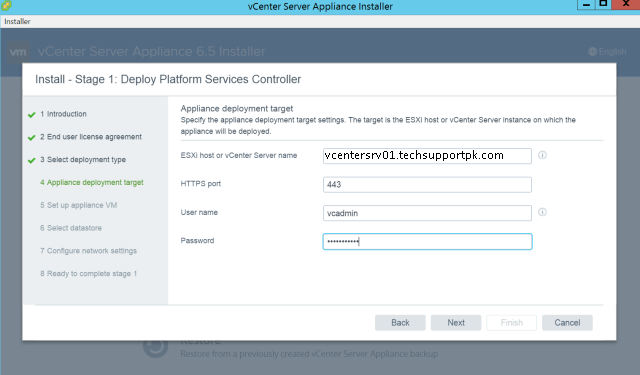
Click Yes on Certificate Warning screen
![](http://2.bp.blogspot.com/-3-lRpRE9e0s/WEMJlmDCtYI/AAAAAAAAMqs/kmJ45Vmh4R8b-Un3UgINOaCdHQiSZ28lgCLcB/s1600/Deploying-vCenter-Appliance-6.5-with-external-psc-6.png)
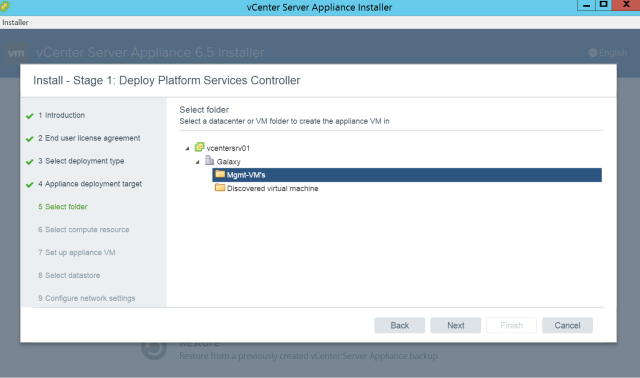
Select appropriate folder on which you want to deploy vCenter appliance.
![](http://2.bp.blogspot.com/-r6xpQlMs3CY/WEMlemdxddI/AAAAAAAAMro/FwJvrKvD81shbVC2mcEKbqjBkSiUJFHYACLcB/s1600/Deploying-vCenter-Appliance-6.5-with-external-psc-7.png)
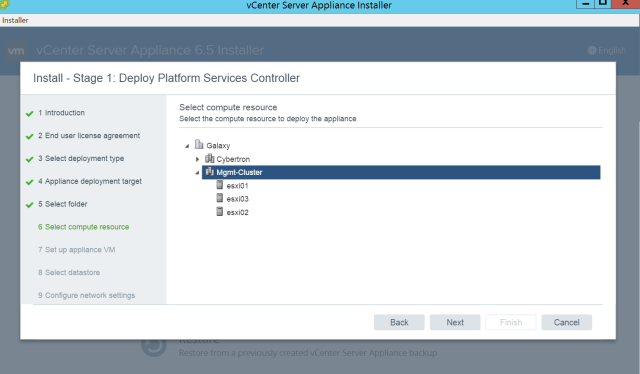
Choose cluster/host where PSC will be deployed then Click next.
![](http://2.bp.blogspot.com/-gkGCtuOw_xI/WEMJmCWvPrI/AAAAAAAAMq4/XL-lA31a8M43yjqnKkfZKmMROiRXZHYkACLcB/s1600/Deploying-vCenter-Appliance-6.5-with-external-psc-8.png)
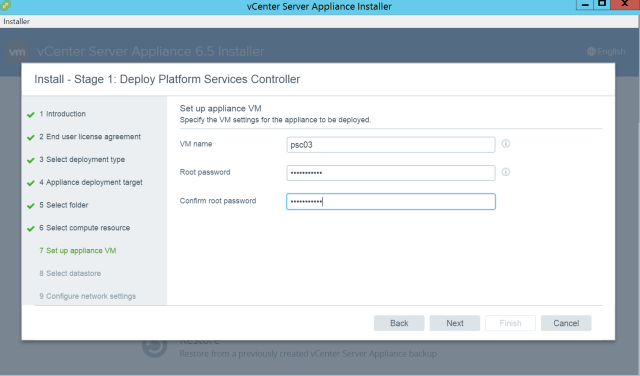
Provide a hostname for PSC and the root password.
![](http://4.bp.blogspot.com/-fk4cMoQG0rM/WEMJmUi2A_I/AAAAAAAAMq8/EHBLOaO5vH8-M8fCsIa6gMI7w8EfXAF7gCLcB/s1600/Deploying-vCenter-Appliance-6.5-with-external-psc-9.png)
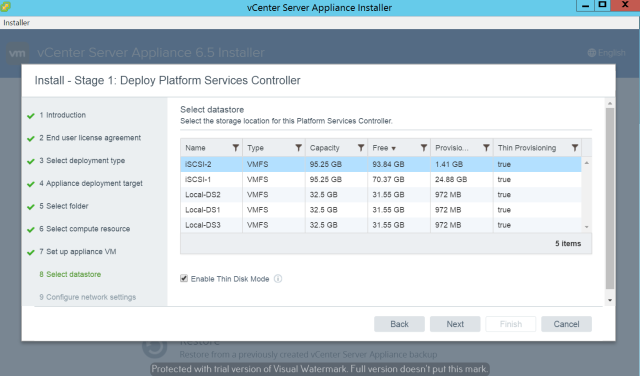
Select the appropriate destination datastore for the vCenter deployment. Don't forget to select "Enable Thin Disk Mode". Click Next
![](http://2.bp.blogspot.com/-KbjBBNxYfdE/WEMJg0EvS0I/AAAAAAAAMpY/D46ypL9nVkcVgqcvzxhZbphoL_an7K7TwCLcB/s1600/Deploying-vCenter-Appliance-6.5-with-external-psc-10.png)
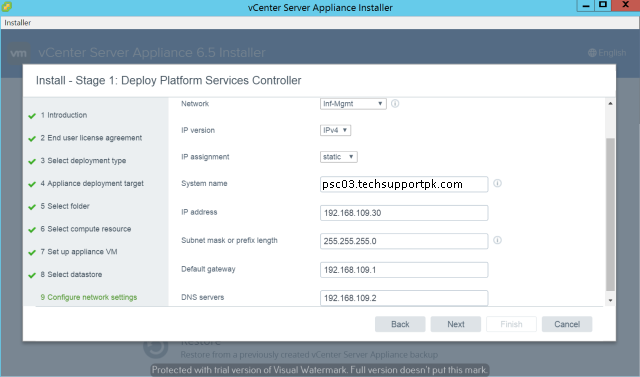
Provide network information according to your environment. Failed to provide correct network settings causes failure during installation. Click Next.
![](http://1.bp.blogspot.com/-5aonSGDK1c8/WEMJgn1WA9I/AAAAAAAAMpU/qK8xuGVyBG8MLt8ZFCZeCTE6yoqBSWK3wCLcB/s1600/Deploying-vCenter-Appliance-6.5-with-external-psc-11.png)
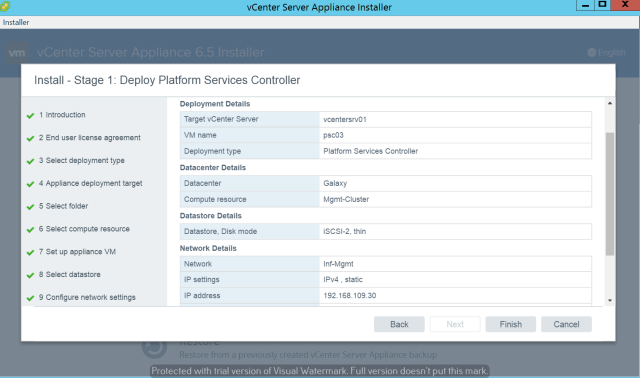
On the following screen, verify your settings and Click Finish to begin the deployment.
![](http://1.bp.blogspot.com/-4Pel37V9GX8/WEMJZl3aHwI/AAAAAAAAMpQ/XxZKQY2OqcIelc5PmDOkkFliAAuSbVxowCLcB/s1600/Deploying-vCenter-Appliance-6.5-with-external-psc-12.png)
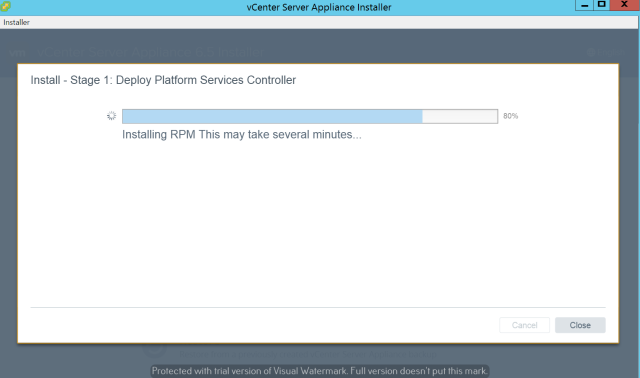
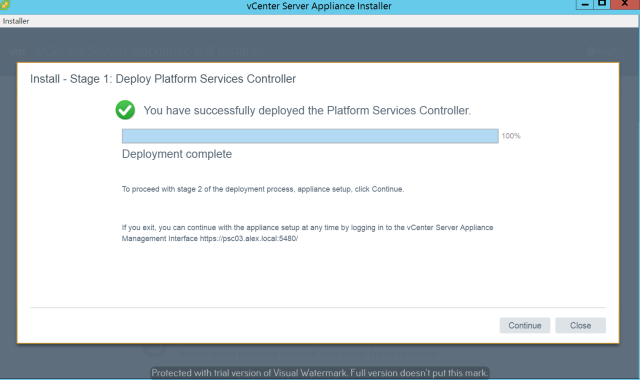
This wizard will take few minutes to complete the first stage of deployment.
![](http://2.bp.blogspot.com/-x9ZE-pnt5yQ/WEMJhHXvI1I/AAAAAAAAMpc/NiLyVZyQlBsqUbwzTRab0TyJnQodPRK2QCLcB/s1600/Deploying-vCenter-Appliance-6.5-with-external-psc-14.png)
Click Continue.
![](http://1.bp.blogspot.com/-B1XlKFWw5bw/WEMJhCsEpEI/AAAAAAAAMpg/wtTlmajrPooho6O2P-rDVJx0t2nKwnO0wCLcB/s1600/Deploying-vCenter-Appliance-6.5-with-external-psc-15.png)
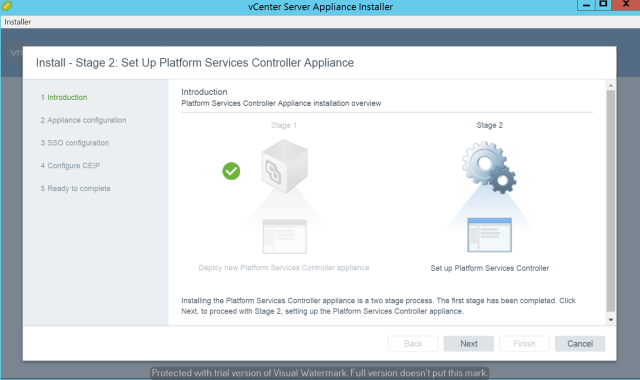
Click Next to start configuration stage of the deployment
![](http://4.bp.blogspot.com/-fnx5AGKCLhA/WEMJhUcOQEI/AAAAAAAAMpk/7Ybr4Wgy76s3I2W9c11mhuTRxatl0Pf2ACLcB/s1600/Deploying-vCenter-Appliance-6.5-with-external-psc-16.png)
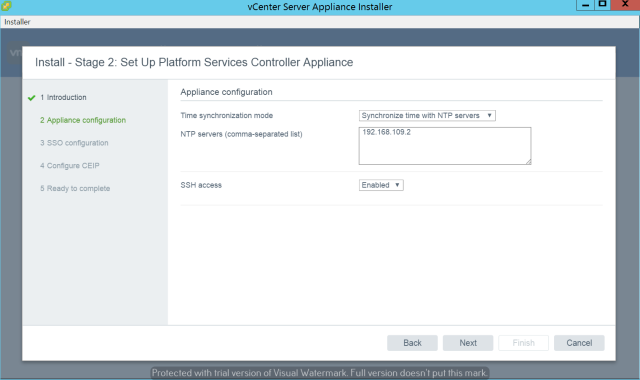
Provide NTP settings and enable SSH for remote access through CLI.
![](http://1.bp.blogspot.com/-uIVTYmpbjn4/WEMJh1eiL5I/AAAAAAAAMpo/ENVJ_G4Kxvk3DmRI9a5Pcu1rBLQle5NpgCLcB/s1600/Deploying-vCenter-Appliance-6.5-with-external-psc-17.png)
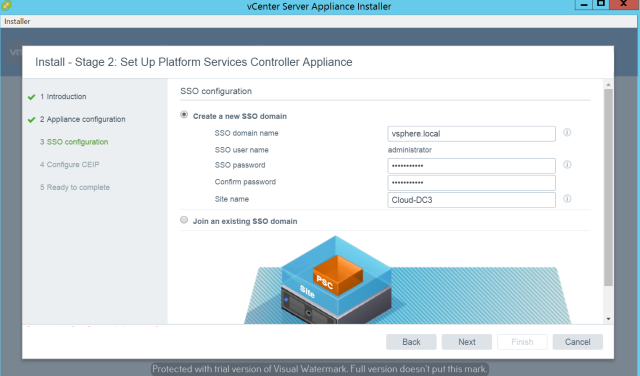
Provide SSO configuration or join existing if you have in your environment. Click Next
![](http://4.bp.blogspot.com/-BGJi70Fc8Oc/WEMJh7Q4WgI/AAAAAAAAMps/lvPRYttm3v4RBBbif_BZKT_afJDFftUTwCLcB/s1600/Deploying-vCenter-Appliance-6.5-with-external-psc-18.png)
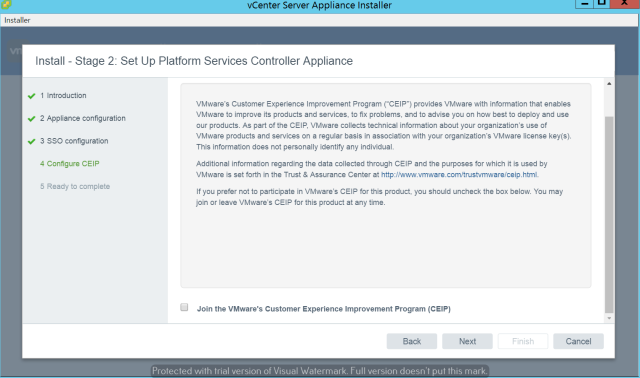
Click "Join the VMware's Customer Experience Improvement Program) then Click Next.
![](http://2.bp.blogspot.com/-ZQyJnMYXv74/WEMJiLDyCFI/AAAAAAAAMpw/7pD5b5_pbWQ8IJBQBXSjZY9uJXcYj5fiACLcB/s1600/Deploying-vCenter-Appliance-6.5-with-external-psc-19.png)
At this point, verify your settings and Click Finish to begin the 2nd stage of deployment.
![](http://4.bp.blogspot.com/-4BPhPMKTLzc/WEMJjPOTT0I/AAAAAAAAMp8/t61za7qndCcpZzTLfd1sEZ5t5THbPKv3gCLcB/s1600/Deploying-vCenter-Appliance-6.5-with-external-psc-20.png)
This wizard will take few minutes to complete.
![](http://4.bp.blogspot.com/-V15jtKQeKPw/WEMJi6voiDI/AAAAAAAAMp4/eC98teY9Ad0n1rmJEflPKAi5lXPfZdvZQCLcB/s1600/Deploying-vCenter-Appliance-6.5-with-external-psc-21.png)
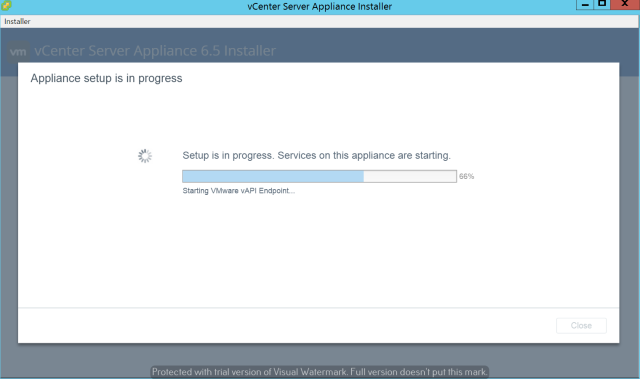
Stage 2 deployment process completed
![](http://4.bp.blogspot.com/-5baYGk3IBpY/WEMJjEARb8I/AAAAAAAAMqA/G53qzlORHfoCr0t8CP_5eDSOZLByDaIkACLcB/s1600/Deploying-vCenter-Appliance-6.5-with-external-psc-22.png)
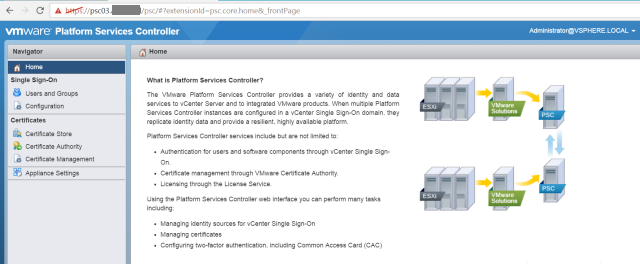
Here you can login to vCenter Appliance by visiting https://vcsa_fqdn/psc and login with username@sso-domain which you have created in above step.
![](http://4.bp.blogspot.com/-zL_LnHhpihs/WEMJjhiyu7I/AAAAAAAAMqE/fBIT6kEJq-UNRj816WLJ49V0-Pcb28HCgCLcB/s1600/Deploying-vCenter-Appliance-6.5-with-external-psc-23.png)
If you want to make vCenter appliance a part of your organization's domain then navigate to Appliance Settings > click on manage tab > click Join to add your domain detail.
![](http://4.bp.blogspot.com/-csF6n0dLBPI/WEMJjspO5GI/AAAAAAAAMqI/sKhMCllicD07y8sfuAJPLfZamGJ2tNs_gCLcB/s1600/Deploying-vCenter-Appliance-6.5-with-external-psc-24.png)
Provide your domain credentials and Click OK. vCSA PSC will be rebooted for changes to take effect.
![](http://4.bp.blogspot.com/-cUzvIwrR604/WEMJj6i57aI/AAAAAAAAMqM/-lXW-Tsuk5U7MxCM8vjMeCQanLaETi8ZgCLcB/s1600/Deploying-vCenter-Appliance-6.5-with-external-psc-25.png)
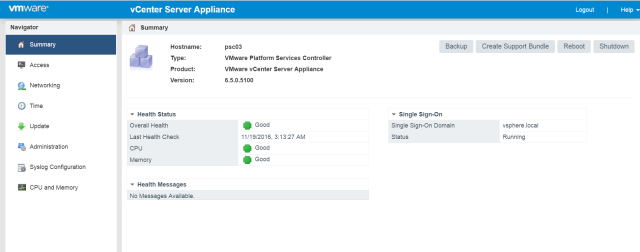
Login to vSphere Appliance Management screen using root credentials.
![](http://1.bp.blogspot.com/-ayxmRyngBSI/WEMJkW5UIhI/AAAAAAAAMqU/twMrNhX6ACMa2IXzeAQH2F4jflBFJqoIwCLcB/s1600/Deploying-vCenter-Appliance-6.5-with-external-psc-27.png)
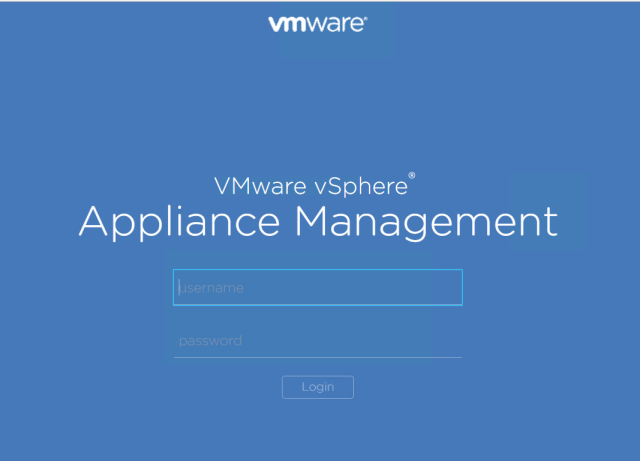
Here you can monitor the overall health of vCenter Appliance and you can also configure additional settings related to Network/ NTP syslog etc.
![](http://4.bp.blogspot.com/-U6cGIOYWnZs/WEMJkYIv1pI/AAAAAAAAMqY/yXnjvkYCVuMguILycCKWGeGsBOzHRfF5gCLcB/s1600/Deploying-vCenter-Appliance-6.5-with-external-psc-28.png)
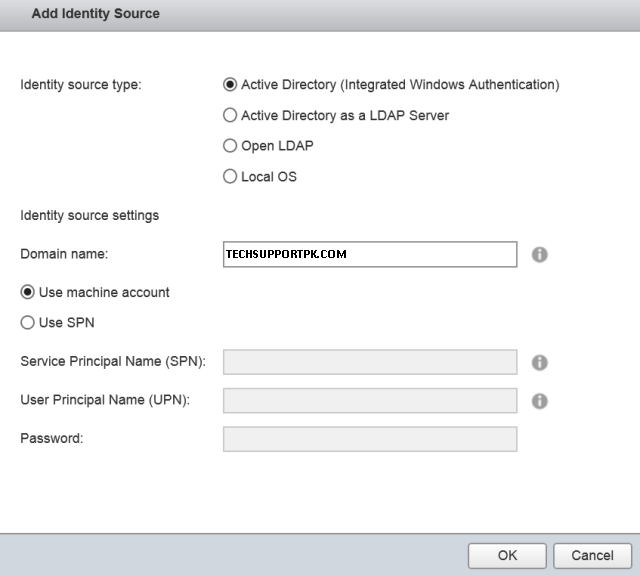
Navigate back to vCSA and Click Configuration > Identity Source to add source in your PSC by clicking ‘+’ button.
![](http://2.bp.blogspot.com/-mugaakcbHvU/WEMJknhCMmI/AAAAAAAAMqc/sumw-jbTmmcLTkhKRdaqZroNY7lAKCG3wCLcB/s1600/Deploying-vCenter-Appliance-6.5-with-external-psc-29.png)
Choose your appropriate identity source then Click OK. I am going with first option as we have Windows based active directory.
![](http://4.bp.blogspot.com/-JhWZSKVpNi8/WEMJk_8BjyI/AAAAAAAAMqg/Mbi3Bs4RBPkAUBImr2AQO1ncWweadC4sgCLcB/s1600/Deploying-vCenter-Appliance-6.5-with-external-psc-30.png)
Conclusion
We have completed vCenter Server Appliance 6.5 using external platform services controller.