
This is my first article on VMware vRealize Automation 7 and all of it’s new features. In this article we will show you how to install vRealize Automation 7 Simple Install. Basically vRealize automation 7 simple install has three components.
Go through this article if you are interested in vRealize Automation 7 enterprise install.
Go through this article if you are interested in vRealize Automation 7 enterprise install.
- vRealize Automation appliance
- Iaas Server (Windows)
- vRealize Orchestrator appliance (optional)
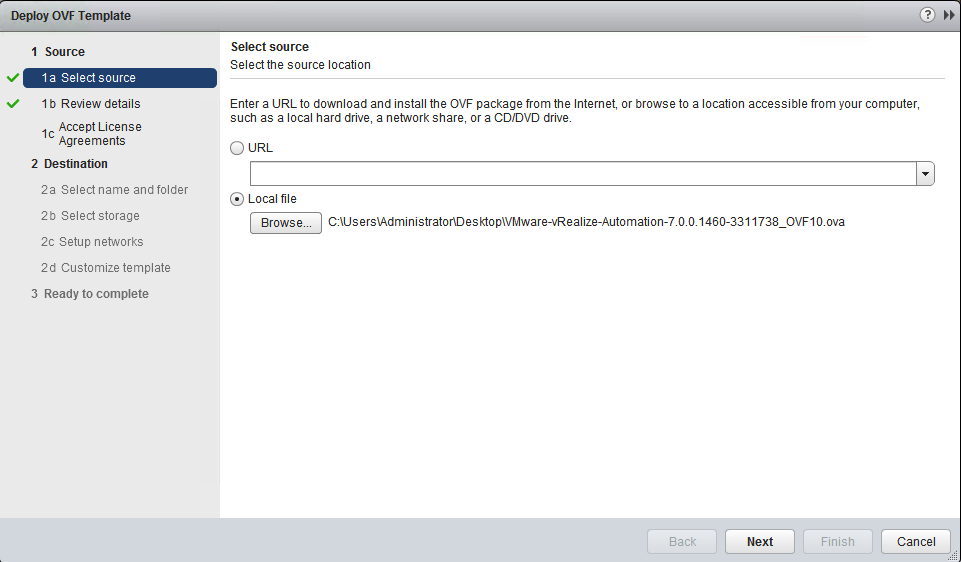
First, we start with the deployment of the vRA appliance.
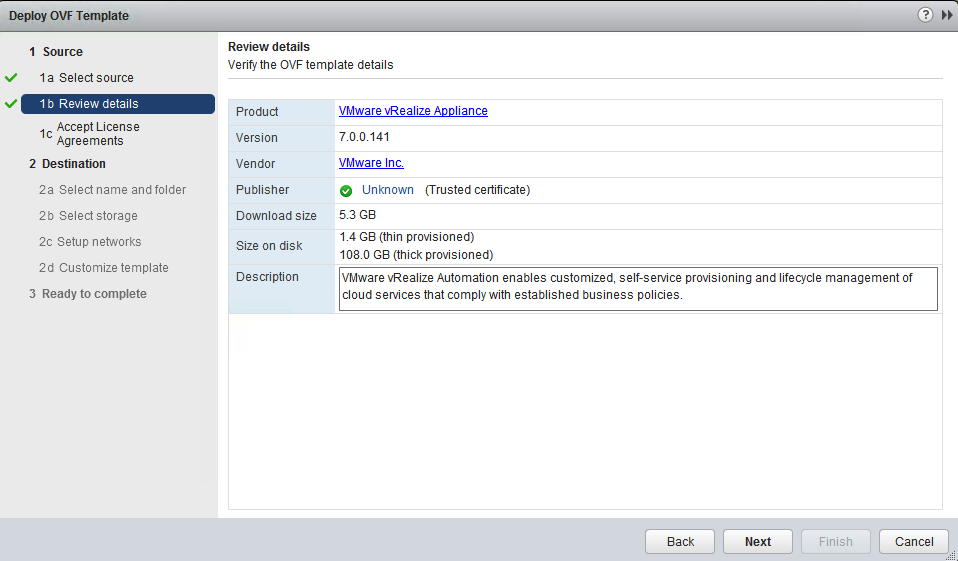
Here check that the OVA is valid. You can see the size is a whopping 5.3 GB
Accept the License Agreements

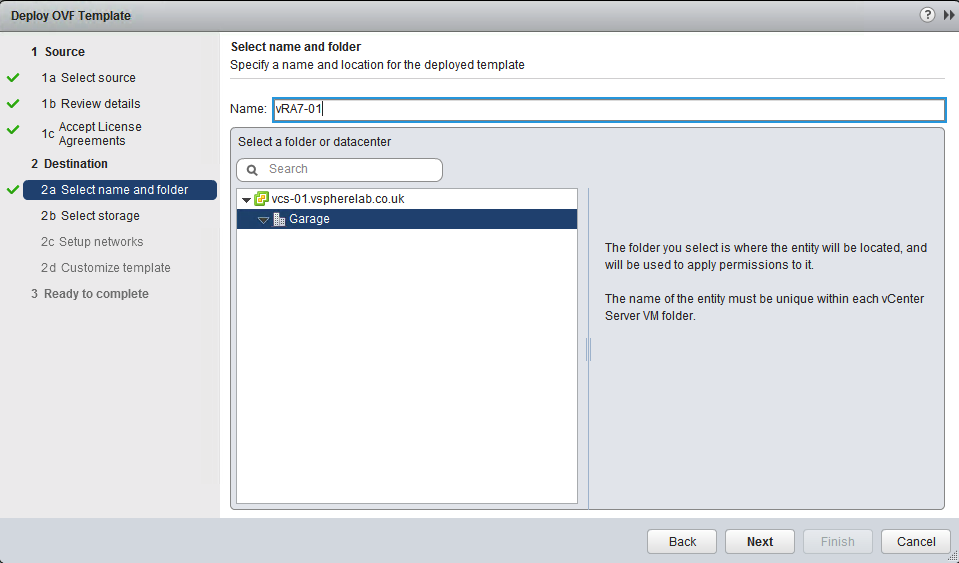
Give it a name and select the appropriate location
Select a datastore

Select the correct network

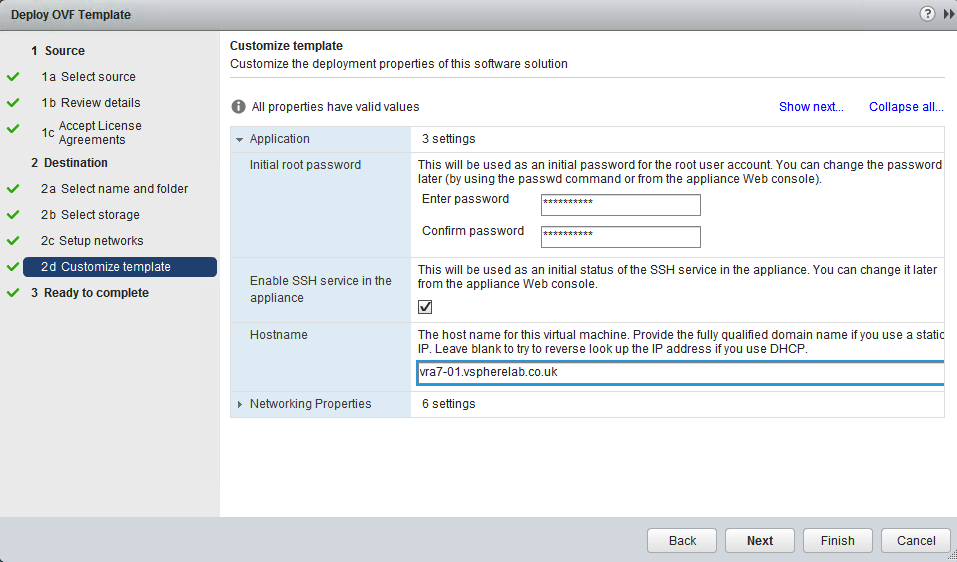
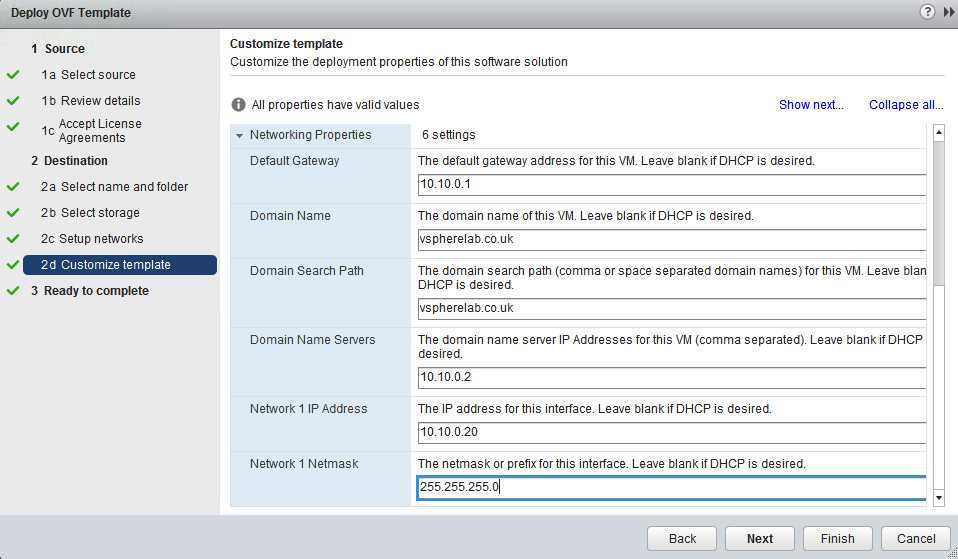
Give it a complex password, enable SSH (if desired) and configure hostname and network (IP / Gateway / Subnet)
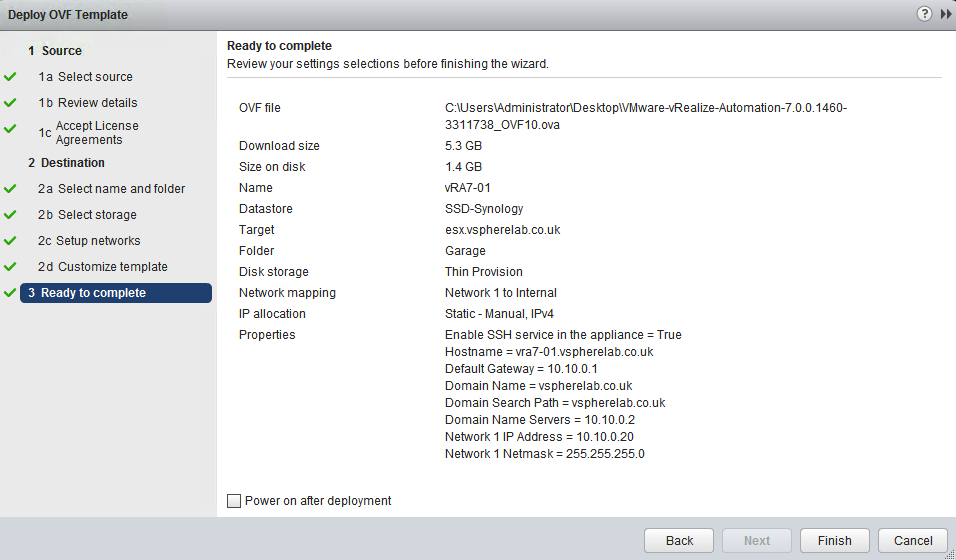
Confirm the details and hit ‘Finish’ – You may as well also tick ‘Power on after deployment’ – the startup can take a while (10 odd minutes)
You can now watch the progress bar or get a tea / coffee instead

Wait until the appliance has been deployed and powered on. At this stage it can still take a few minutes until you can reach the URL

Browse to the appliance as indicated in the start screen (https://fqdn:5480)

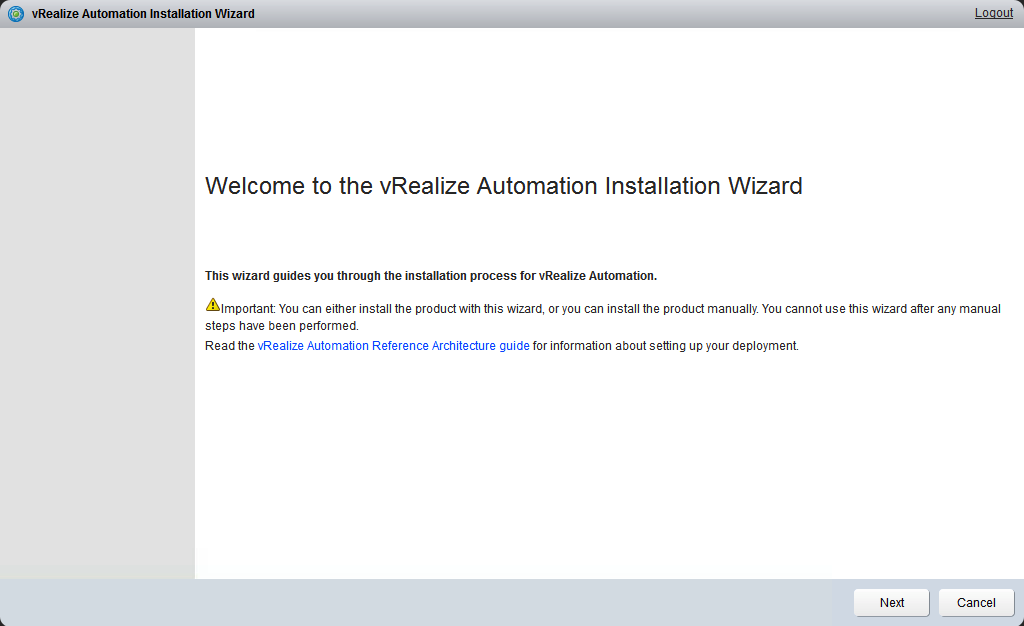
When you login for the first time, the installation wizard should start automatically.
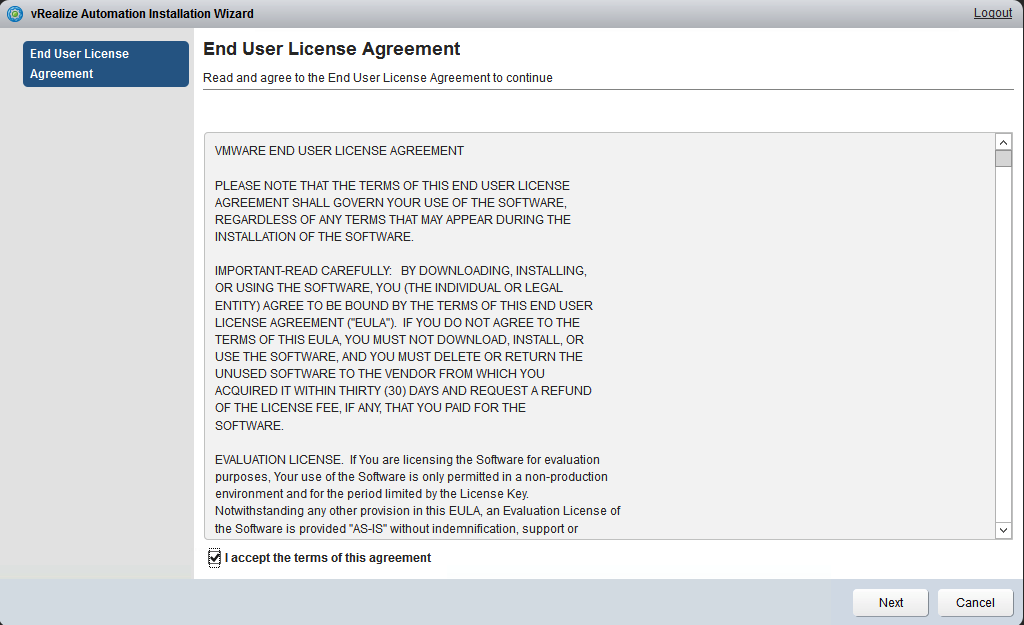
Accept the License Agreement
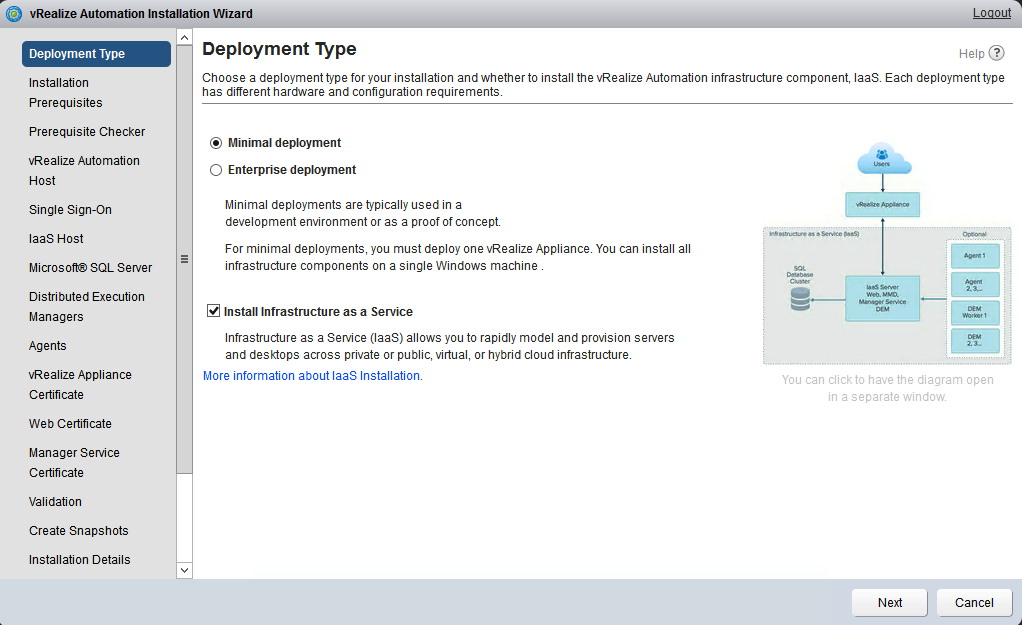
Select Minimal deployment
Download the Management Agent as indicated and upload it to your windows server which will become the IaaS server

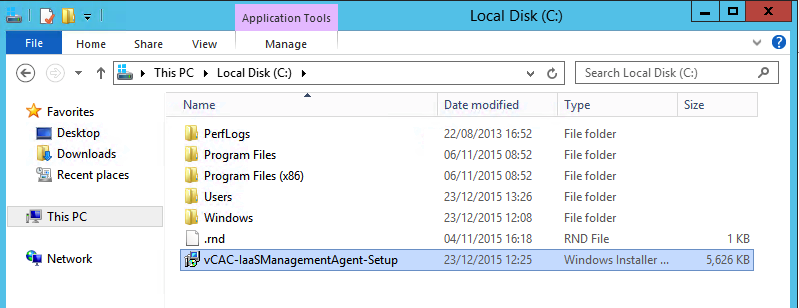
Double Click the installer and hit ‘Run’

Click ‘Next’

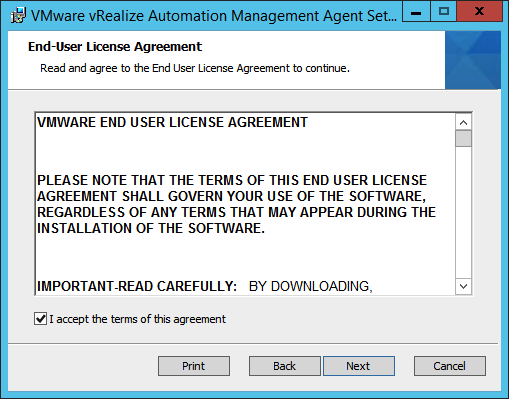
Accept the License Agreement
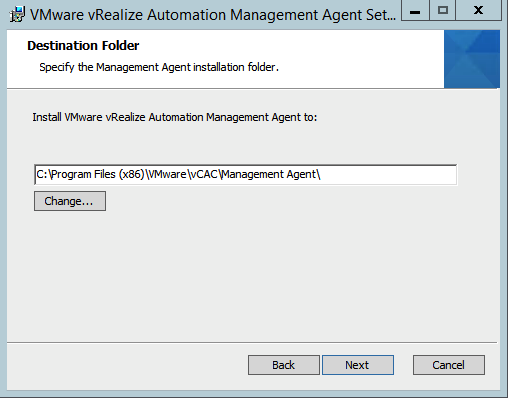
Select an install location
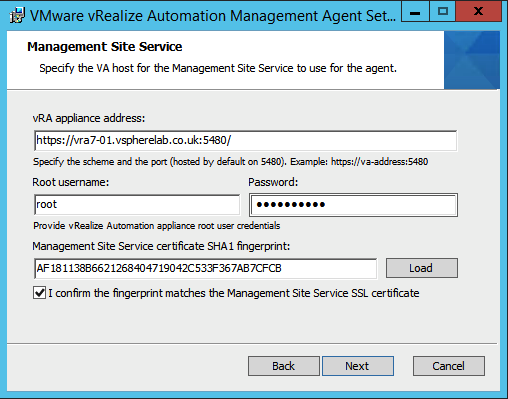
Enter your vRA appliance details. Click ‘Load’ to load the certificate.
Note: If for some reason you made a mistake / something broke and you need to reinstall the vRA appliance – you will need to reinstall the Management Agent as well as the new appliance will have a different SSL thumbprint – I am not sure myself whether the thumbprint can be updated without reinstalling the agent.
Click ‘Next’
Here I am using the domain admin – this is not best practise obviously. This is a lab environment so make sure you use service accounts in production environments (not that the minimal install is really suitable for production

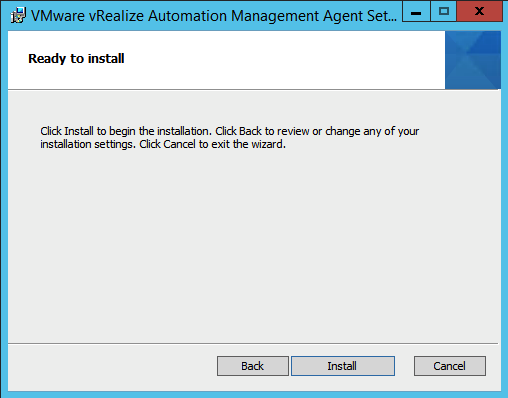
Just hit ‘Install’ and let it do what it needs to do

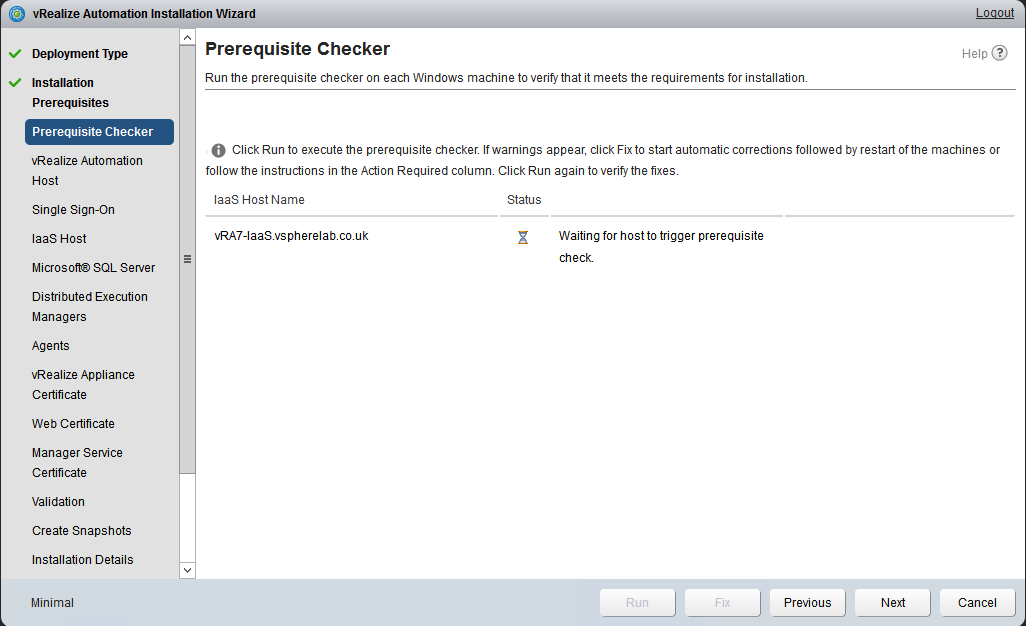
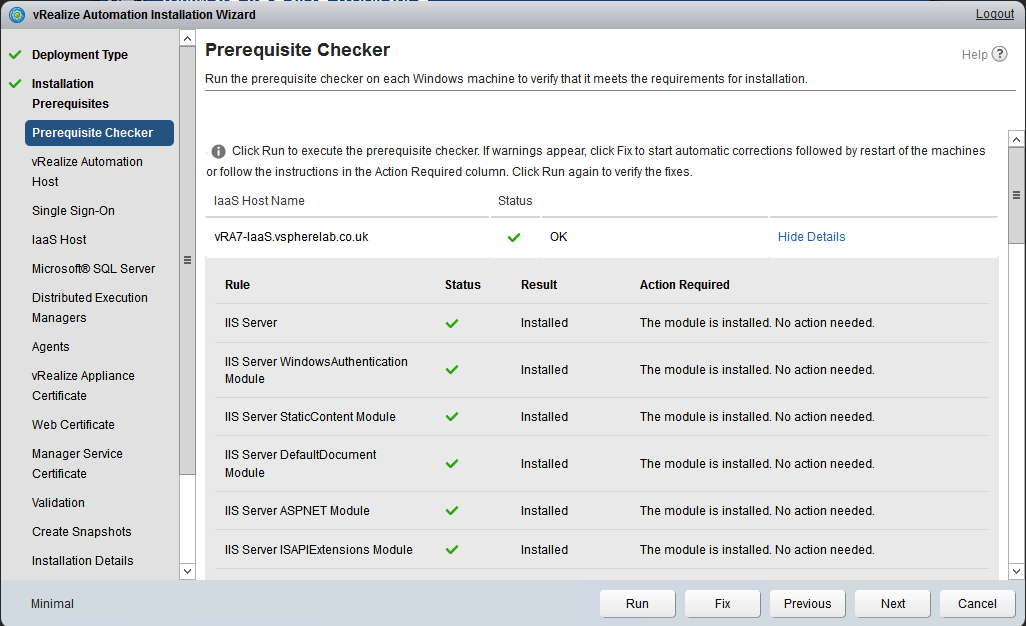
Now go back to your installation wizard. Your server should now pop up under IaaS Host Name

Hit ‘Run’
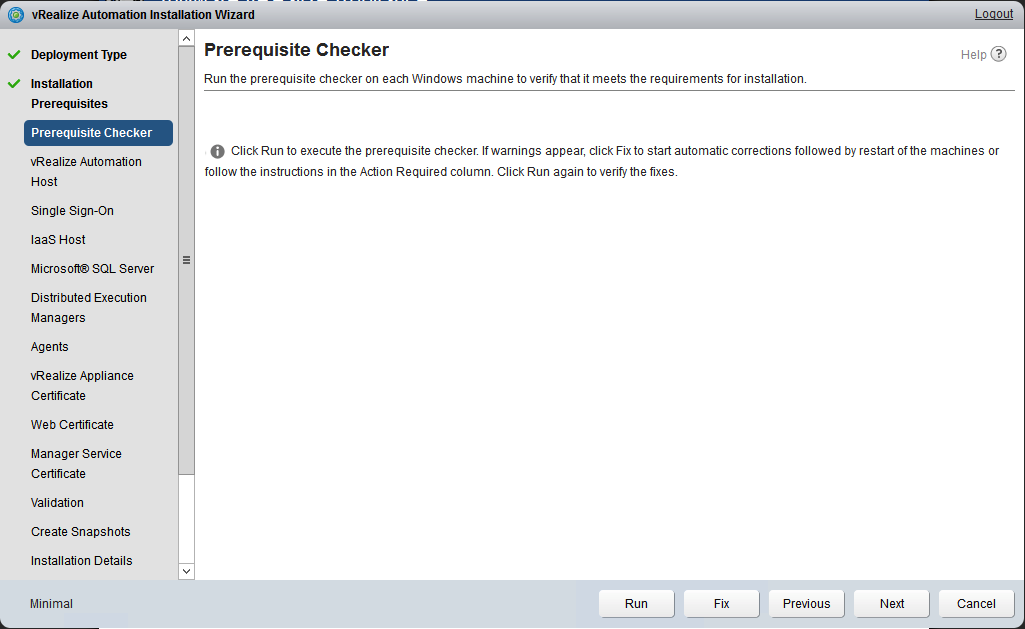
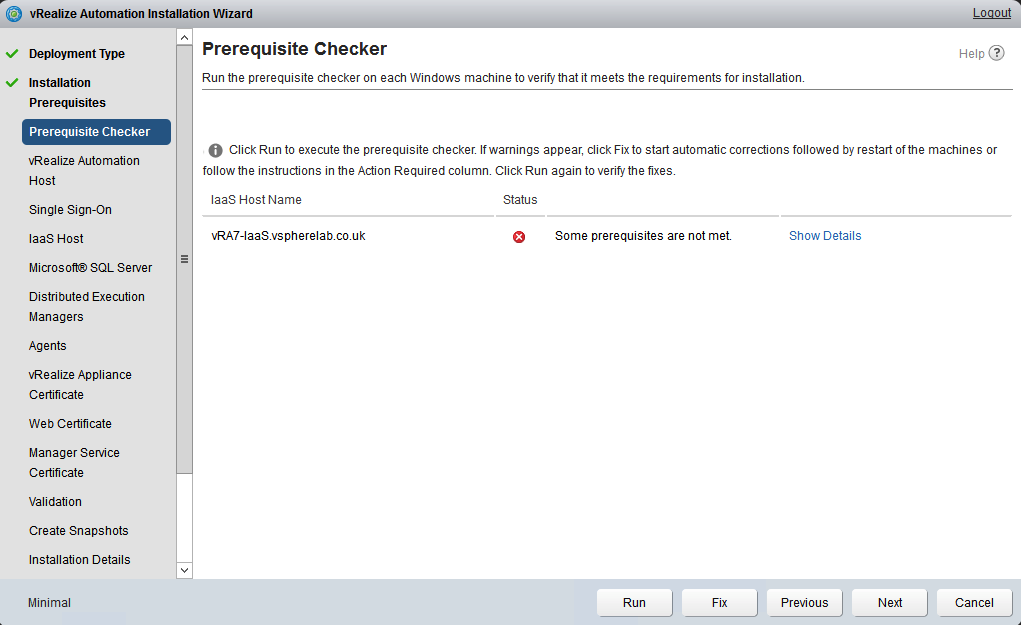
This might take a while to complete
This will likely fail – especially if you, like me, used a plain Windows Server where the only thing has been done, is joining it to the domain and run windows updates.
Now click ‘Fix’

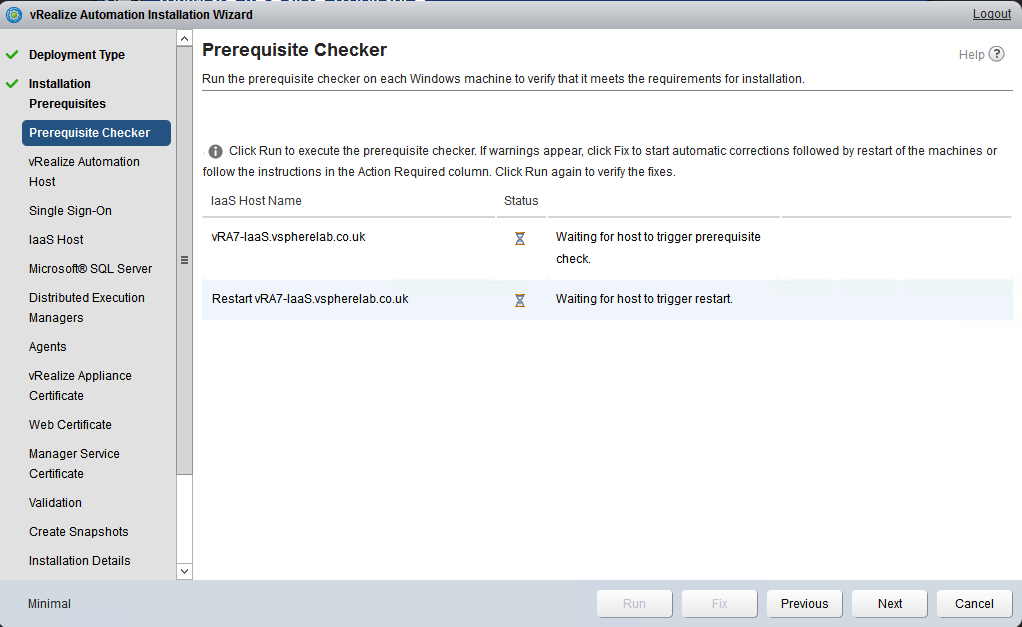
Again, this can take a while. It will now install all necessary bits on the windows server, such as IIS etc., followed by a reboot
Once done, click ‘Run’ again to confirm the prerequisites
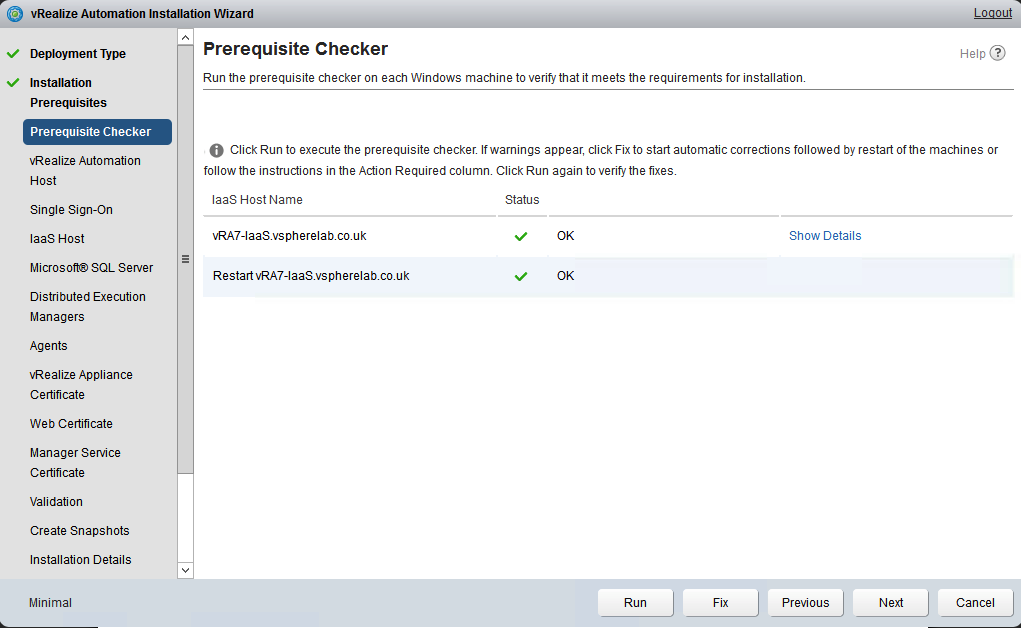
If it is all green, click ‘Next’
You should be able to leave it on ‘Resolve Automatically’ as proper DNS (including reverse DNS) should be a ‘given’

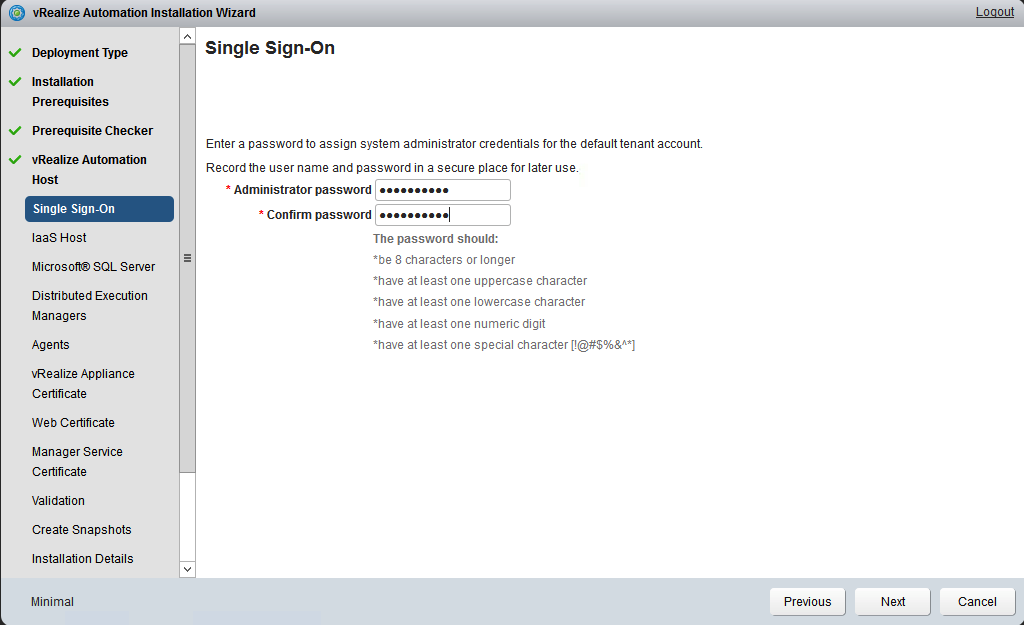
Enter a secure password for the default tenant / admin
Enter the details of your IaaS host – the one you just ‘fixed’. Once again – I am using a domain admin – try to avoid that in real environments.

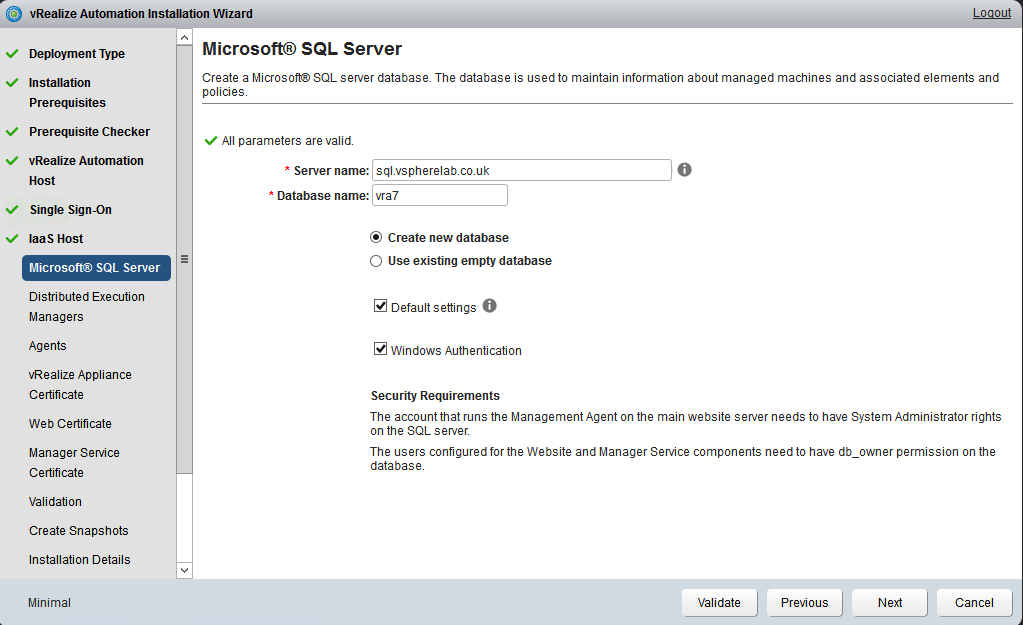
Enter your SQL details. Now previously I mentioned that I used the domain admin for the Automation Agent installed. As a result that user will also have full access on my SQL server and I therefore ok to use Windows Authentication.
If you used a service account, make sure it has the appropriate permissions on the sql server. See notes in the screenshot below.

Click ‘Validate’ – ensure that you get the nice little checkmark

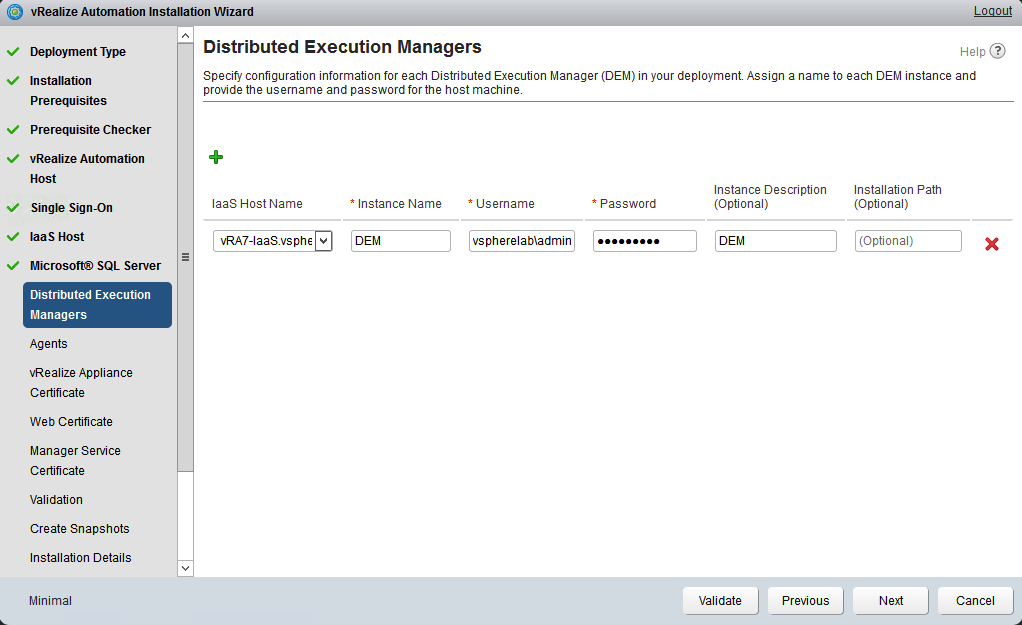
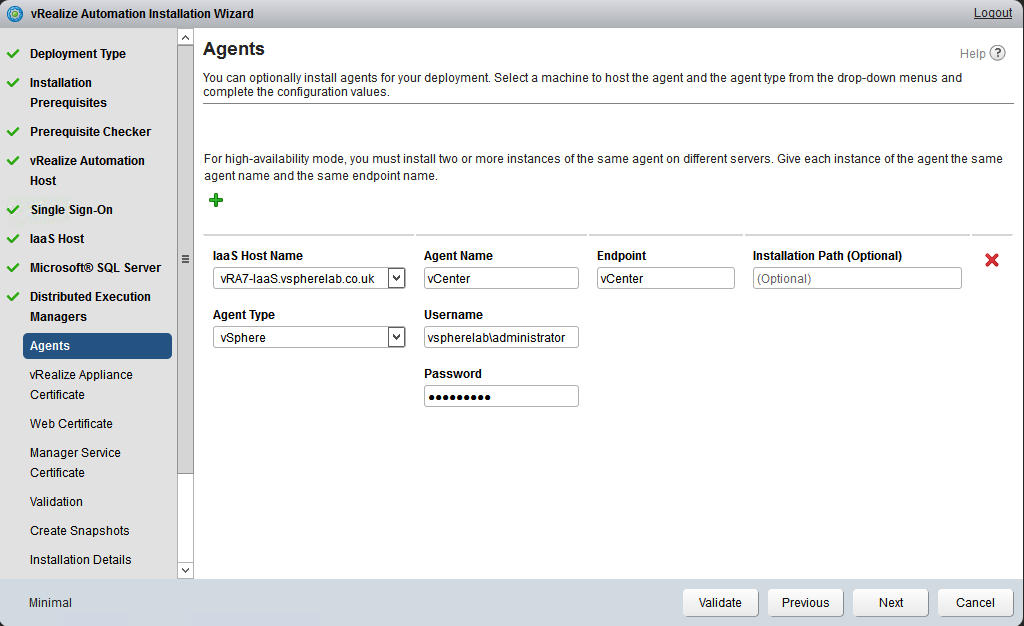
Again, same deal – domain admin – not recommended
Give the DEM ‘a’ name. It needs to be unique – especially when installing the ‘Enterprise’ environment.
Here we got just one anyway.
Domain admin anyone ? Anyway, here make sure you remember the Endpoint name. The Endpoint name (cAsE SenSItivE) will be used when configuring vRA Endpoints and it needs to match 100%.
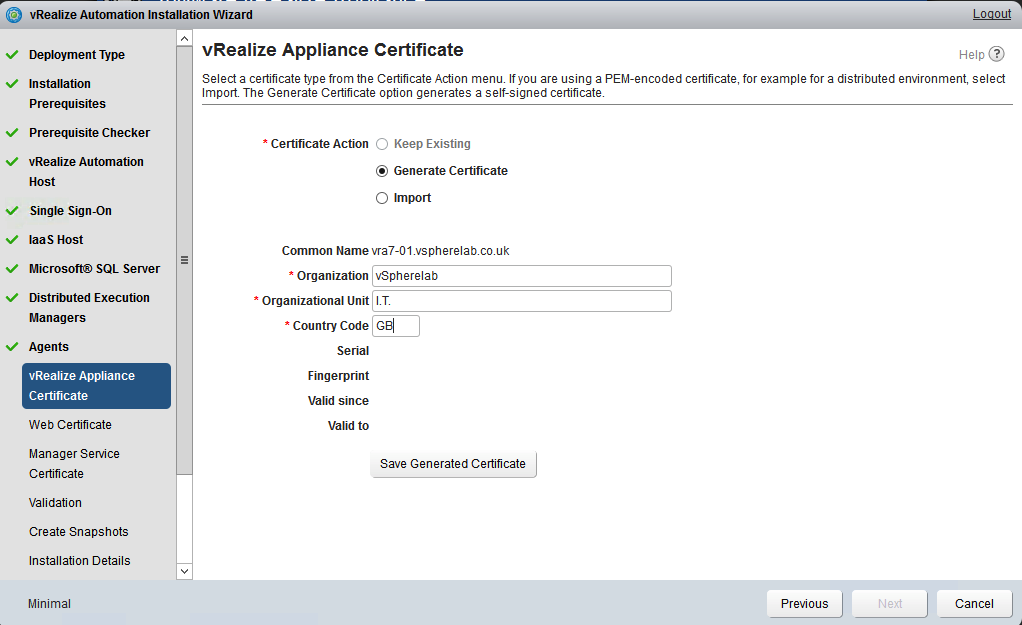
I just ‘Generate’ a certificate here. This will be self-signed, which is fine as this is just a dev environment.
Enter all the details and click ‘Save Generated Certificate’
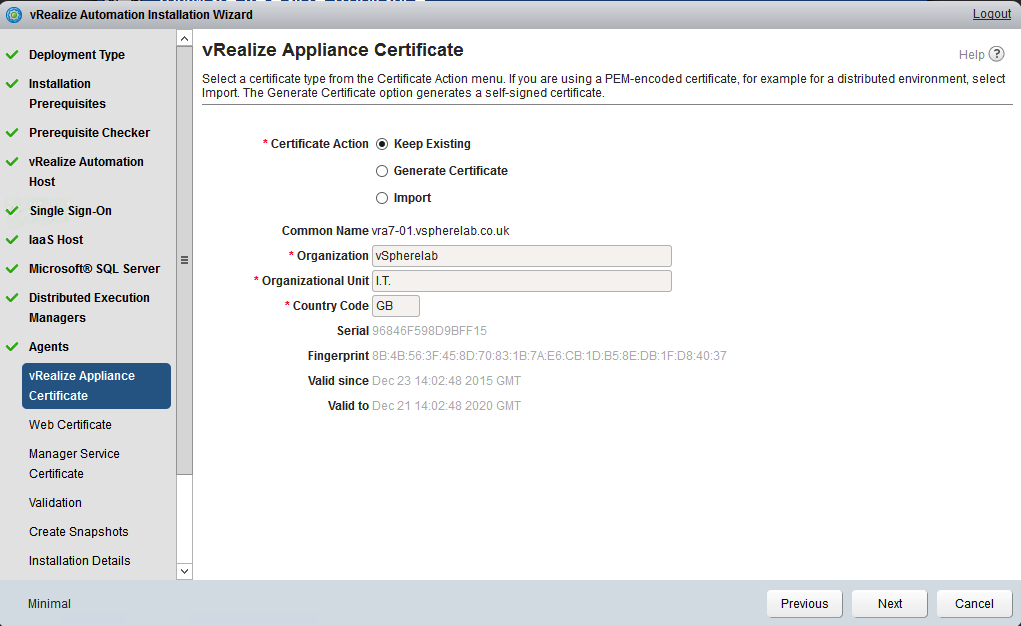
Confirm the details and click ‘Next’
Rinse and repeat for the IIS certificate
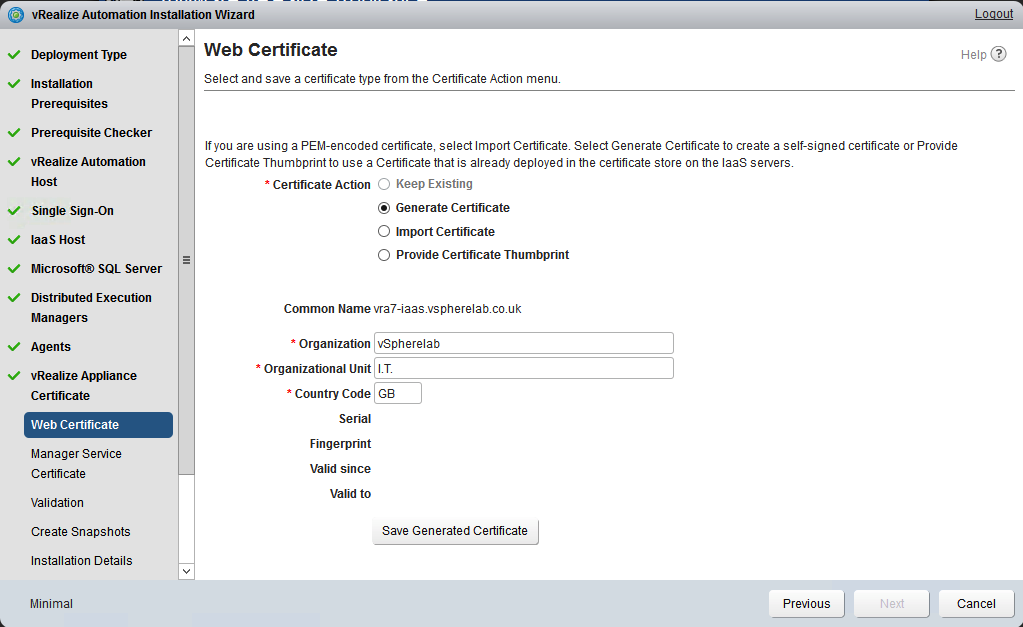

And again

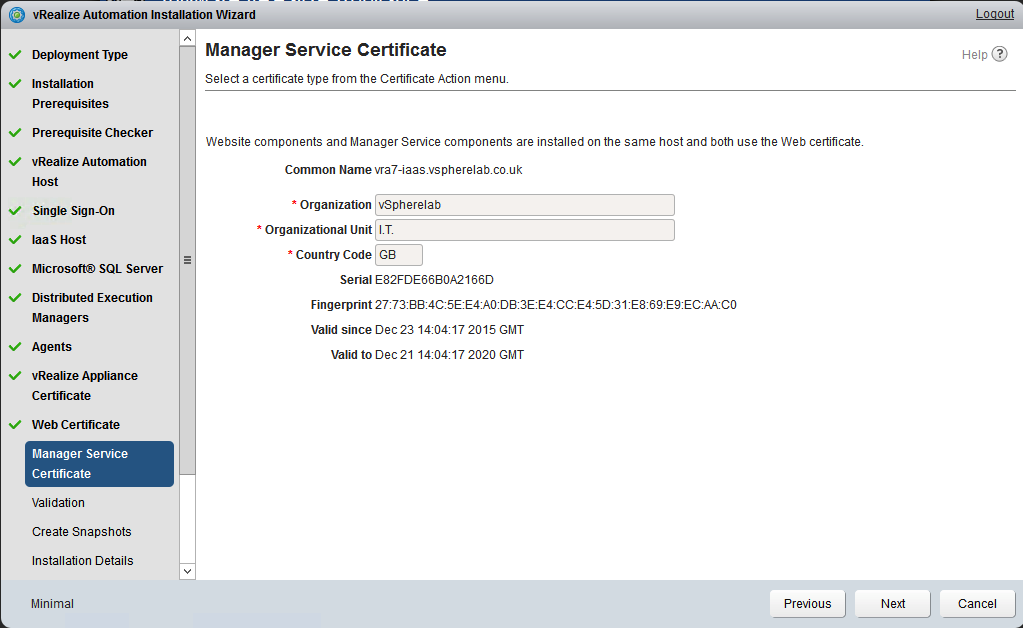
Click ‘Validate'
Should all be good.
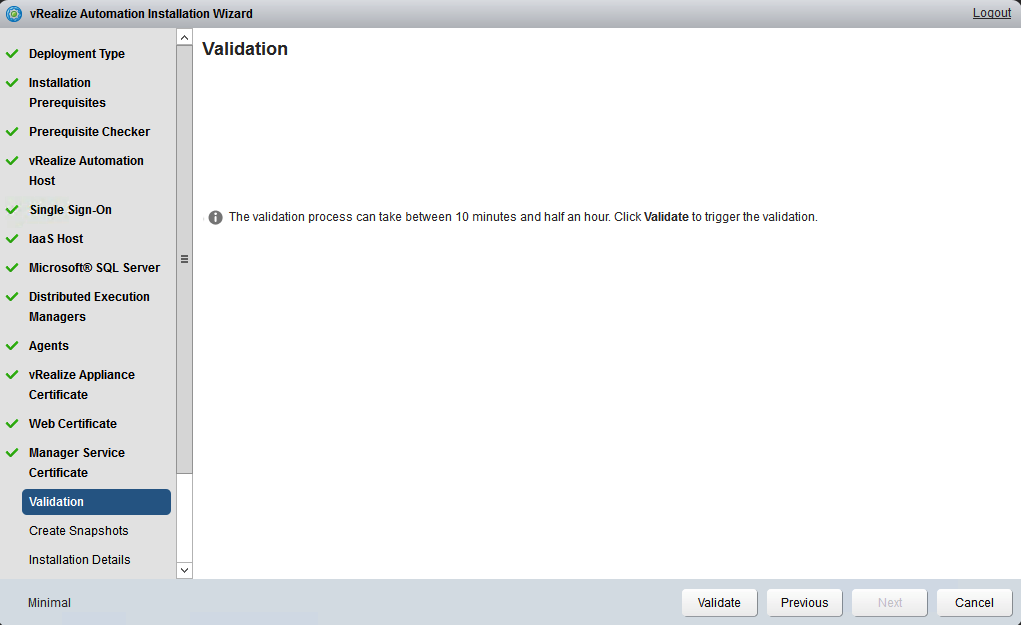
Click ‘Next’

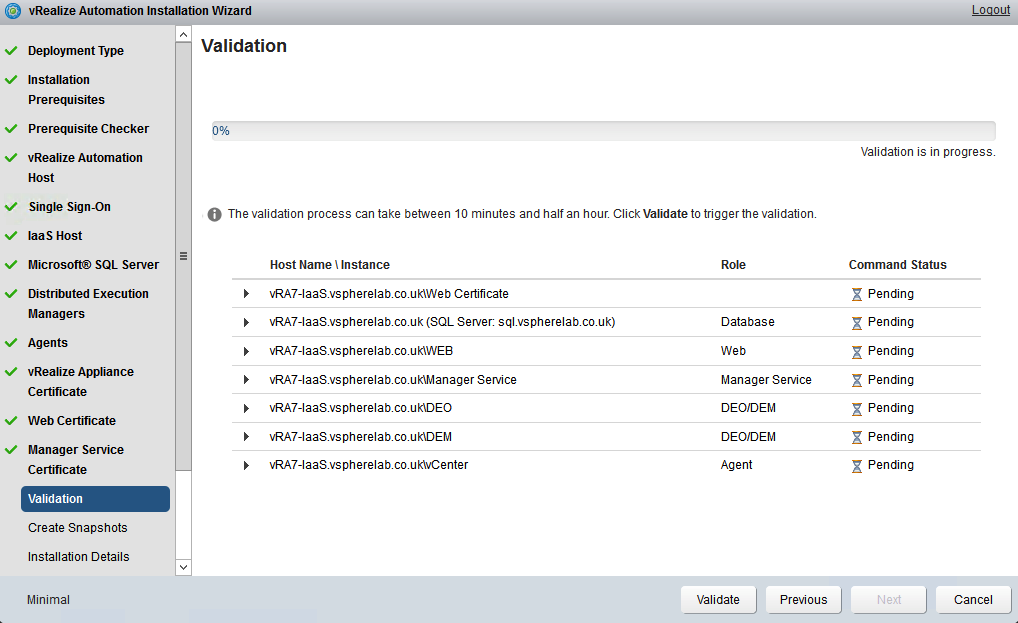
Do it !

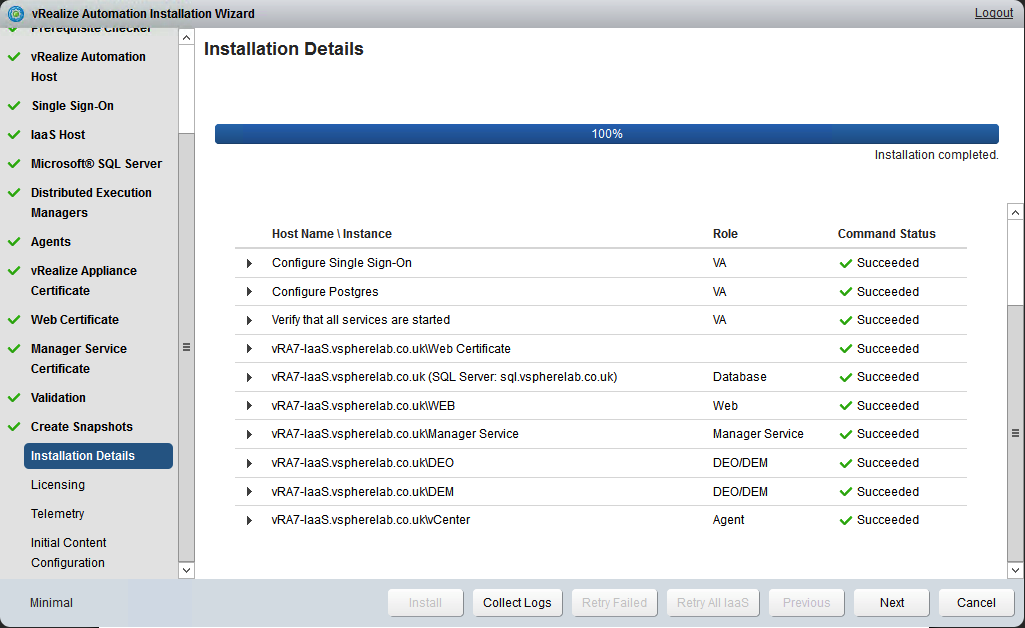
Click ‘Install’ – did I mention drinks ?
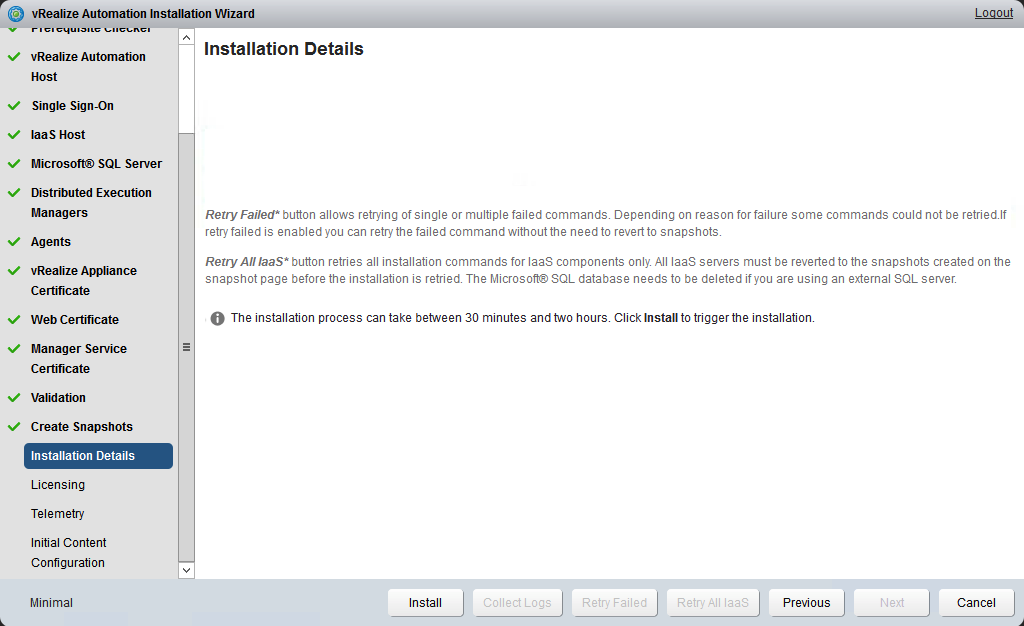
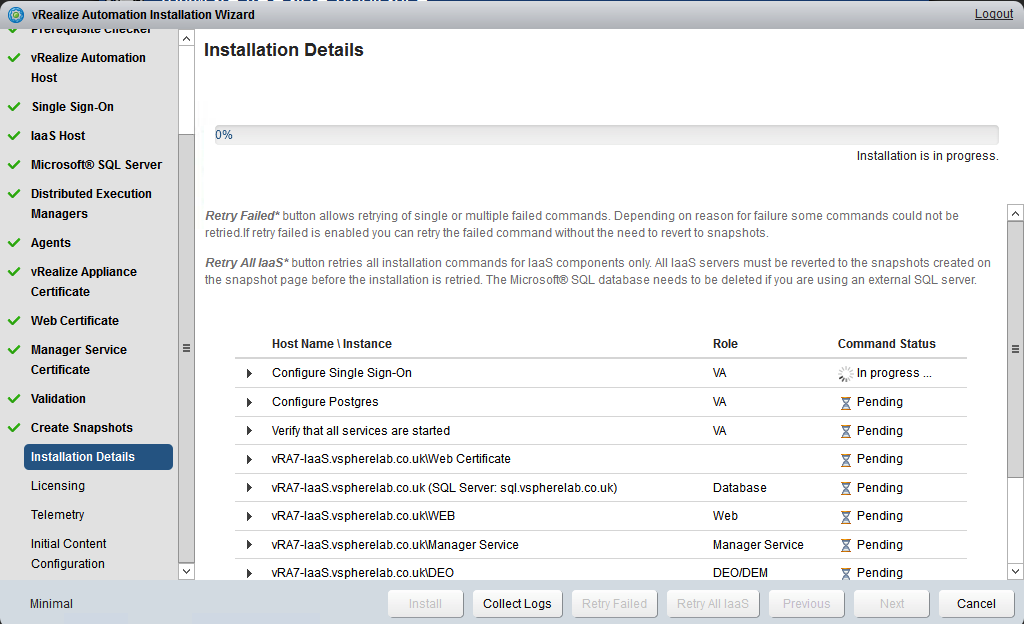
If all went well, click ‘Next’ If there are errors, click ‘Retry Failed’. If you need to retry IaaS components, revert to a snapshot. (see note in screenshot above)
Enter a license key

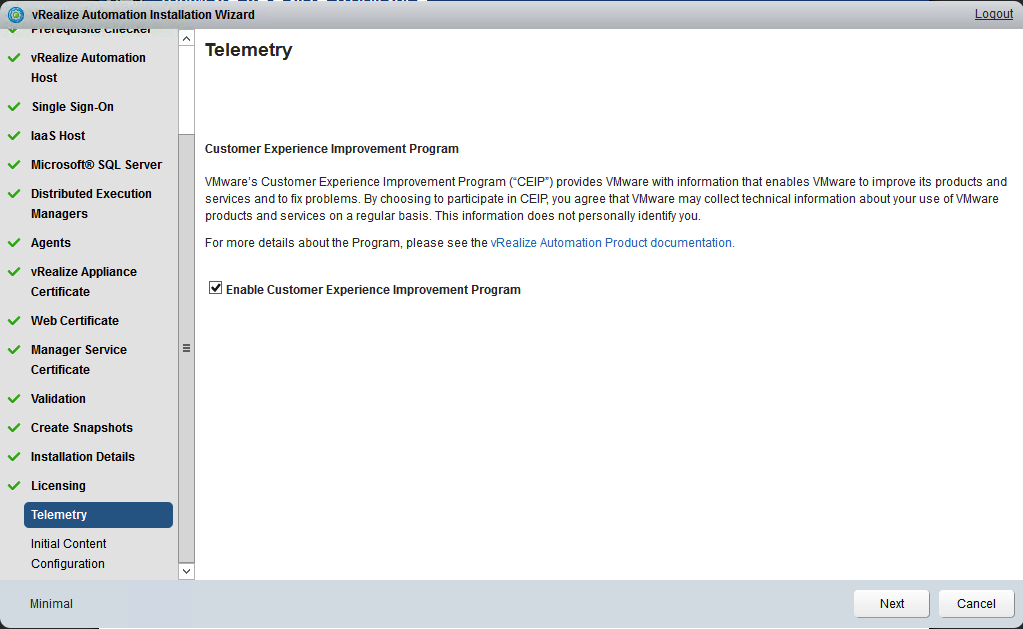
Click ‘Next’ – I don’t mind participating.
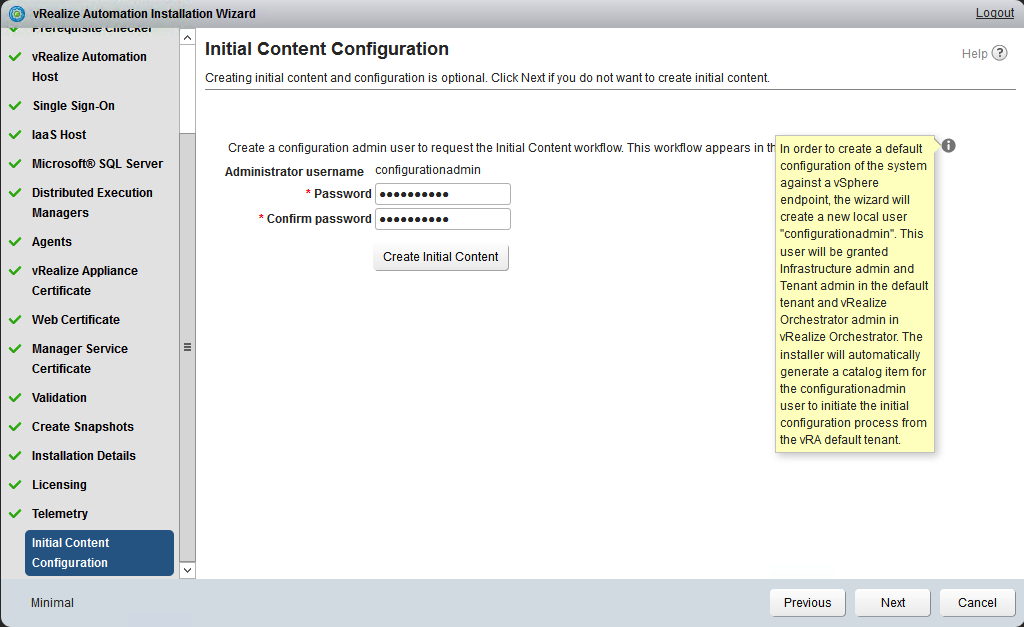
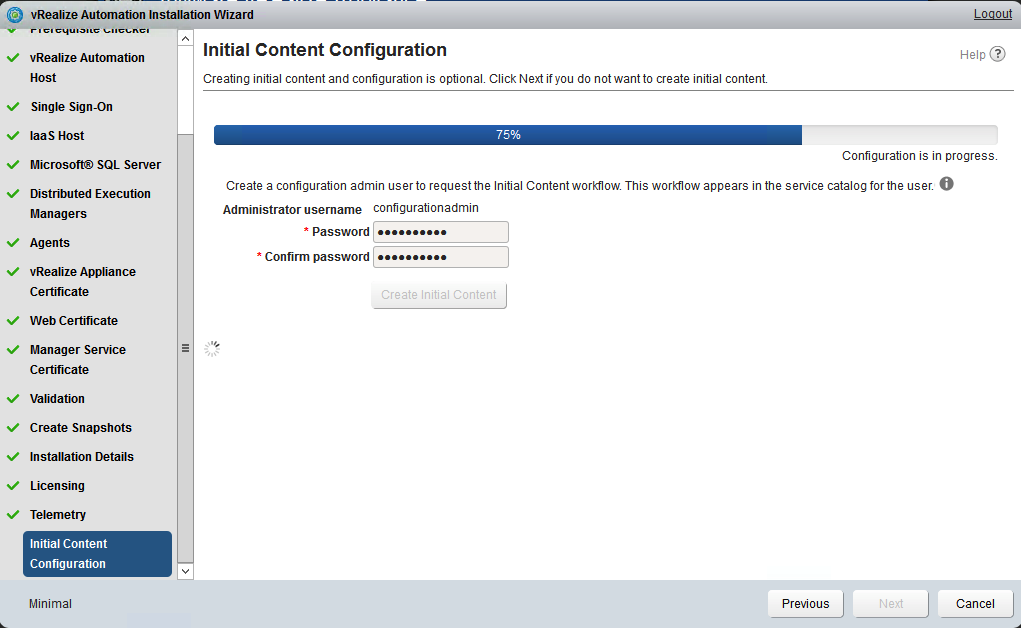
Enter a secure password. This is very handy as you don’t need to create an admin manually. This admin gives you enough access to configure vRA Click ‘Create Initial Content’

Progress Bar
Once completed, click ‘Next’

Click ‘Finish’

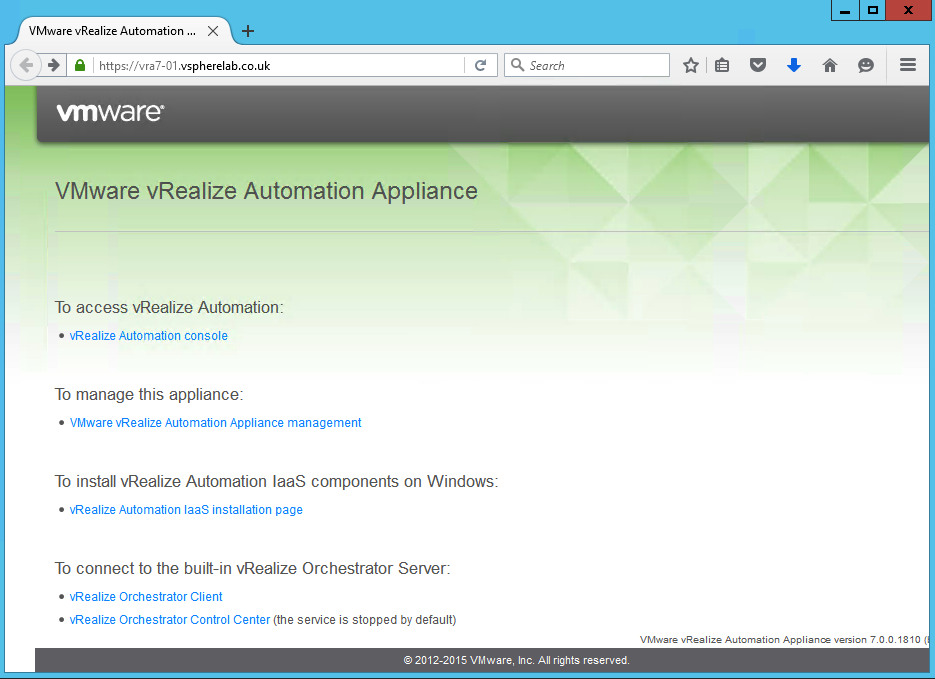
Now you can browse to the vRA appliance. Here you can see a link to the console – hit it.
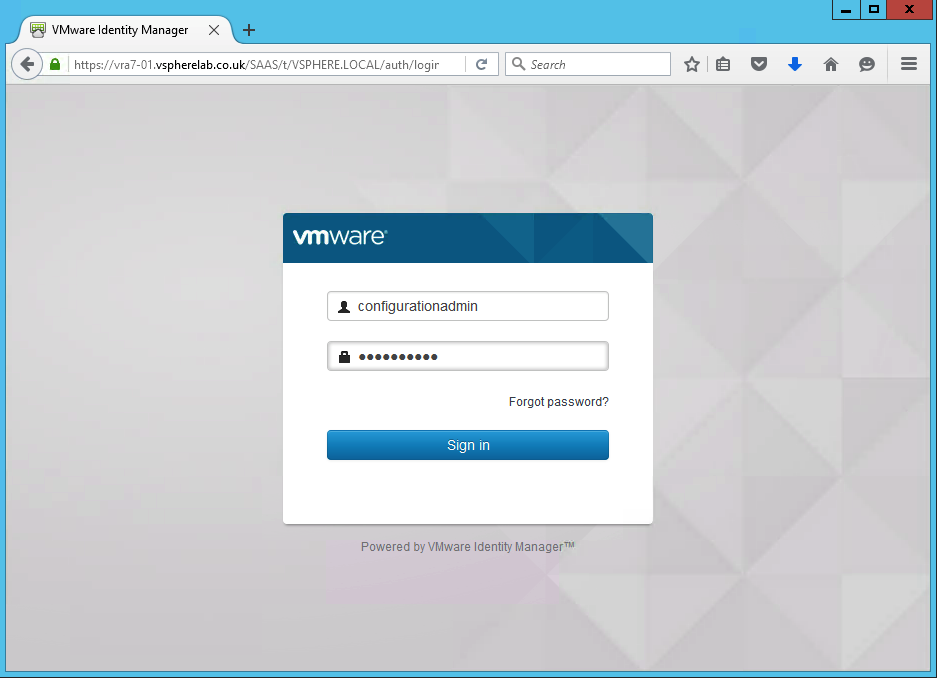
Login using ‘configurationadmin’ and the password created previously
Now you can knock yourself out and configure vRA. I will create another article in the future, not sure when though.
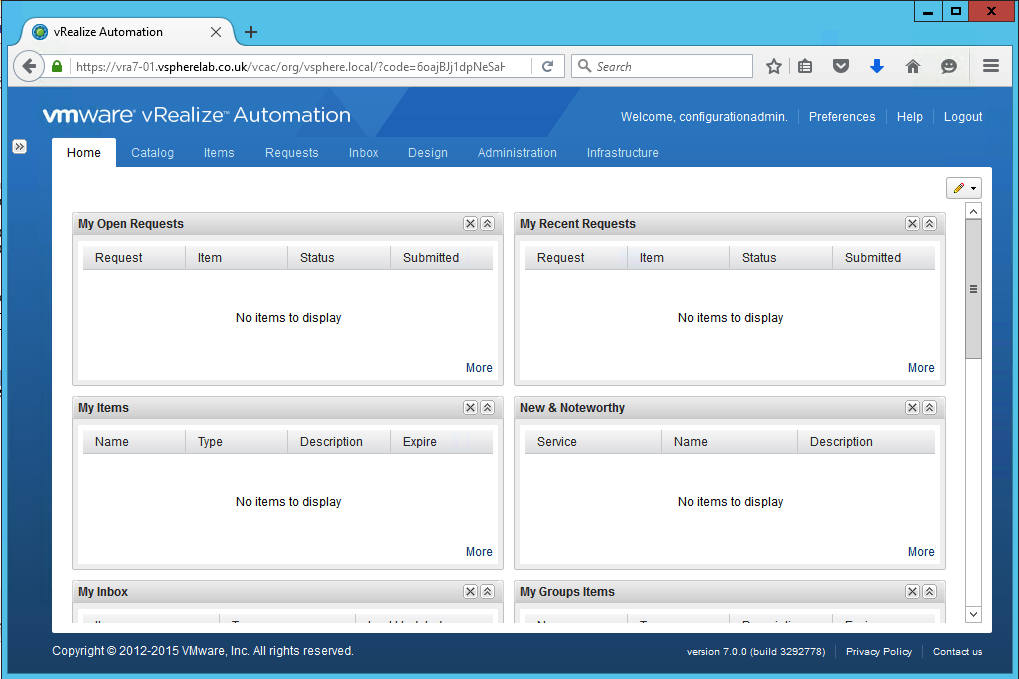
Luckily, VMware now included a workflow which does a lot of the work for you – browse to Catalog and start the setup workflow.

That’s it – you successfully installed the ‘Minimal’ install of vRealize Automation 7


