OpenLiteSpeed is the Open Source edition of LiteSpeed Web Server Enterprise. OpenLiteSpeed contains all of the essential features found in LiteSpeed Enterprise, and represents its commitment to support the Open Source community.
This tutorial will show you how to install OpenLiteSpeed web server on a CentOS 7 machine.
OpenLiteSpeed Features:
OpenLiteSpeed combines speed, security, scalability, optimization and simplicity in one friendly open-source package.
- Event-Driven Architecture: Fewer processes, less overhead, and enormous scalability. Keep your existing hardware.
- Upgrade from Apache: OpenLiteSpeed is mod_rewrite compatible, so you can continue to use your current rewrite rules.
- Friendly Admin Interfaces: OLS comes with a built-in WebAdmin GUI. Control panel support is available with CyberPanel.
- Built for Speed and Security: Features Anti-DDoS connection and bandwidth throttling, ModSecurity v3 integration, and more.
- Intelligent Cache Acceleration: Built-in full-page cache module is highly-customizable and efficient for an exceptional user experience.
- PageSpeed Optimization: Automatically implement Google's PageSpeed optimization system with the mod_pagespeed module.
- PHP LiteSpeed SAPI: Native SAPI for PHP allows external applications written in PHP to run up to 50% faster.
- One-Click Installation: Install OpenLiteSpeed, MariaDB and WordPress on various operating systems with just one click.
- WordPress Acceleration: Experience a measurable performance boost with OpenLiteSpeed and LSCache for WordPress.
- HTTP/3 Support: LiteSpeed is the first to provide a production-ready implementation of this new Internet protocol, previously known as HTTP-over-QUIC.
Downloading Required Dependencies
You will need to download and install following dependencies in order to smoothly run openlitespeed installation process:cd ~/Downloads
wget http://mirror.centos.org/centos/7/os/x86_64/Packages/openssl-1.0.2k-19.el7.x86_64.rpm
wget http://mirror.centos.org/centos/7/os/x86_64/Packages/openssl-libs-1.0.2k-19.el7.x86_64.rpm
wget http://download-ib01.fedoraproject.org/pub/epel/7/x86_64/Packages/l/libargon2-20161029-3.el7.x86_64.rpm
Installing Required Dependencies
cd ~/Downloadsyum install openssl*.rpm
yum install libargon2-20161029-3.el7.x86_64.rpm
Installing OpenLiteSpeed
OpenLiteSpeed provides a repository for its software you can use to download and install the server with CentOS’s standard yum command. To enable this repository for your CentOS system, first download and add the developer’s software signing key:
rpm --import https://rpms.litespeedtech.com/centos/RPM-GPG-KEY-litespeed
wget https://rpms.litespeedtech.com/centos/litespeed-repo-1.2-1.el7.noarch.rpm
yum install litespeed-repo-1.2-1.el7.noarch.rpm
yum install openlitespeed lsphp73
Setting the Administrative Password
By default, the password is set to 123456, so you should change this immediately. You can do this by running a script provided by OpenLiteSpeed:
Output
Administrator's username/password is updated successfully!
Starting and Connecting to the Server
OpenLiteSpeed should have started automatically after it was installed. You can verify this using the lswsctrl command:
Output
litespeed is running with PID 5556.
If it is not started, you can start the server using lswsctrl:
sudo /usr/local/lsws/bin/lswsctrl start
Output
[OK] litespeed: pid=5138.
You need to open up few ports on firewall to access its browser based GUI.
sudo ufw allow 8088
sudo ufw allow 7080
Open up web browser and navigate to your server's hostname or IP address, followed by :8088 to specify the port:
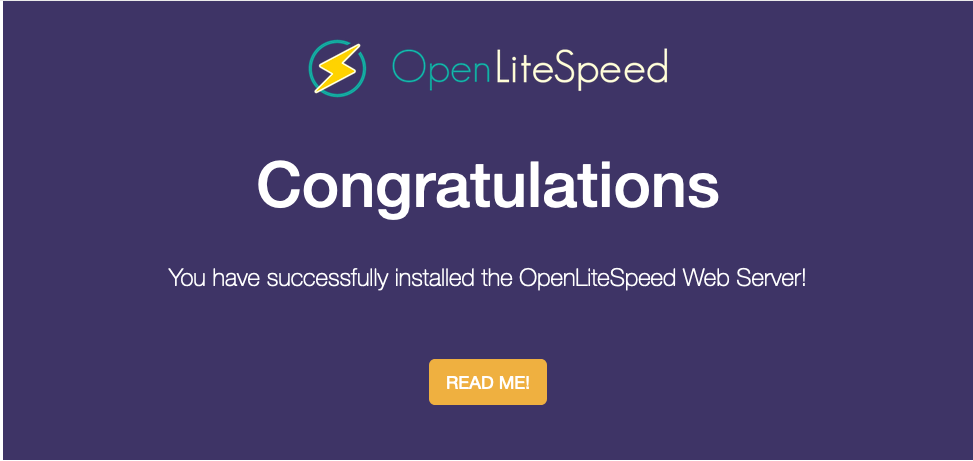
You will see the default OpenLiteSpeed web page, which looks like below:

When you are done exploring the default site, you can navigate to the administrative interface. In your web browser, using HTTPS, navigate to your server’s name or IP address followed by :7080 to specify the port:
You will be prompted to enter the administrative username and password that you selected with the admpass.sh script in the earlier step:

Once you correctly authenticate, you will be presented with the OpenLiteSpeed administration interface:
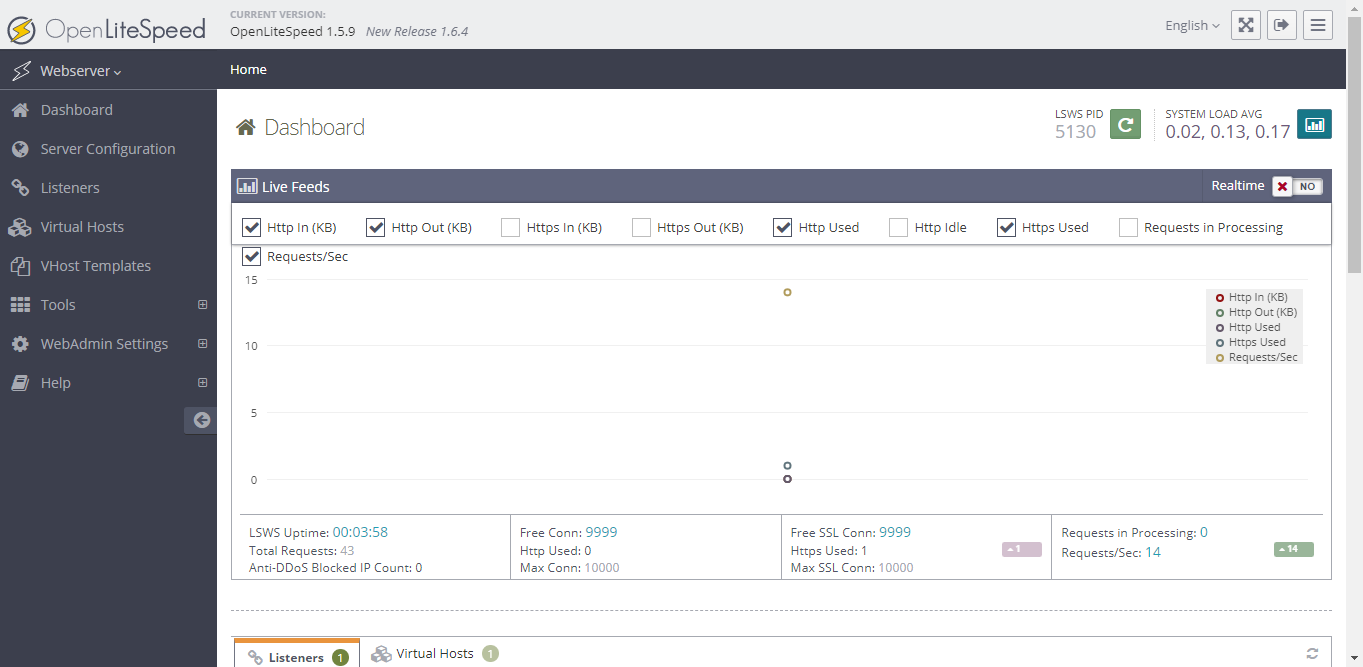
From this administrative web console the majority of your configuration for the web server will take place.
Wrapping up
You now have a OpenLiteSpeed web server that is primarily managed through the administrative web interface.