This tutorial will walk you through the steps to set up an Ubuntu 16.04 a complete web hosting server with Apache2, Postfix, Dovecot, Bind and PureFTPD to make it ready for the of ISPConfig 3.1 setup. This entire setup will serve a Web, Mail, Mailinglist, DNS and FTP Services.
ISPConfig 3 is a web hosting control panel that allows you to configure the following services through a web browser: Apache or nginx web server, Postfix mail server, Courier or Dovecot IMAP/POP3 server, MySQL, BIND or MyDNS nameserver, PureFTPd, SpamAssassin, ClamAV, and many more. This setup covers the installation of Apache (instead of Nginx), BIND (instead of MyDNS), and Dovecot (instead of Courier).
Throughout this guide, we will use the hostname labsrv.example.com with the IP address 192.168.1.100 and the gateway 192.168.1.1. Before proceeding this tutorial, you need to have a basic minimal installation of Ubuntu 16.04 with root or a non-root user account that has root privileges.
Update Source List
You need to edit /etc/apt/sources.list. Comment out or remove the installation CD from the file and make sure that the universe and multiverse repositories are enabled:nano /etc/apt/sources.list
It should look like this when changes done:
#
# deb cdrom:[Ubuntu-Server 16.04 LTS _Xenial Xerus_ - Release amd64 (20160420)]/ xenial main restricted
#deb cdrom:[Ubuntu-Server 16.04 LTS _Xenial Xerus_ - Release amd64 (20160420)]/ xenial main restricted
# See http://help.ubuntu.com/community/UpgradeNotes for how to upgrade to
# newer versions of the distribution.
deb http://de.archive.ubuntu.com/ubuntu/ xenial main restricted
# deb-src http://de.archive.ubuntu.com/ubuntu/ xenial main restricted
## Major bug fix updates produced after the final release of the
## distribution.
deb http://de.archive.ubuntu.com/ubuntu/ xenial-updates main restricted
# deb-src http://de.archive.ubuntu.com/ubuntu/ xenial-updates main restricted
## N.B. software from this repository is ENTIRELY UNSUPPORTED by the Ubuntu
## team, and may not be under a free licence. Please satisfy yourself as to
## your rights to use the software. Also, please note that software in
## universe WILL NOT receive any review or updates from the Ubuntu security
## team.
deb http://de.archive.ubuntu.com/ubuntu/ xenial universe
# deb-src http://de.archive.ubuntu.com/ubuntu/ xenial universe
deb http://de.archive.ubuntu.com/ubuntu/ xenial-updates universe
# deb-src http://de.archive.ubuntu.com/ubuntu/ xenial-updates universe
## N.B. software from this repository is ENTIRELY UNSUPPORTED by the Ubuntu
## team, and may not be under a free licence. Please satisfy yourself as to
## your rights to use the software. Also, please note that software in
## multiverse WILL NOT receive any review or updates from the Ubuntu
## security team.
deb http://de.archive.ubuntu.com/ubuntu/ xenial multiverse
# deb-src http://de.archive.ubuntu.com/ubuntu/ xenial multiverse
deb http://de.archive.ubuntu.com/ubuntu/ xenial-updates multiverse
# deb-src http://de.archive.ubuntu.com/ubuntu/ xenial-updates multiverse
## N.B. software from this repository may not have been tested as
## extensively as that contained in the main release, although it includes
## newer versions of some applications which may provide useful features.
## Also, please note that software in backports WILL NOT receive any review
## or updates from the Ubuntu security team.
deb http://de.archive.ubuntu.com/ubuntu/ xenial-backports main restricted universe multiverse
# deb-src http://de.archive.ubuntu.com/ubuntu/ xenial-backports main restricted universe multiverse
## Uncomment the following two lines to add software from Canonical's
## 'partner' repository.
## This software is not part of Ubuntu, but is offered by Canonical and the
## respective vendors as a service to Ubuntu users.
# deb http://archive.canonical.com/ubuntu xenial partner
# deb-src http://archive.canonical.com/ubuntu xenial partner
deb http://security.ubuntu.com/ubuntu xenial-security main restricted
# deb-src http://security.ubuntu.com/ubuntu xenial-security main restricted
deb http://security.ubuntu.com/ubuntu xenial-security universe
# deb-src http://security.ubuntu.com/ubuntu xenial-security universe
deb http://security.ubuntu.com/ubuntu xenial-security multiverse
# deb-src http://security.ubuntu.com/ubuntu xenial-security multiverse
Now, you need to run the following:
apt-get update
apt-get upgrade
If you see that a new kernel gets installed as part of the updates, you should reboot the system afterwards:
reboot
Change the Default Shell
By default in Ubuntu 16.04 /bin/sh is a symlink to /bin/dash, however we need /bin/bash, not /bin/dash. Therefore, we do this:dpkg-reconfigure dash
If you don't do this, the ISPConfig installation will fail.
Disable AppArmor
AppArmor is a security extension (similar to SELinux) that should provide extended security. You must disable it if you want to install ISPConfig.service apparmor stop
update-rc.d -f apparmor remove
apt-get remove apparmor apparmor-utils
Synchronize the System Clock
It is a good idea to synchronize the system clock with an NTP (network time protocol) server over the Internet when you run a physical server.apt-get -y install ntp ntpdate
Install Postfix, Dovecot, MariaDB, rkhunter and binutils
For installing postfix, we need to ensure that sendmail is not installed and running. To stop and remove sendmail run this command:service sendmail stop; update-rc.d -f sendmail remove
The error message:
Failed to stop sendmail.service: Unit sendmail.service not loaded.
This means that sendmail was not installed, so there was nothing to be removed.
Now we can install Postfix, Dovecot, MariaDB (as MySQL replacement), rkhunter, and binutils with a single command:
apt-get install postfix postfix-mysql postfix-doc mariadb-client mariadb-server openssl getmail4 rkhunter binutils dovecot-imapd dovecot-pop3d dovecot-mysql dovecot-sieve dovecot-lmtpd sudo
You will be asked the following questions:
General type of mail configuration: example.com
System mail name: labsrv.example.com
Next, open the TLS/SSL and submission ports in Postfix:
nano /etc/postfix/master.cf
Uncomment the submission and smtps sections as follows - add the line -o smtpd_client_restrictions=permit_sasl_authenticated,reject to both sections and leave everything thereafter commented:
[...]
submission inet n - - - - smtpd
-o syslog_name=postfix/submission
-o smtpd_tls_security_level=encrypt
-o smtpd_sasl_auth_enable=yes
-o smtpd_client_restrictions=permit_sasl_authenticated,reject
# -o smtpd_reject_unlisted_recipient=no
# -o smtpd_client_restrictions=$mua_client_restrictions
# -o smtpd_helo_restrictions=$mua_helo_restrictions
# -o smtpd_sender_restrictions=$mua_sender_restrictions
# -o smtpd_recipient_restrictions=permit_sasl_authenticated,reject
# -o milter_macro_daemon_name=ORIGINATING
smtps inet n - - - - smtpd
-o syslog_name=postfix/smtps
-o smtpd_tls_wrappermode=yes
-o smtpd_sasl_auth_enable=yes
-o smtpd_client_restrictions=permit_sasl_authenticated,reject
# -o smtpd_reject_unlisted_recipient=no
# -o smtpd_client_restrictions=$mua_client_restrictions
# -o smtpd_helo_restrictions=$mua_helo_restrictions
# -o smtpd_sender_restrictions=$mua_sender_restrictions
# -o smtpd_recipient_restrictions=permit_sasl_authenticated,reject
# -o milter_macro_daemon_name=ORIGINATING
[...]
NOTE: The whitespaces in front of the "-o .... " lines are important!
Restart Postfix afterward:
service postfix restart
We want MySQL to listen on all interfaces, not just localhost. Therefore, we edit /etc/mysql/mariadb.conf.d/50-server.cnf and comment out the line bind-address = 127.0.0.1:
nano /etc/mysql/mariadb.conf.d/50-server.cnf
# Instead of skip-networking the default is now to listen only on
# localhost which is more compatible and is not less secure.
#bind-address = 127.0.0.1
Now we set a root password in MariaDB. Run:
mysql_secure_installation
You will be asked these questions:
Enter current password for root (enter for none): Press enter
Set root password? [Y/n] y
New password: Enter the new MariaDB root password here
Re-enter new password: Repeat the password
Remove anonymous users? [Y/n] y
Disallow root login remotely? [Y/n] y
Reload privilege tables now? [Y/n] y
Then we restart MariaDB:
service mysql restart
Now check that networking is enabled. Run
netstat -tap | grep mysql
The output should look like this:
tcp6 0 0 [::]:mysql [::]:* LISTEN 5230/mysqld
Install Amavisd-new, SpamAssassin, and Clamav
To install amavisd-new, SpamAssassin, and ClamAV, run the following:apt-get install amavisd-new spamassassin clamav clamav-daemon zoo unzip bzip2 arj nomarch lzop cabextract apt-listchanges libnet-ldap-perl libauthen-sasl-perl clamav-docs daemon libio-string-perl libio-socket-ssl-perl libnet-ident-perl zip libnet-dns-perl postgrey
The ISPConfig 3 setup uses amavisd which loads the SpamAssassin filter library internally, so we can stop SpamAssassin to free up some RAM:
service spamassassin stop
update-rc.d -f spamassassin remove
Edit the clamd configuration file:
nano /etc/clamav/clamd.conf
and change the line:
AllowSupplementaryGroups false
to:
AllowSupplementaryGroups true
And save the file. To start ClamAV use:
freshclam
service clamav-daemon start
The following warning can be ignored on the first run of freshclam as we start the ClamAV daemn after we updated the database.
WARNING: Clamd was NOT notified: Can't connect to clamd through /var/run/clamav/clamd.ctl: No such file or directory
Install Metronome XMPP Server
The Metronome XMPP Server provides an XMPP chat server. This step is optional, if you do not need a chat server, then you can skip this step. No other ISPConfig functions depend on this software.Install the following packages with apt.
apt-get install git lua5.1 liblua5.1-0-dev lua-filesystem libidn11-dev libssl-dev lua-zlib lua-expat lua-event lua-bitop lua-socket lua-sec luarocks luarocks
luarocks install lpc
Add a shell user for Metronome.
adduser --no-create-home --disabled-login --gecos 'Metronome' metronome
Download Metronome to the /opt directory and compile it.
cd /opt; git clone https://github.com/maranda/metronome.git metronome
cd ./metronome; ./configure --ostype=debian --prefix=/usr
make
make install
Metronome has now be installed to /opt/metronome.
Install Apache, PHP, phpMyAdmin, FCGI, SuExec, Pear, and mcrypt
To install these packages, run the following:apt-get install apache2 apache2-doc apache2-utils libapache2-mod-php php7.0 php7.0-common php7.0-gd php7.0-mysql php7.0-imap phpmyadmin php7.0-cli php7.0-cgi libapache2-mod-fcgid apache2-suexec-pristine php-pear php-auth php7.0-mcrypt mcrypt imagemagick libruby libapache2-mod-python php7.0-curl php7.0-intl php7.0-pspell php7.0-recode php7.0-sqlite3 php7.0-tidy php7.0-xmlrpc php7.0-xsl memcached php-memcache php-imagick php-gettext php7.0-zip php7.0-mbstring
You will see the following question:
Web server to reconfigure automatically: apache2
Configure database for phpmyadmin with dbconfig-common? Yes
MySQL application password for phpmyadmin: Press enter
Then run the following command to enable the Apache modules suexec, rewrite, ssl, actions, and include (plus dav, dav_fs, and auth_digest if you want to use WebDAV):
a2enmod suexec rewrite ssl actions include cgi
a2enmod dav_fs dav auth_digest headers
To ensure that the server can not be attacked trough the HTTPOXY vulnerability, I will disable the HTTP_PROXY header in apache globally.
sudo nano /etc/apache2/conf-available/httpoxy.conf
Paste this content to the file:
RequestHeader unset Proxy early
Enable the config file by running:
a2enconf httpoxy
Restart Apache afterward:
service apache2 restart
If you want to host Ruby files with the extension .rb on your web sites created through ISPConfig, you must comment out the line application/x-ruby rb in /etc/mime.types:
nano /etc/mime.types
#application/x-ruby rb
(This is needed only for .rb files; Ruby files with the extension .rbx work out of the box.)
Restart Apache afterwards:
service apache2 restart
PHP Opcode cache
APCu is a free PHP opcode cacher for caching and optimizing PHP intermediate code. It is strongly recommended to have one of these installed to speed up your PHP page.APCu can be installed as follows:
apt-get install php7.0-opcache php-apcu
Now restart Apache:
service apache2 restart
PHP-FPM
To use PHP-FPM with Apache, we need the mod_fastcgi Apache module (please don't mix this up with mod_fcgid - they are very similar, but you cannot use PHP-FPM with mod_fcgid).We can install PHP-FPM and mod_fastcgi as follows:
apt-get install libapache2-mod-fastcgi php7.0-fpm
Make sure you enable the module and restart Apache:
a2enmod actions fastcgi alias
service apache2 restart
Install HHVM (HipHop Virtual Machine)
In this step we will install HHVM with apt. HHVM is a fast PHP engine developed by Facebook.apt-get -y install software-properties-common
apt-key adv --recv-keys --keyserver hkp://keyserver.ubuntu.com:80 0x5a16e7281be7a449
add-apt-repository "deb http://dl.hhvm.com/ubuntu xenial main"
apt-get update
apt-get -y install hhvm
Install Let's Encrypt
ISPConfig 3.1 has builtin support for the free SSL Certificate Authority Let's encrypt. The Let's Encrypt function allows you to create free SSL Certificates for your website in ISPConfig.Now we will add support for Let's encrypt.
apt-get -y install letsencrypt
Install Mailman
ISPConfig allows you to manage (create/modify/delete) Mailman mailing lists. If you want to make use of this feature, install Mailman as follows:apt-get install mailman
Select at least one language, e.g.:
Languages to support: en (English)
Missing site list Ok
Before we can start Mailman, a first mailing list called mailman must be created:
newlist mailman
Enter the email of the person running the list: admin@example.com
Initial mailman password: (admin password for the mailman list)
To finish creating your mailing list, you must edit your /etc/aliases (or
equivalent) file by adding the following lines, and possibly running the
`newaliases' program:
## mailman mailing list
mailman: "|/var/lib/mailman/mail/mailman post mailman"
mailman-admin: "|/var/lib/mailman/mail/mailman admin mailman"
mailman-bounces: "|/var/lib/mailman/mail/mailman bounces mailman"
mailman-confirm: "|/var/lib/mailman/mail/mailman confirm mailman"
mailman-join: "|/var/lib/mailman/mail/mailman join mailman"
mailman-leave: "|/var/lib/mailman/mail/mailman leave mailman"
mailman-owner: "|/var/lib/mailman/mail/mailman owner mailman"
mailman-request: "|/var/lib/mailman/mail/mailman request mailman"
mailman-subscribe: "|/var/lib/mailman/mail/mailman subscribe mailman"
mailman-unsubscribe: "|/var/lib/mailman/mail/mailman unsubscribe mailman"
Hit enter to notify mailman owner... ENTER
Open /etc/aliases afterwards...
nano /etc/aliases
and add the following lines:
## mailman mailing list
mailman: "|/var/lib/mailman/mail/mailman post mailman"
mailman-admin: "|/var/lib/mailman/mail/mailman admin mailman"
mailman-bounces: "|/var/lib/mailman/mail/mailman bounces mailman"
mailman-confirm: "|/var/lib/mailman/mail/mailman confirm mailman"
mailman-join: "|/var/lib/mailman/mail/mailman join mailman"
mailman-leave: "|/var/lib/mailman/mail/mailman leave mailman"
mailman-owner: "|/var/lib/mailman/mail/mailman owner mailman"
mailman-request: "|/var/lib/mailman/mail/mailman request mailman"
mailman-subscribe: "|/var/lib/mailman/mail/mailman subscribe mailman"
mailman-unsubscribe: "|/var/lib/mailman/mail/mailman unsubscribe mailman"
Now run following:
newaliases
and restart Postfix:
service postfix restart
Finally we must enable the Mailman Apache configuration:
ln -s /etc/mailman/apache.conf /etc/apache2/conf-available/mailman.conf
This defines the alias /cgi-bin/mailman/ for all Apache vhosts, which means you can access the Mailman admin interface for a list at http://
Under http://
Restart Apache afterwards:
service apache2 restart
Then start the Mailman daemon:
service mailman start
Install PureFTPd and Quota
PureFTPd and quota can be installed with the following command:apt-get install pure-ftpd-common pure-ftpd-mysql quota quotatool
Edit the file /etc/default/pure-ftpd-common
nano /etc/default/pure-ftpd-common
and make sure that the start mode is set to standalone and set VIRTUALCHROOT=true:
STANDALONE_OR_INETD=standalone
VIRTUALCHROOT=true
Now we configure PureFTPd to allow FTP and TLS sessions. FTP is a very insecure protocol because all passwords and all data are transferred in clear text. By using TLS, the whole communication can be encrypted, thus making FTP much more secure.
If you want to allow FTP and TLS sessions, run
echo 1 > /etc/pure-ftpd/conf/TLS
In order to use TLS, we must create an SSL certificate. I create it in /etc/ssl/private/, therefore I create that directory first:
mkdir -p /etc/ssl/private/
Afterwards, we can generate the SSL certificate as follows:
openssl req -x509 -nodes -days 7300 -newkey rsa:2048 -keyout /etc/ssl/private/pure-ftpd.pem -out /etc/ssl/private/pure-ftpd.pem
Country Name (2 letter code) [AU]:US
State or Province Name (full name) [Some-State]:Boston
Locality Name (eg, city) []:Boston
Organization Name (eg, company) [Internet Widgits Pty Ltd]:Example
Organizational Unit Name (eg, section) []:IT
Common Name (eg, YOUR name) []:labsrv.example.com
Email Address []:admin@example.com
Change the permissions of the SSL certificate:
chmod 600 /etc/ssl/private/pure-ftpd.pem
Then restart PureFTPd:
service pure-ftpd-mysql restart
Edit /etc/fstab. Mine looks like this (I added ,usrjquota=quota.user,grpjquota=quota.group,jqfmt=vfsv0 to the partition with the mount point /):
nano /etc/fstab
# /etc/fstab: static file system information.
#
# Use 'blkid' to print the universally unique identifier for a
# device; this may be used with UUID= as a more robust way to name devices
# that works even if disks are added and removed. See fstab(5).
#
#
/dev/mapper/labsrv--vg-root / ext4 errors=remount-ro,usrjquota=quota.user,grpjquota=quota.group,jqfmt=vfsv0 0 1
To enable quota, run these commands:
mount -o remount /
quotacheck -avugm
Which will show the following output:
quotacheck: Scanning /dev/mapper/server1--vg-root [/] done
quotacheck: Cannot stat old user quota file //quota.user: No such file or directory. Usage will not be subtracted.
quotacheck: Cannot stat old group quota file //quota.group: No such file or directory. Usage will not be subtracted.
quotacheck: Cannot stat old user quota file //quota.user: No such file or directory. Usage will not be subtracted.
quotacheck: Cannot stat old group quota file //quota.group: No such file or directory. Usage will not be subtracted.
quotacheck: Checked 11642 directories and 81307 files
quotacheck: Old file not found.
quotacheck: Old file not found.
Now run the following command
quotaon -avug
Output of above command
---
/dev/mapper/labsrv--vg-root [/]: group quotas turned on
/dev/mapper/labsrv--vg-root [/]: user quotas turned on
Install BIND DNS Server
BIND can be installed as follows:apt-get install bind9 dnsutils haveged
Install Vlogger, Webalizer, and AWstats
Vlogger, webalizer, and AWstats can be installed as follows:apt-get install vlogger webalizer awstats geoip-database libclass-dbi-mysql-perl
Open /etc/cron.d/awstats afterwards
nano /etc/cron.d/awstats
and comment out everything in that file:
#MAILTO=root
#*/10 * * * * www-data [ -x /usr/share/awstats/tools/update.sh ] && /usr/share/awstats/tools/update.sh
# Generate static reports:
#10 03 * * * www-data [ -x /usr/share/awstats/tools/buildstatic.sh ] && /usr/share/awstats/tools/buildstatic.sh
Install Jailkit
Jailkit is needed only if you want to chroot SSH users. It can be installed as follows:apt-get install build-essential autoconf automake1.11 libtool flex bison debhelper binutils
cd /tmp
wget http://olivier.sessink.nl/jailkit/jailkit-2.19.tar.gz
tar xvfz jailkit-2.19.tar.gz
cd jailkit-2.19
./debian/rules binary
You can now install the Jailkit .deb package as follows:
cd ..
dpkg -i jailkit_2.19-1_*.deb
rm -rf jailkit-2.19*
Install fail2ban and UFW
This is optional but recommended, because the ISPConfig monitor tries to show the log:apt-get install fail2ban
To make fail2ban monitor PureFTPd and Dovecot, create the file /etc/fail2ban/jail.local:
nano /etc/fail2ban/jail.local
[pureftpd]
enabled = true
port = ftp
filter = pureftpd
logpath = /var/log/syslog
maxretry = 3
[dovecot-pop3imap]
enabled = true
filter = dovecot-pop3imap
action = iptables-multiport[name=dovecot-pop3imap, port="pop3,pop3s,imap,imaps", protocol=tcp]
logpath = /var/log/mail.log
maxretry = 5
[postfix-sasl]
enabled = true
port = smtp
filter = postfix-sasl
logpath = /var/log/mail.log
maxretry = 3
Then create the following two filter files:
nano /etc/fail2ban/filter.d/pureftpd.conf
[Definition]
failregex = .*pure-ftpd: \(.*@
ignoreregex =
nano /etc/fail2ban/filter.d/dovecot-pop3imap.conf
[Definition]
failregex = (?: pop3-login|imap-login): .*(?:Authentication failure|Aborted login \(auth failed|Aborted login \(tried to use disabled|Disconnected \(auth failed|Aborted login \(\d+ authentication attempts).*rip=(?P
ignoreregex =
Add the missing ignoreregex line in the postfix-sasl file:
echo "ignoreregex =">> /etc/fail2ban/filter.d/postfix-sasl.conf
Restart fail2ban afterwards:
service fail2ban restart
To install the UFW firewall, run this apt command:
apt-get install ufw
Install Roundcube Webmail
To install Roundcube Webmail, run:apt-get install roundcube roundcube-core roundcube-mysql roundcube-plugins roundcube-plugins-extra javascript-common libjs-jquery-mousewheel php-net-sieve tinymce
The installer will ask the following questions:
Configure database for roundcube with dbconfig-common? Yes
MySQL application password for roundcube: Press enter
Then edit the RoundCube apache configuration file.
nano /etc/apache2/conf-enabled/roundcube.conf
and remove the # in front of the first 2 alias lines, add the two other "Alias" statements and add the line "AddType application/x-httpd-php .php" right after the "
# Those aliases do not work properly with several hosts on your apache server
# Uncomment them to use it or adapt them to your configuration
Alias /roundcube /var/lib/roundcube
AddType application/x-httpd-php .php
And restart apache
service apache2 restart
Then edit the RoundCube config.inc.php configuration file:
nano /etc/roundcube/config.inc.php
and change the default host to localhost:
$config['default_host'] = 'localhost';
This prevents that Roundcube will show server name input field in the login form.
Install ISPConfig 3
To install ISPConfig 3 from the latest released version, do this:cd /tmp
wget -O ispconfig.tar.gz https://git.ispconfig.org/ispconfig/ispconfig3/repository/archive.tar.gz?ref=stable-3.1
tar xfz ispconfig.tar.gz
cd ispconfig3*/install/
The next step is to run
php -q install.php
This will start the ISPConfig 3 installer. The installer will configure all services like Postfix, Dovecot, etc. for you.
--------------------------------------------------------------------------------
_____ ___________ _____ __ _ ____
|_ _/ ___| ___ \ / __ \ / _(_) /__ \
| | \ `--.| |_/ / | / \/ ___ _ __ | |_ _ __ _ _/ /
| | `--. \ __/ | | / _ \| '_ \| _| |/ _` | |_ |
_| |_/\__/ / | | \__/\ (_) | | | | | | | (_| | ___\ \
\___/\____/\_| \____/\___/|_| |_|_| |_|\__, | \____/
__/ |
|___/
--------------------------------------------------------------------------------
>> Initial configuration
Operating System: Debian 8.0 (Jessie) or compatible
Following will be a few questions for primary configuration so be careful.
Default values are in [brackets] and can be accepted with
Tap in "quit" (without the quotes) to stop the installer.
Select language (en,de) [en]: Hit Enter
Installation mode (standard,expert) [standard]: Hit Enter
Full qualified hostname (FQDN) of the server, eg server1.domain.tld [server1.canomi.com]: localhostMySQL server port [3306]: Hit Enter
MySQL root username [root]: Hit Enter MySQL root password []: Enter your MySQL root password
MySQL database to create [dbispconfig]: Hit Enter
MySQL charset [utf8]: Hit Enter
Configuring Postgrey
Configuring Postfix
Generating a 4096 bit RSA private key
.......................................................................++
........................................................................................................................................++
writing new private key to 'smtpd.key'
-----
You are about to be asked to enter information that will be incorporated
into your certificate request.
What you are about to enter is what is called a Distinguished Name or a DN.
There are quite a few fields but you can leave some blank
For some fields there will be a default value,
If you enter '.', the field will be left blank.
-----
Country Name (2 letter code) [AU]: US
State or Province Name (full name) [Some-State]: Example
Locality Name (eg, city) []: Boston
Organization Name (eg, company) [Internet Widgits Pty Ltd]: Example-->
Organizational Unit Name (eg, section) []: Hit Enter
Common Name (e.g. server FQDN or YOUR name) []: labsrv.example.com
Email Address []: Hit Enter
Configuring Mailman
Configuring Dovecot
Configuring Spamassassin
Configuring Amavisd
Configuring Getmail
Configuring BIND
Configuring Jailkit
Configuring Pureftpd
Configuring Apache
Configuring vlogger
Configuring Metronome XMPP Server
writing new private key to 'localhost.key'
-----
Country Name (2 letter code) [AU]: US-->
Locality Name (eg, city) []: Boston
Organization Name (eg, company) [Internet Widgits Pty Ltd]: Example
Organizational Unit Name (eg, section) []: Hit Enter
Common Name (e.g. server FQDN or YOUR name) [server1.canomi.com]: labsrv.example.com Email Address []: Hit Enter
Configuring Ubuntu Firewall
Configuring Fail2ban
[INFO] service OpenVZ not detected
Configuring Apps vhost
Installing ISPConfig
ISPConfig Port [8080]:
Admin password [admin]:
Do you want a secure (SSL) connection to the ISPConfig web interface (y,n) [y]: Hit Enter
Generating RSA private key, 4096 bit long modulus
.......................++
................................................................................................................................++
e is 65537 (0x10001)
You are about to be asked to enter information that will be incorporated
into your certificate request.
What you are about to enter is what is called a Distinguished Name or a DN.
There are quite a few fields but you can leave some blank
For some fields there will be a default value,
If you enter '.', the field will be left blank.
-----
Country Name (2 letter code) [AU]: US
State or Province Name (full name) [Some-State]: Example
Locality Name (eg, city) []: Boston
Organization Name (eg, company) [Internet Widgits Pty Ltd]: Example
Organizational Unit Name (eg, section) []: Hit Enter
Common Name (e.g. server FQDN or YOUR name) []: labsrv.example.com Email Address []: Hit Enter
Please enter the following 'extra' attributes
to be sent with your certificate request
A challenge password []: Hit Enter
An optional company name []: Hit Enter
writing RSA key
Configuring DBServer
Installing ISPConfig crontab
no crontab for root
no crontab for getmail
Detect IP addresses
Restarting services ...
Installation completed.
The installer automatically configures all underlying services, so there is no manual configuration needed.
-->
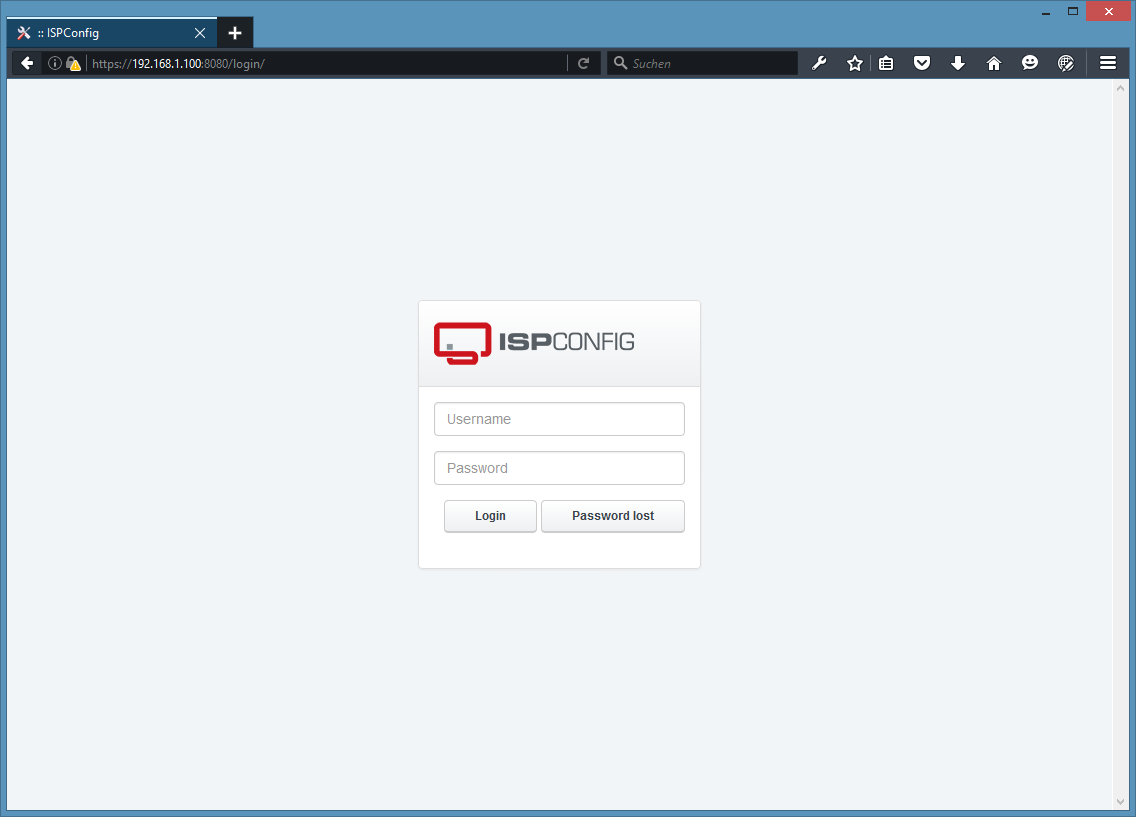
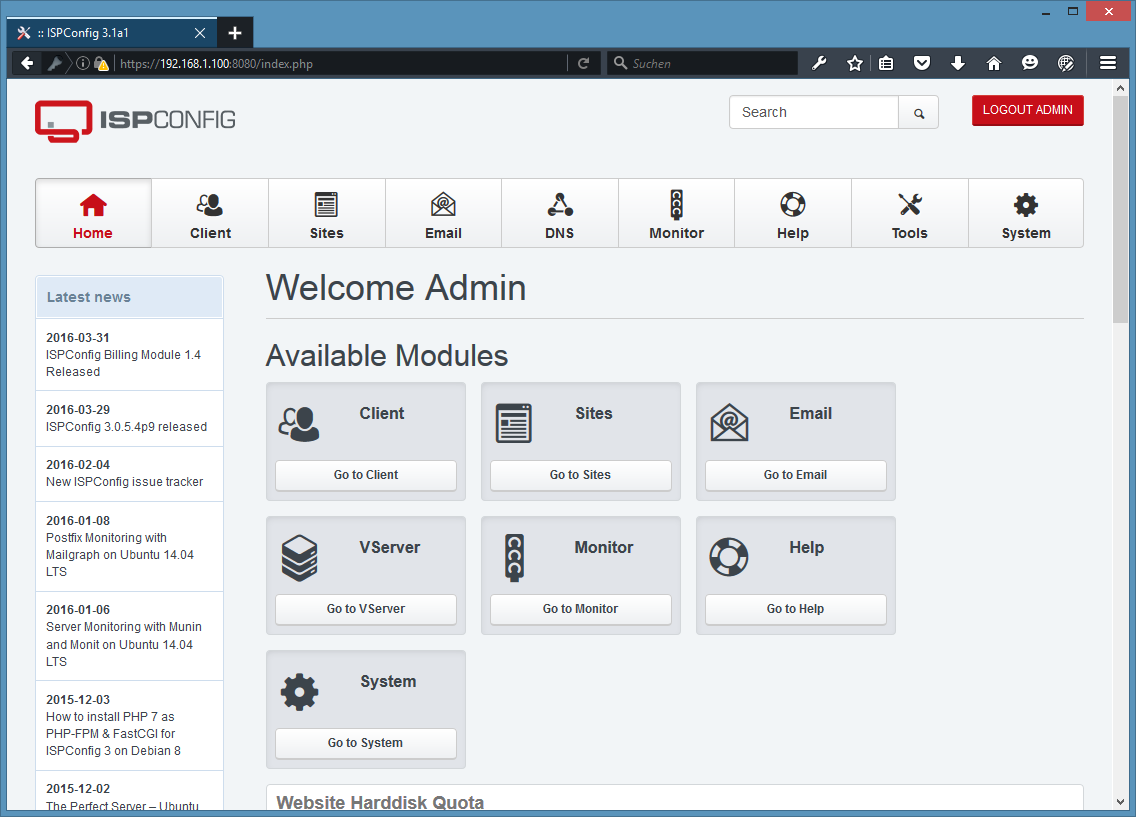
Afterward you can access ISPConfig 3 under http(s)://labsrv.example.com:8080/ or http(s)://192.168.1.100:8080/ (HTTP or HTTPS depends on what you chose during installation). Log in with the username admin and the password admin (you should change the default password after your first login):
![]()
![]()
Fix MySQL Login for roundcube
MariaDB enables a plugin called "unix_socket" for the root user by default, this plugin prevents that the root user can log in to PHPMyAdmin and that TCP connections to MySQL are working for the root user. Therefore, I'll deactivate that plugin with the following command:
echo "update user set plugin='' where User='root';" | mysql -root -p mysql
Enter the MySQL / MariaDB root password when requested.
Conclusion
Your server is now ready to be used.


