
This article will guide you through the steps to take backup of your installed applications settings on Windows, transfer them to a new computer and you don't need to re-configuring them.
CloneApp is a free program, that allows you to easily backup configuration files in program directories and the Registry for many popular Windows applications. It supports a large number of applications, including many versions of Microsoft Office, Microsoft Edge, Photoshop, DisplayFusion, Evernote, foobar2000, LibreOffice, MusicBee, PotPlayer, TeamViewer, and many more.
We will show you how to use CloneApp to backup and restore a program’s settings from one computer to another, using Microsoft Office application as an example. Make sure any programs you want to backup are closed before you start.
Back Up Settings for CloneApp Supported Programs
To begin with back up settings in programs folders and the registry, download the portable version of CloneApp and extract the .zip file into a folder. To completely back up program settings, CloneApp must be run as an administrator. To accomplish that, right-click on the CloneApp.exe file and select “Run as administrator” from the popup menu. Grant CloneApp permission to make changes to your PC when prompted.

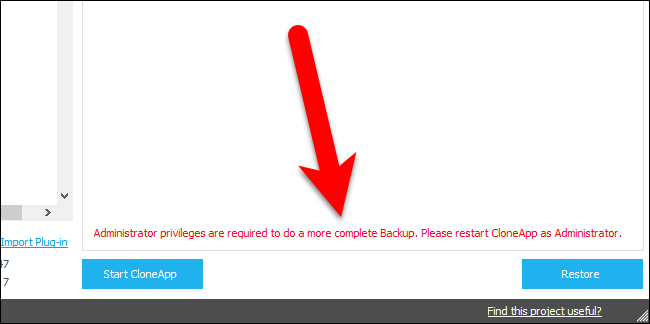
If you run CloneApp without administrator permission, a message displays at the bottom of the CloneApp window warning you that administrator privileges are required to do a more complete backup.
Before we begin backing up programs, we need to make sure the location and structure for the backup are set accordingly, so click “Options” on the left side of the CloneApp window.

The first path is where the program backups will be saved. By default, CloneApp backs up program and registry settings to a folder called Backup in the same directory as the CloneApp program. We recommend you keep the default path. That way, the program backups and the CloneApp program are in the same place and easy to transfer to another to an external hard drive or network drive.
If you want to change the location of the program backups, click the “Browse” button to the right of the first path edit box and select a new path.
The second path is where the log file listing the actions taken during the backup will be saved. We chose to save the log file in the same place as the backed up program settings.
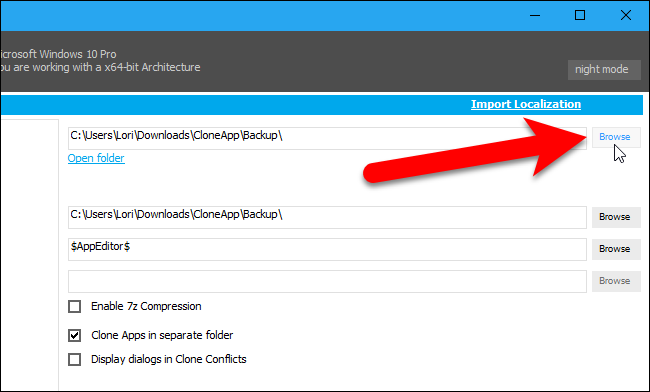
By default, CloneApp puts the backup files for each program in separate folders. You can choose to have all the backup files in the same folder. CloneApp still puts the backed up files in folders labeled with the program names, but the “Clone Apps in separate folder” option separates all the files for each program.
You can also compress the backed up file using 7z compression by checking the “Enable 7z Compression” box. 7-Zip is used to compress the backed up files.
CloneApp displays a confirmation dialog box by default if normal Windows file conflicts are encountered during the backup process. If you check the “Display dialogs in Clone Conflicts” box, the option changes to “Respond silent to all Clone conflicts” and CloneApp will automatically respond to Windows conflict notifications with “Yes”. Existing files and folders will be automatically overwritten, folders will be created if they do not exist, and running applications and processes will be ignored (some files may not be backed up in this case).

To back up program settings folders and registry entries, click “Clone” on the left side of the CloneApp window.

All the supported programs are listed on the left. To see a list of programs installed on your PC that can be backed up, click “Installed”.
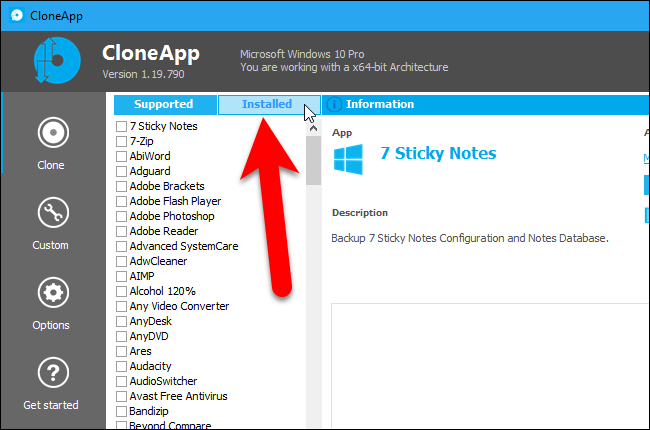
This list is just for reference. To select programs you want to back up, click “Supported”.

Check the boxes next to the programs you want to back up. To back up all your installed programs that CloneApp supports, click the “Select Installed” link below the list.
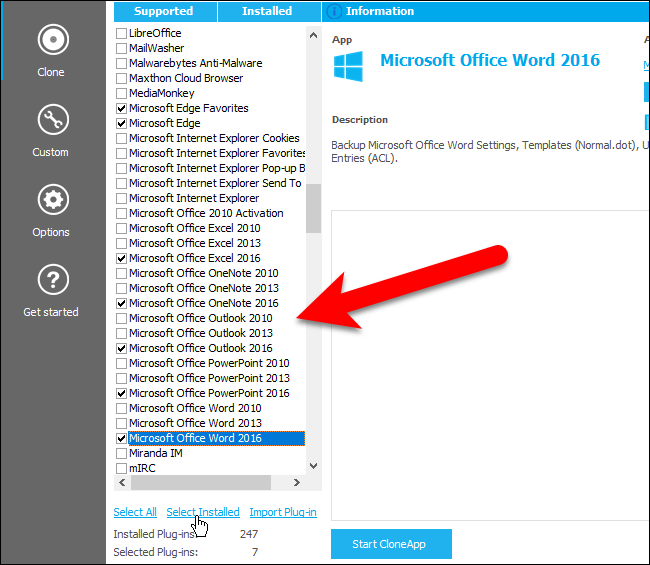
To see a preview of the folders and registry entries that will be backed up for the selected programs, click “What is being backed up?”.

The details of what will be backed up are listed, but the files are not actually backed up yet. To back up the selected programs, click “Start CloneApp”.

A dialog box showing the progress of the backup displays.
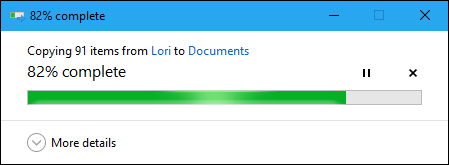
When the backup process is finished, a message displays at the bottom of the log and to the right of the Start CloneApp button.

Because we selected the “Clone Apps in separate folder” option, the backup files for each program are put in separate folders.
If you are migrating to a new machine, it would be a good idea to save the entire CloneApp directory to a flash drive, cloud storage folder, or somewhere else easily accessible from the new computer. That way, you’ll have the program and the backup files, and the path to the backup files remain consistent for when you want to restore them.
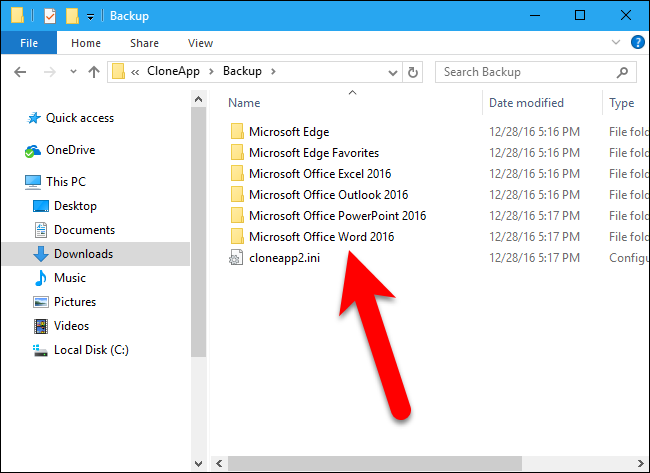
If we had turned off the Clone Apps in separate folder option, our Backup directory would look like this instead:

Back Up Custom Files and Folders
If you have settings files from a program not supported by CloneApp, or you have some portable programs you want included in the backup, you can back up custom files and folders. To do this, click “Custom” on the right side of the CloneApp window.
Custom files and folders are backed up separately from the built-in CloneApp program backups.

Under Custom on the left, you can choose to back up files, folders, or Registry Keys. You can also add commands to backup settings for a program. The commands feature is useful if you want to run a command to export settings from a program to the Backup directory.
NOTE: When we tested the Registry Keys option, we could not get it to work.
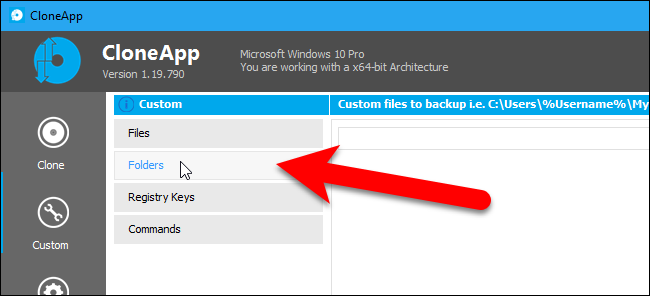
We’re going to back up profiles from Snagit and a portable version of SumatraPDF. To back up folders, click the “Folders” button under Custom.
Click “Browse” on the right.
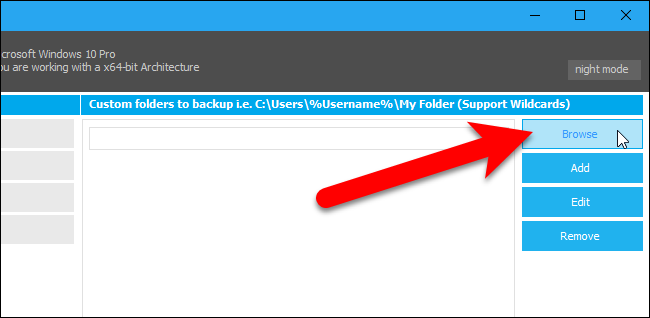
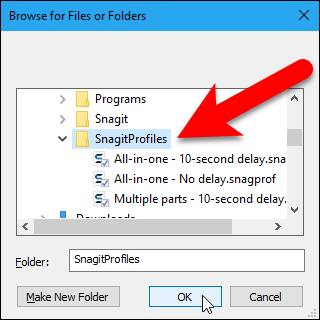
On the Browse for Files and Folders dialog box, navigate to the folder you want to back up, select it, and click “OK”.
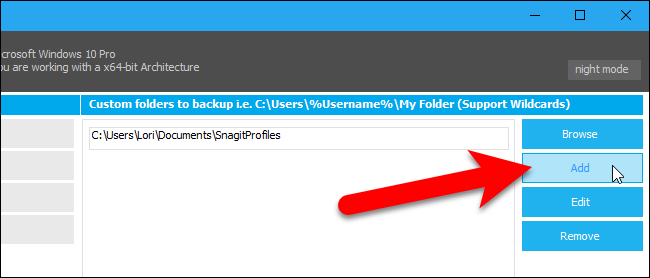
To add the selected folder, click “Add”.
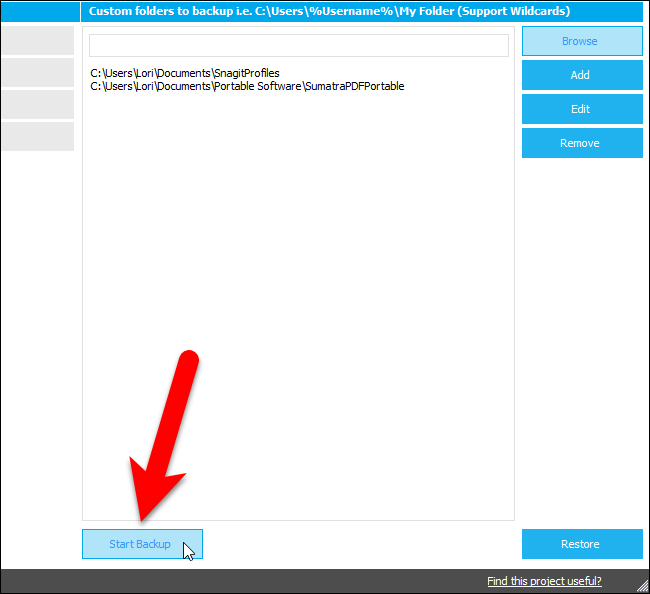
Add any other folders you want to back up in the same manner and then click “Start Backup”.
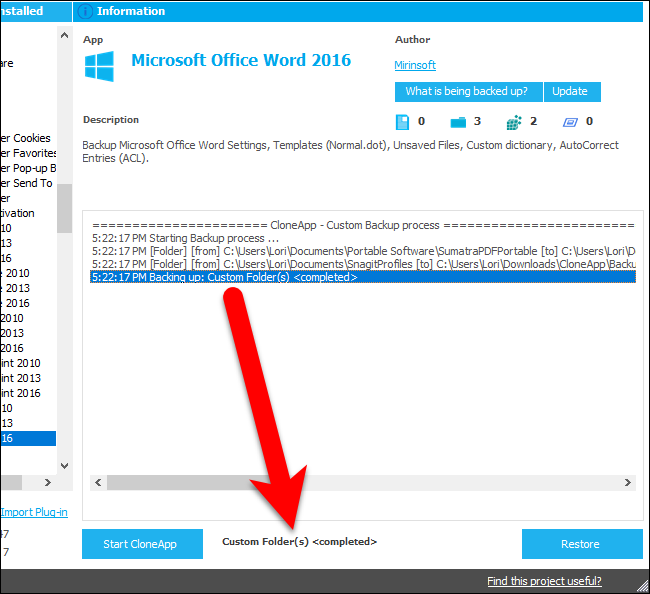
A progress dialog box displays while the folders are being backed up, and then a message displays in the log and at the bottom of the CloneApp window when the process is finished.
The backed up folders (and files, if you selected any individual files) are copied to a Custom folder within the specified backup directory.

Restore Program and Registry Settings on Your New Computer
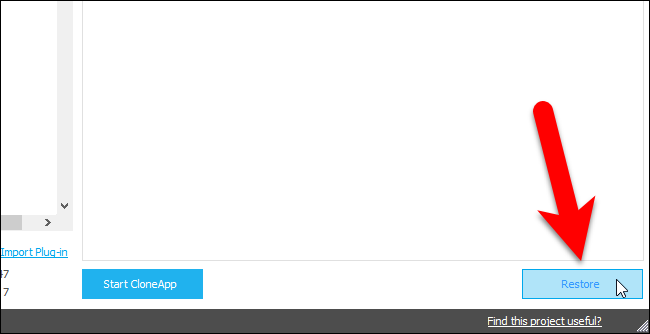
To restore backed up program settings, run CloneApp in administrator mode on the new computer, and click “Restore” in the lower-right corner of the CloneApp window.
NOTE: Cusom files are currently NOT included in the restoration process, so you need to manually copy the backed up custom files from the backup folder to where you want them restored.
As long as there are backed up files and folders in the specified backup folder, the restoration process automatically begins.

When the restoration process is complete, a message displays at the end of the log and at the bottom of the CloneApp window.

That's all for now.