
This guide will walk you through the steps to install OpenStack 'Newton' on three different nodes on CentOS 7 or Red Hat enterprise Linux. OpenStack Newton has been released on October 6th 2016 and it is the 14th release from openstack developers.
What's New in 'Newton' Release
- Enhanced Scalability : It offers scale-up/scale-down capabilities in Nova, Horizon, and Swift.
- Introduction of Magnum : It provides the container orchestration tools via docker Swarm, Kubernetes and Mesos
- Improvement in bare metal provisioning and it adds multi-tenant networking and integration with magnum.
Testing Environment
| Node | Hostname | IP Address |
| Controller | controller.example.com | 192.168.1.70 |
| Compute | compute.example.com | 192.168.1.80 |
| Network | network.example.com | 192.168.1.90 |
You should have completed minimal installation of CentOS 7 or Red Hat on all three nodes and have configured hostname and ip address according to your environment using the above examples.
Save and CloseSTEP1 - Updating All Three Nodes
Update the controller, compute and network node by executing the following command and reboot them.
Edit the /etc/hosts file on each node and set the following entries if you don't have local DNS server in your environement
STEP2 - Stop, Disable Firewalld and Network Manager Service
To stop and disable firewalld and NetworkManager Service on all three nodes, execute the following commands one by one
Disable SELinux by executing the following command
STEP3 - Configuring Password-less SSH from controller to compute and network node.
You need to execute the following commands from controller node to configure the password less ssh access to network and compute node.Now verify password less access from Controller node by accessing compute and network node through ssh
STEP4 - Add OpenStack Newton Repository
Here you need to execute the following command on controller node to add CentOS 7/RHEL Openstack Newton repository.Lets install Packstack utility on controller node by executing the following command
STEP5 - Generating/Updating Openstack answer file
Now you need to execute following packstack command on controller node to generate answer file.Update the answer file as per your architecture. In my case i have updated the following entries in my newton-answer.txt file.
STEP6 - Installing OpenStack 'Newton'
You need to execute the following command from the controller node to start the openstack installation.Upon Successfully Installation , you will get following message.

STEP7 - Login to OpenStack Dashboard
Open up your favorite web browser and access dashboard by visiting your controller node ip address or hostanme. My controller node url is http://192.168.1.70/dashboard
Use the user name as admin and the password which you specify in the answer file under the “CONFIG_KEYSTONE_ADMIN_PW” parameter.
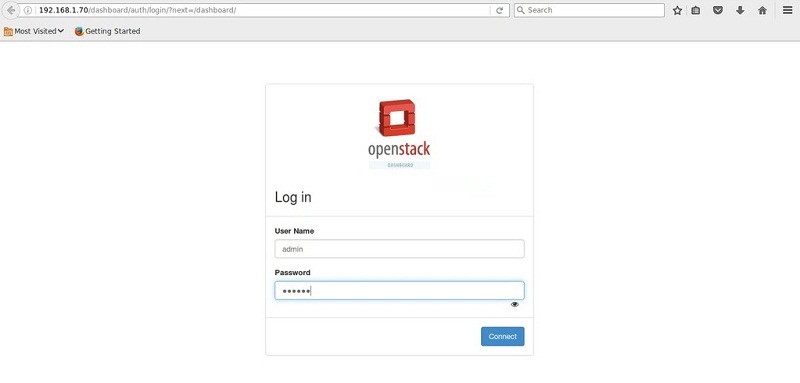
OpenStack Newton Dashboard

STEP8 - Applying Network Configuration on Network Node
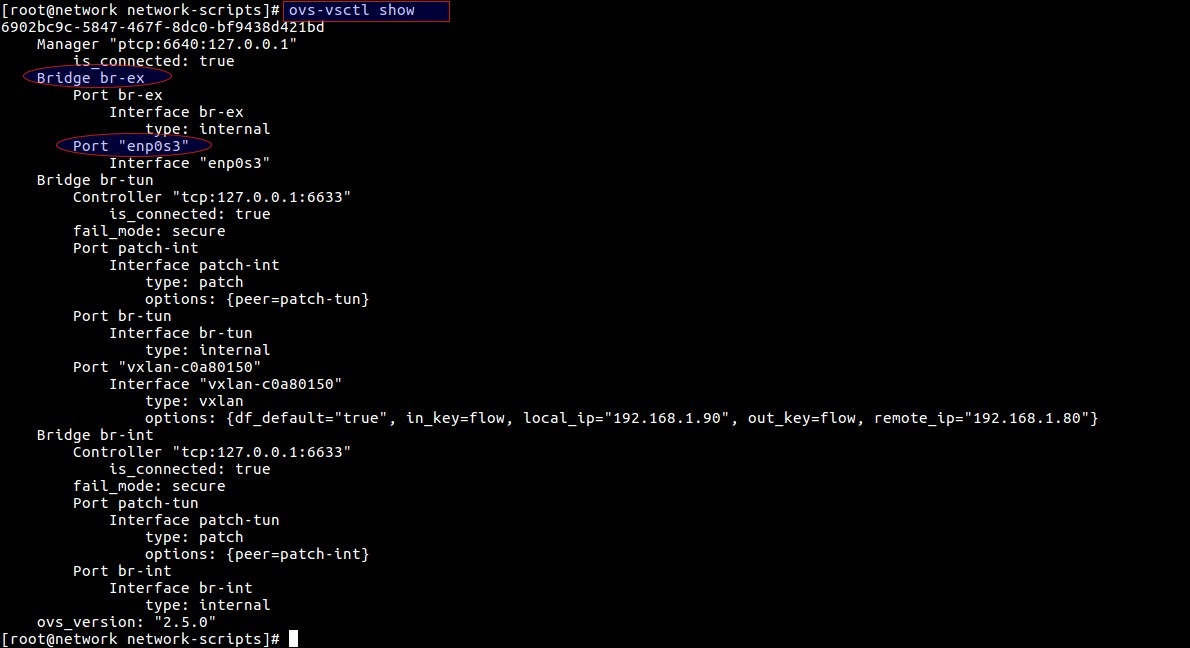
During openstack installation, bridge (br-ex) interface will be created on network node. Add interface (enp0s3 or eth0) in bridge br-ex as a port and assign the ip address of enp0s3 or eth0 to br-ex as shown below.Save and close the file
Save and exit the file
Now restart the network service to update the changes
Now verify ip configuration

Conclusion
We have completed the basic installation of OpenStack Newton on CentOS 7. Next task is to create projects, users, network, flavors and upload cloud images and start launching the VM instances using cloud images. To accomplish these steps, you need perform step 9 to last mentioned in this guide.