Microsoft has just released a preview of Windows Upgrade Analytics, a free tool that gives you access to the all the compatibility telemetry that Microsoft gathers from your Windows devices. This information can be very valuable to guide your upgrade process to Windows 10.
Contents:
- Step 1 – Prepare your environment
- Step 2 – Resolve Issues
- Step 3 – Deploy
Windows Upgrade Analytics redirects telemetry information based on a unique Commercial ID (GUID) which you can generate in the Operations Management Suite workspace that is set up for you when you sign up for a Windows Upgrade Analytics tenant.
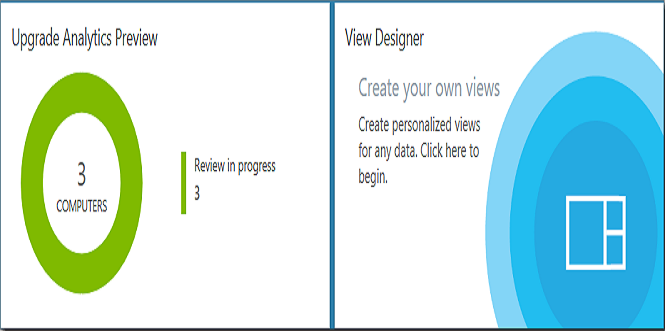
Windows Upgrade Analytics is a great planning tool to assist you in your upgrade projects by documenting different information such as application, driver, and Internet Explorer compatibility. This helps you to determine which computers are ready for an upgrade to Windows 10.
 |
| Windows Upgrade Analytics |
Prepare your environment
In the Prepare your environment phase, you can prioritize applications and export computers you want to Run a pilot on.The Prioritize applications phase is the most important one, because here you can prioritize applications by clicking the Assign importance link in the bottom of that view.
 |
Prioritize applications |
If you have a look at the System Center Endpoint Protection client in the next screenshot, you’ll start seeing the potential of the Windows Upgrade Analytics solution.
 |
Upgrade compatibility information |
“Ready to upgrade” signifies that the Windows upgrade process will remove the System Center Endpoint Protection agent because it is replaced by Windows Defender. This kind of information will save you a lot of time troubleshooting upgrades.
If you click User changes in the top menu, you can assign an Importance level to the application.
 |
User changes |
In the next screenshot, you can see a list of applications that you can sort (for instance, applications with issues) according to various parameters.
 |
Modify application information |
In addition to the importance level, you can assign an upgrade decision as shown below.
In the case of System Center Endpoint Protection, I assign Ignore and Ready to upgrade because it will be handled by the upgrade process and there is no reason for me to pay attention to it. After you click Save, the changes are stored in the database.
 |
Resolve issues |
Resolve Issues
After you have completed Phase 1, you can determine which computers can be upgraded and which might have issues after the upgrade. One thing that is really valuable in this view is the Review Known Driver Issues section, which is built from the Windows Upgrade telemetry that Microsoft gathers. In the example above, I have one driver with a known issue. I can then click on that driver to decide on what to do with that information. |
Driver compatibility |
Here you can see the issue the driver has. In this case, the driver will not be migrated, however, it will be replaced during an upgrade to Windows 10. As in the application view, we can click User changes and select what to do with the computer (for instance Ready to upgrade).
Deploy
 |
| Deploy |
On the last tab we can see our different computers and the state they are in. You can now export the computers and their state by clicking Export computers in the field shown above.
You can also choose to turn on IE Site Discovery, which will include sites visited by the users with Internet Explorer and check whether they are compatible.
Getting Started
Windows Upgrade Analytics is based on the Operations Management Suite (OMS), so you will require an Azure subscription. If you don’t have one, you will be guided to sign up. After you sign up for Windows Upgrade Analytics, you will be redirected to your new OMS Workspace. In the OMS Dashboard you will start with the option to add Upgrade Analytics.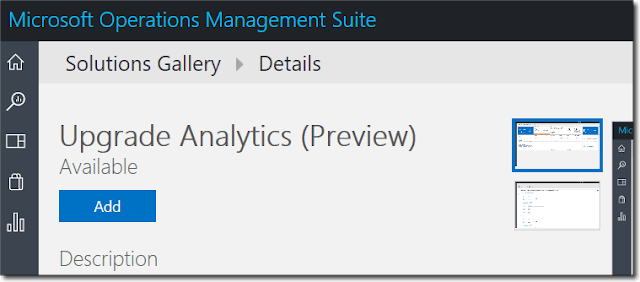 |
Getting started in Operations Management Suite |
After Upgrade Analytics is added to your dashboard, you will receive a Requires Configuration message as shown below.
 |
Requires Configuration message |
If you click the link, you’ll be redirected to a page where you can copy your Commercial ID, which you’ll need when you configure the clients to send in the telemetry using the deployment script.
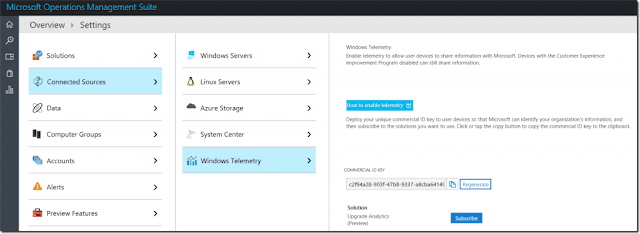 |
Enable telemetry |
After that, you have to click Subscribe to start subscribing to all Windows Telemetry data with this Commercial ID. Now, you are ready to deploy the configuration to your clients to send in telemetry information.
Client Configuration
To be able to work with Windows Upgrade Analytics, you must consent to sending Upgrade Telemetry to Microsoft, otherwise the tool won’t work. Note that Windows 7 requires the updates KB 2976978 and KB 3150513 and Windows 8.1 requires KB2952664 and KB 3150513.Telemetry needs to be turned on, which you can do with the deployment script. The download contains two folders, one for piloting, which gives you more details for troubleshooting, and one for deployment.
You have to update RunConfig.bat in the Deployment folder with your Commercial ID. You also have to configure the log folder and decide whether IEdiscovery should be used or not.
 |
Configuring RunConfig.bat |
If you want to test the tool out, you can set logmode to 1 which will tell Windows Upgrade Analytics to log to the console and to the log file. If you set the value to 0, logs will only go to the console and with logmode 2, the tool will only log to the file.
Once you run the BAT file, the computer will start sending telemetry information with your Commercial ID to Microsoft. Note that it might take a while before it shows up in our OMS console. In my case, it took more than 48 hours.
In next part of this article, I will cover how to integrate and deploy the client using Configuration Manager.