
It has been more than a month since Google started rolling out the Android 6.0 Marshmallow OTA update for the Nexus 5, Nexus 6, Nexus 7, and the Nexus 9. Since it even released the factory images for these devices on the same day, many enthusiasts and advanced users were able to get Android 6.0 up and running on their Nexus device within a few hours.
If you are an advanced user, chances are you must be missing root access on Marshmallow. Thankfully, Chainfire has figured out a way to get root access on the Nexus 5, Nexus 6, Nexus 7, and Nexus 9 running Android 6.0. The process, however, is slightly different from previous versions of Android and requires one to flash a slightly ramdisk on their device.There are a few advantages to this method though, including the fact that this method does not modify the system partition of your Nexus device at all, which makes it cleaner and more efficient than previous root methods.
Note: This goes without saying, but following the steps below will wipe all your data from the device. So make sure to create backups of all your important data before proceeding with the steps below.
Step 1: Download the ADB/Fastboot files, TWRP custom recovery, ramdisk, modified SuperSU ZIP file and the drivers from below and put them all inside a folder called ‘root’ on your desktop.
- ADB/Fastboot: Windows | Mac
- ADB drivers for Windows
- TWRP recovery: Nexus 5 | Nexus 6 | Nexus 7 | Nexus 9
- Modified ramdisk: Nexus 5 (hammerhead) | Nexus 6 (shamu) | Nexus 7 (razor) | Nexus 9 (volantis)
- Modified SuperSU Zip
Unlock the bootloader
Step 2: If you own a Nexus 6 or Nexus 9, head over to Settings -> About Phone and tap the ‘Build Number’ option seven times to enable Developer Options. Now, head over to Settings -> Developer Options and check the ‘Enable OEM unlock’ option.Step 3: You will now have to reboot your Nexus device into Bootloader (a.k.a Fastboot mode) so that you can execute the Fastboot command to unlock its bootloader. To do this, switch off your device and reboot it into bootloader mode by using the key combination mentioned below
Nexus 5: Volume Up + Volume Down for a few seconds and then press Power button.
Nexus 6: Volume Down for a few seconds and then press the Power button.
Nexus 7 (2013): Volume Down for a few seconds and then press the Power button.
Nexus 9: Volume Down for a few seconds and then press the Power button.
Step 4: Connect the device to your PC and start a new Command prompt or Terminal window on it. Use the ‘cd’ command and navigate to the ‘root‘ folder on your desktop. The below command should work for majority of users:
cd/desktop/root
Alternatively, you can simply drag ‘n’ drop the root folder to the Terminal or Command Prompt window as well.
Step 5: Run the following command to first make sure that the Nexus 5, Nexus 6, Nexus 7, or Nexus 9 is being detected by your PC.
fastboot devices
Mac users will have to prefix a “./” before every Fastboot or ADB command you run. Therefore, the above command will look something like this for you:
./fastboot devices
If detected, you will receive a valid response along with the device ID of your Nexus device. If not, you will get a time out error in which case you need to repeat Steps 1-4 mentioned above.
Step 6: Finally, unlock the bootloader of your Nexus device by running the following command:
fastboot oem unlock
You will need to confirm the selection on your handset by pressing the Volume Up button. Your device might reboot multiple times during the process.
Once the bootloader is unlocked, your Nexus device will automatically boot back into Android. If it does not do so automatically, make sure to do it on your own.
Flashing TWRP recovery
Step 7: You can skip the set up process for now. Transfer the ramdisk and the SuperSU ZIP files to the internal storage of the handset, and then repeat steps 2-5 from above again.
Step 8: Now flash TWRP recovery on your Nexus handset by executing the below command:
fastboot flash recovery twrp.img
Step 9: With the recovery flashed, it is now time to flash the modified ramdisk on the handset. For this, you need to boot your handset into recovery mode. This can be done by pressing the Volume Up/down button and then confirming your selection by pressing the Power button.
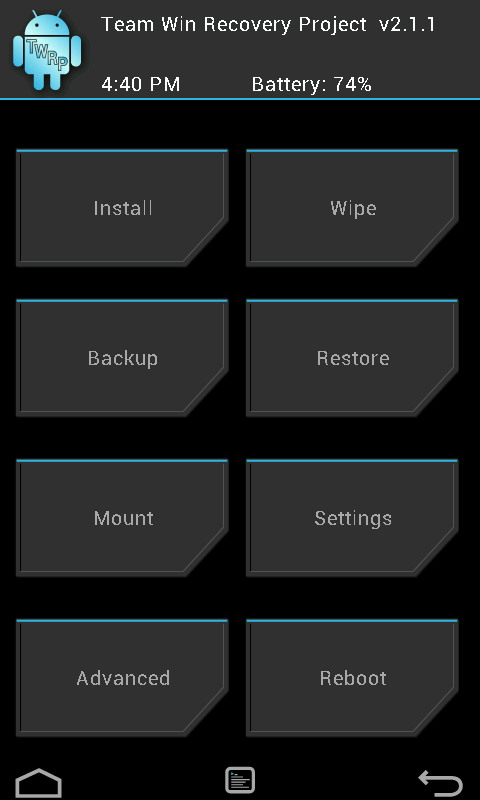
Step 10: Boot your Nexus device into TWRP recovery by running the following command:
fastboot boot twrp.img
Step 11: Now proceed to flash the ramdisk followed by the modified SuperSU zip file. Once done, simply boot your Nexus device back into Android by selecting the ‘reboot system’ option.
The first boot can take its own fair share of time, so don’t panic if your device is stuck at the Android logo for 5 minutes. However, if your device does not boot even after 15 minutes, repeat steps 8-11 from above.