osTicket is a widely-used open source support desk system. It seamlessly integrates inquiries created via email, phone and web-based forms into a simple easy-to-use multi-user web interface. Manage, organize and archive all your support requests and responses in one place while providing your customers with accountability and responsiveness they deserve.
This tutorial will walk you through the steps to install osTicket on a CentOS 8 server. These instruction can also be applied if you are running an RHEL 8 server.
Note: With CentOS 8 release, yum command has been replaced with dnf and in near future yum package manager will be discontinued. It is now recommended to use dnf for installing packages but if you still wish to use yum you can use it.
Prerequisites
You will need one CentOS/RHEL 8 (physical or virtual) machine with root user privileges.Disabling Selinux
It is entirely my recommendation that you should disable selinux before proceeding to install software and packages. However, you should enable it later when you are done with your installation and configuration:and change SELINUX=enforcing parameter to SELINUX=disabled
Save and close file when your finished.
You must reboot your server now to make changes into effect:
Once reboot completed, proceed with the following steps.
Adding EPEL Repository
It is always recommended to add extra packages for enterprise Linux repository before proceeding to install any other software or packages.If you are on RHEL 8 server, execute the following command as well:
Installing PHP
You will need to install PHP and its required extensions commonly used with osTicket.Start the PHP service and make it persistent even when system reboots by typing the following commands:
Installing Apache
To serve osticket web services to users and customers, you need to install either Nginx or Apache as your web server. For this guide, we are going with Apache.
Installing MySQL
You can install MySQL as your database server using the following command:
Securing MySQL
By default MySQL database has no root password and anyone can access it from anywhere. It is important to secure your database before bringing it into production.
Now follow on screen instruction like below to complete it:
Now follow on screen instruction like below to complete it:Downloading osTicket
You can download latest version of osTicket from the official website . At the time of writing this tutorial, the latest release of osTicket is 1.14.1:
When download finished, extract it into the following directory and set the appropriate permission:Creating Database
At this point, you need to create a database and a user for osticket:Configuring Apache
Now, you need to make osticket web directory available to Apache. Replace highlighted parameters to reflect yours.Save and close file when you are finished.
Now type the following command to backup Apache default index page file as we don't need it
Now restart Apache service to take changes into effect:
Updating Firewall Rules
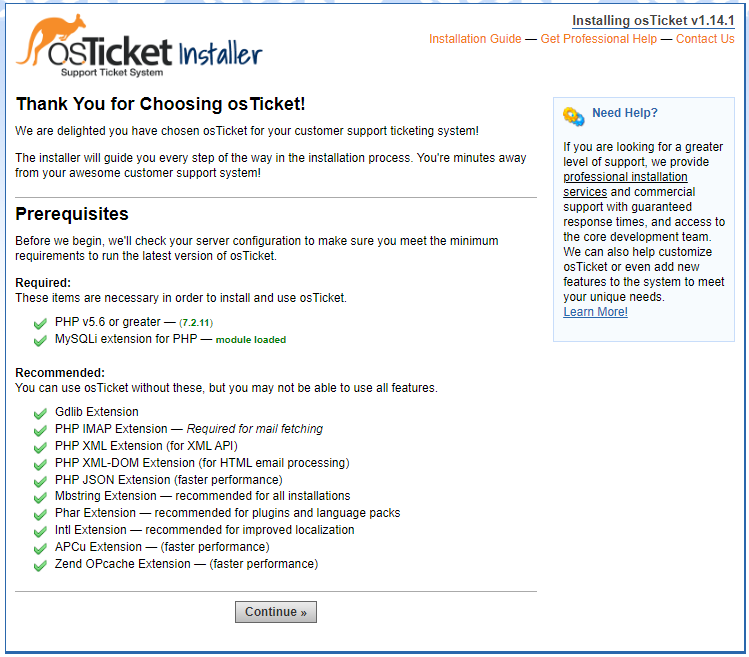
Open up your favorite web browser and navigate to http://your_server_name or http://your_server_ip and it will take you to osTicket web installer page like below:

If you encounter (PHP IMAP Extension — Required for mail fetching) is missing as you can see in the above screenshot then you will need to perform the following additional step to make it work:
The above command will return you an absolute path to imap.so which you need to copy and make a symbolic links like below:
Now edit /etc/php.ini and add the extension = imap.so directive anywhere in the file:
Save and close file when you are finished.
Now restart php-fpm service to take changes into effect:
Go back to your browser, refresh the osticket installer page and you will see (PHP IMAP Extension — Required for mail fetching) is now turn green.
Make sure all the prerequisites are green like below before Continue
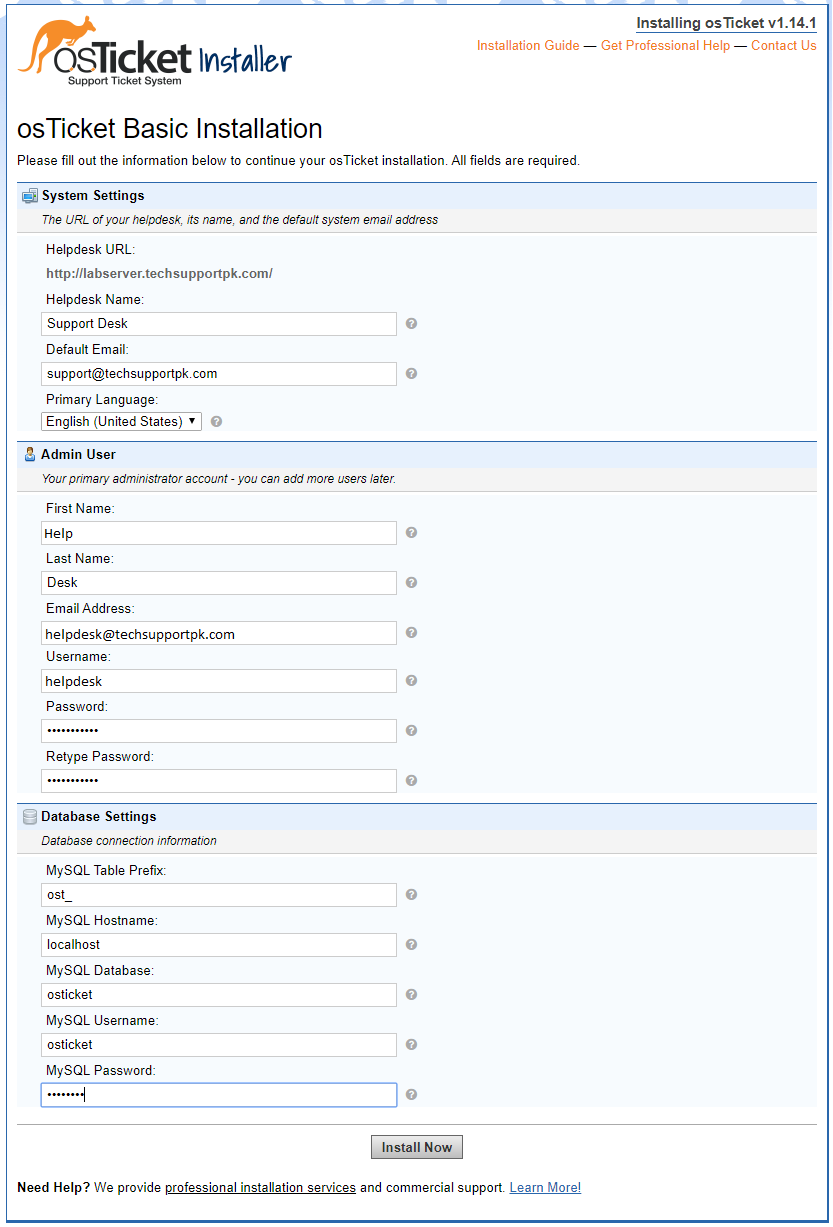
Fill out the information below with yours, make sure you provide correct credentials in database field as you have created in earlier step. Also, do not change MySQL Table Prefix and keep it default. When done, click Install Now button.
Please wait while, the installer will take few minutes to complete:
You will see the following page contains information to access osTicket administrative control panel and users/customer support link:
Write it down to remember it
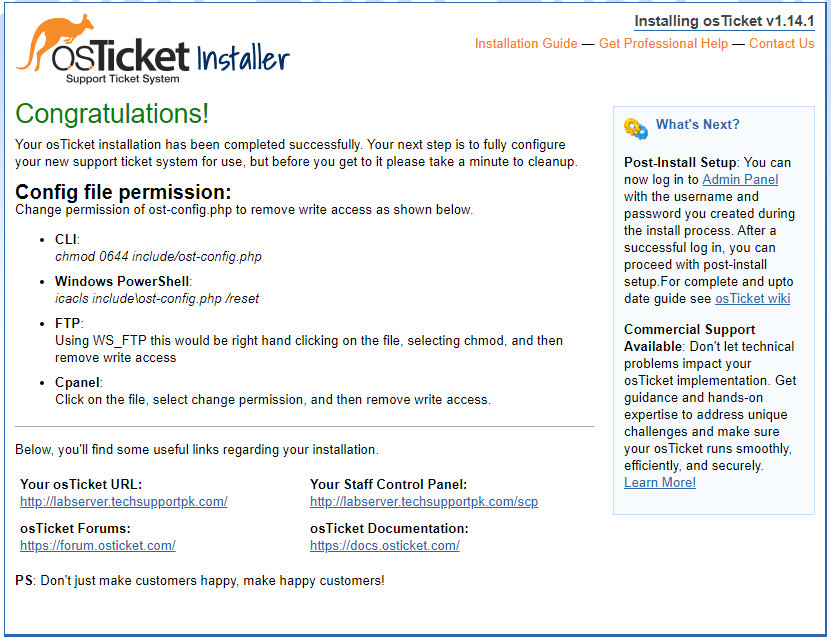
Now go back to command line terminal and change permission of ost-config.php to remove write access as shown below:
Also remove setup directory as we do not need it anymore:
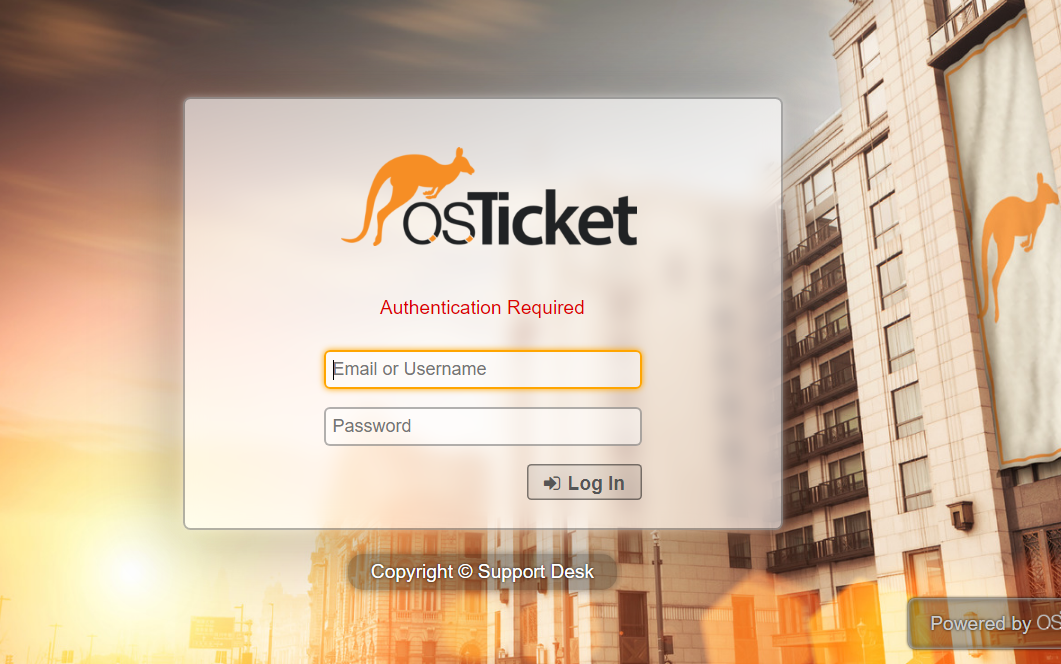
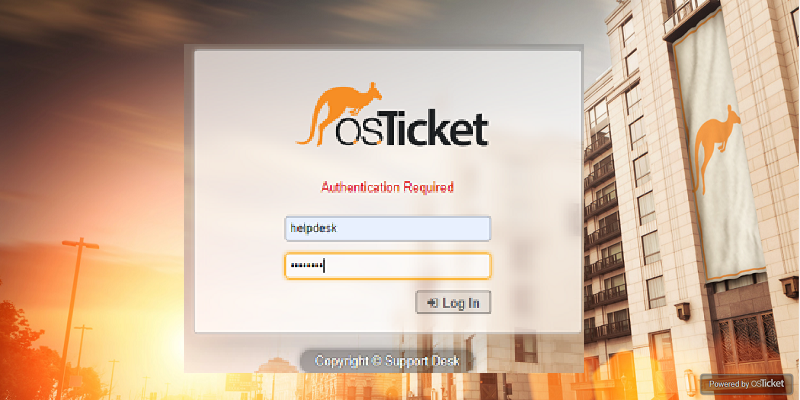
Now navigate back to http://your_server_name/scp or http://your_server_ip/scp and you will see the following login page. Login with the username and password you created in earlier web installer step.
In our case, the username is helpdesk and password also helpdesk
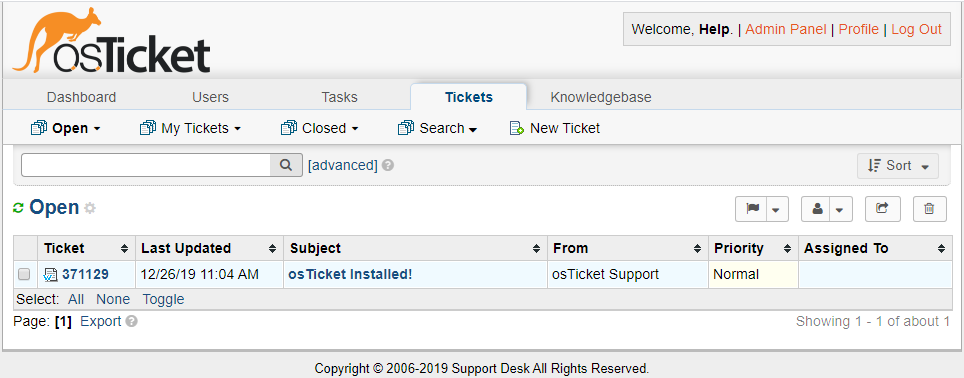
Once log in, you will see the following dashboard of admin panel. From here you can control, customize and manage your osTicket support desk according your organizational requirement.
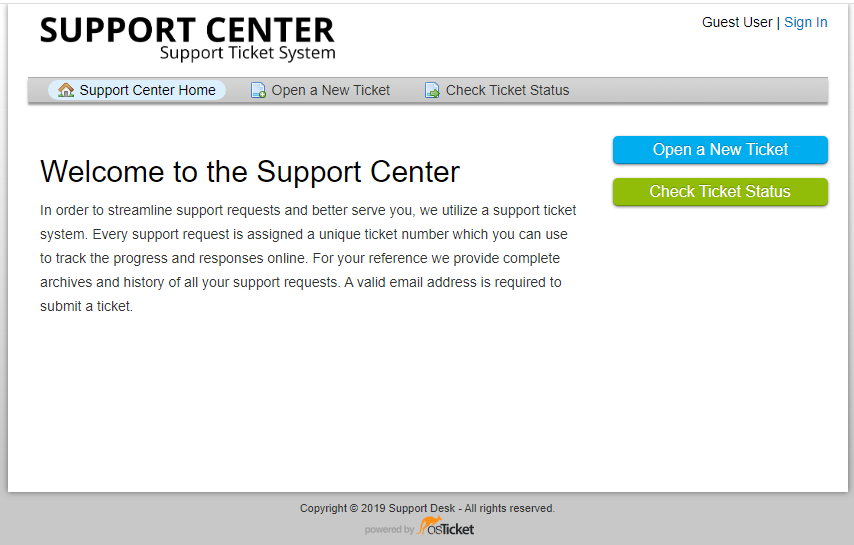
Navigate to http://your_server_name or http://your_server_ip and you will see the following support center page. From here users and customers can create support ticket, check status of already created tickets etc.