
This tutorial will walk you through the steps to install Ubuntu 19.04 desktop in a separate partition alongside Windows 10 in dual boot environment. These steps can also be applied if you want to install Ubuntu alongside older version of Windows for example, Windows 8 or 7.
For a quick installation please watch following video tutorial:
Prerequisites
To follow this guide, you will need to have a laptop or desktop machine installed with Windows 10.STEP1 - Creating Separate Disk Partition
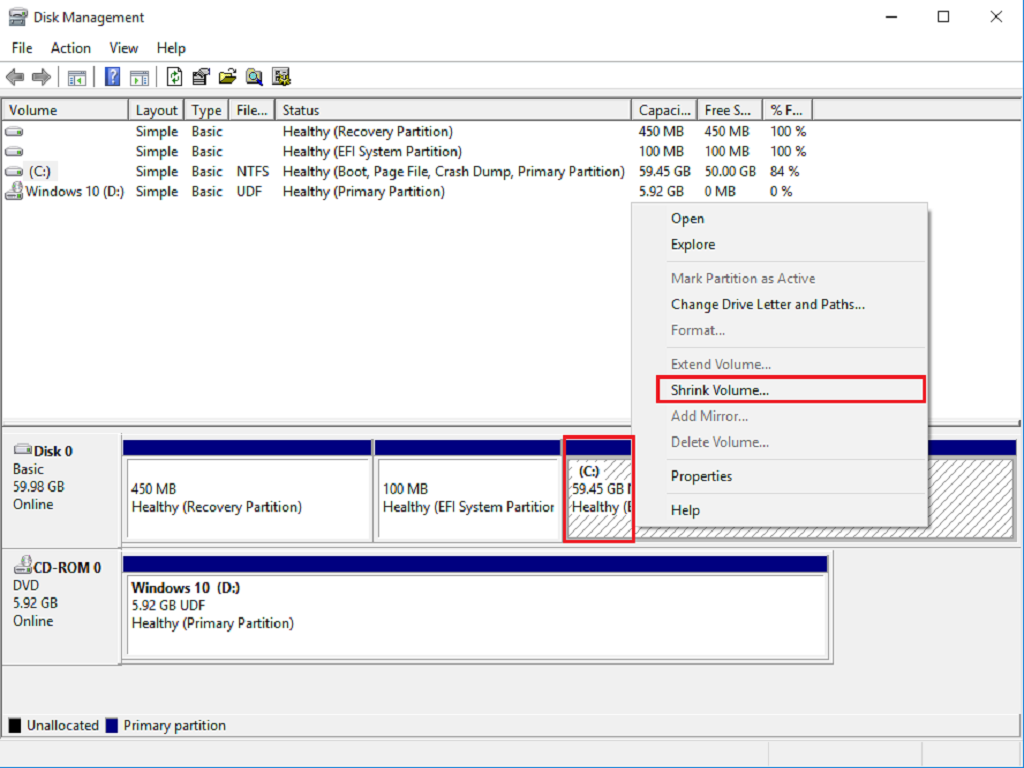
If you have prerequisites in place, then proceed to your Windows 10 machine and navigate to Start> Disk Management.

If you have more than one disk in your computer then select appropriate disk. I have only one disk and I don't have any extra space left. So I will pullout 25GB space from my C: drive for Ubuntu installation.
If you are pulling out space from a partition other than C than choose appropriate partition Right Click> Shrink Volume
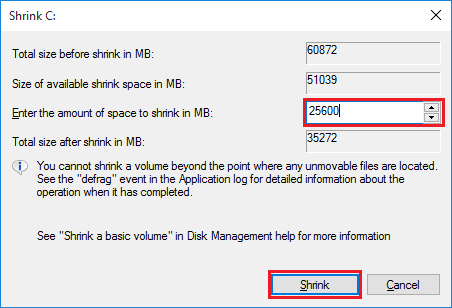
Wait while Querying Shrink Space

You need to have at least 25GB disk space for installing Ubuntu 19.04 desktop. You have to Enter the amount of space to shrink in MB: in my case 25600 MB is equal to 25 GB so its enough for my lab environment.
Click Shrink
Here you can see 25 GB shrink space is now in Unallocated space and this what we need for Ubuntu 19.04 installation in a separate partition.

Reboot your Windows machine and boot it from Ubuntu 19.04 Desktop installation media.

Choose Install Ubuntu from grub menu

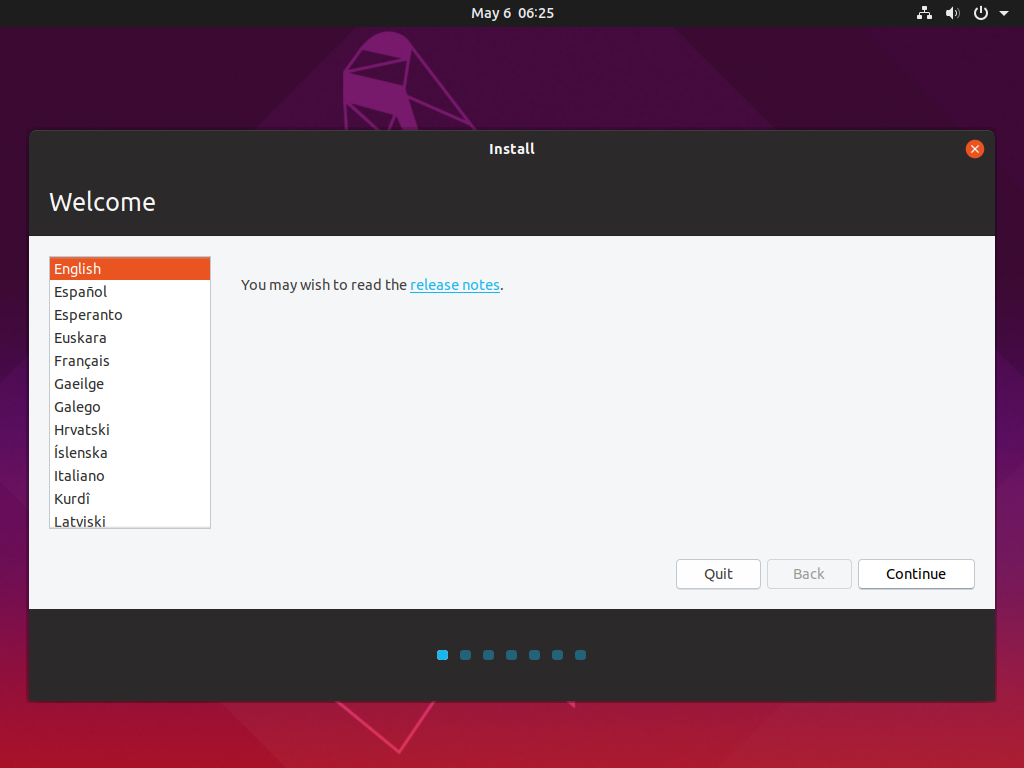
Choose your appropriate language and click Continue
Choose your appropriate Keyboard Layout and click Continue

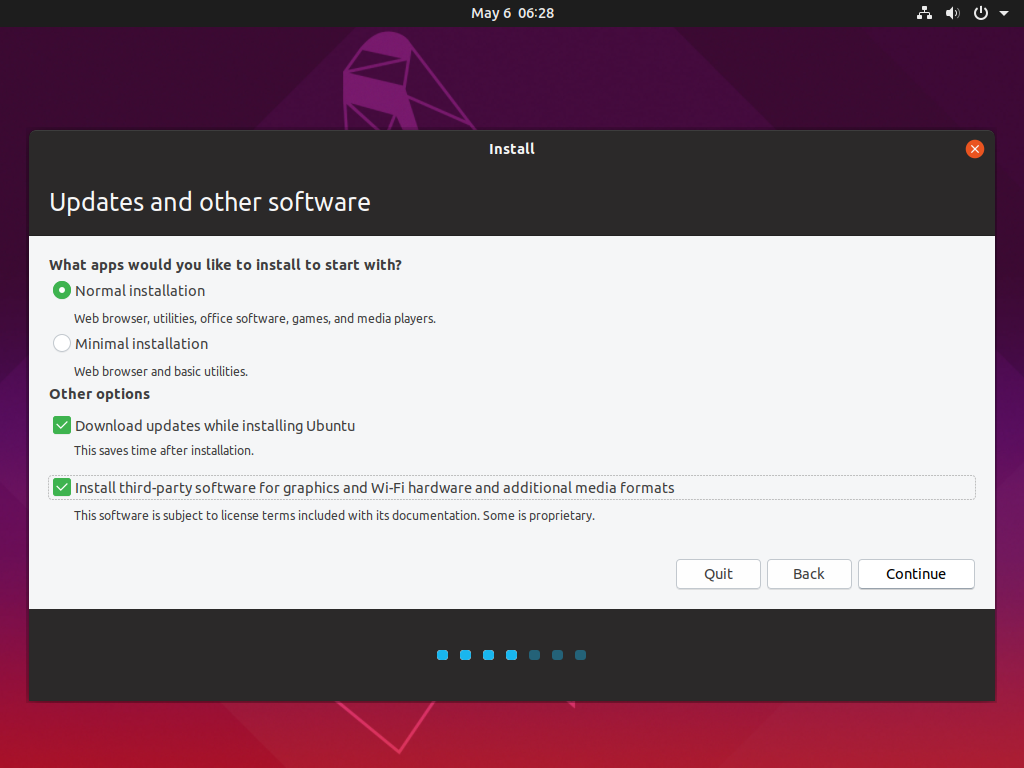
Keep the default selection as shown in image below and select Install third-party software for smooth installation of Ubuntu on your laptop or desktop.
Click Continue.
We are installing Ubuntu in a separate partitions so we have to choose Something else as shown in below screenshot.
Click Continue
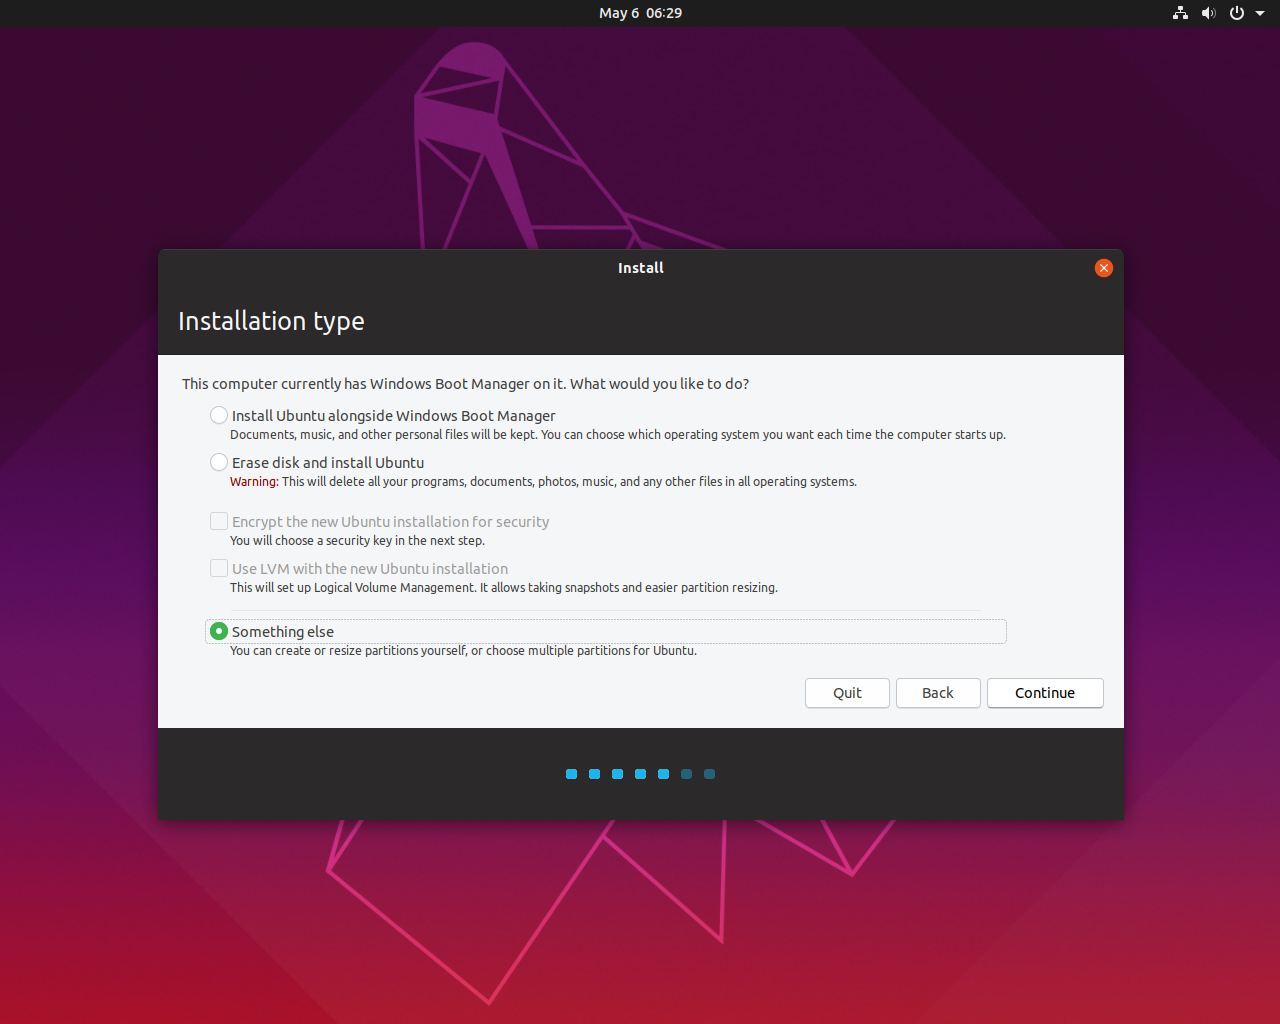
Warning: Carefully choose your free disk space to create file system for Ubuntu installation. Do not touch other partitions as they are coming from Windows. Leave all other partitions and disk space untouched.
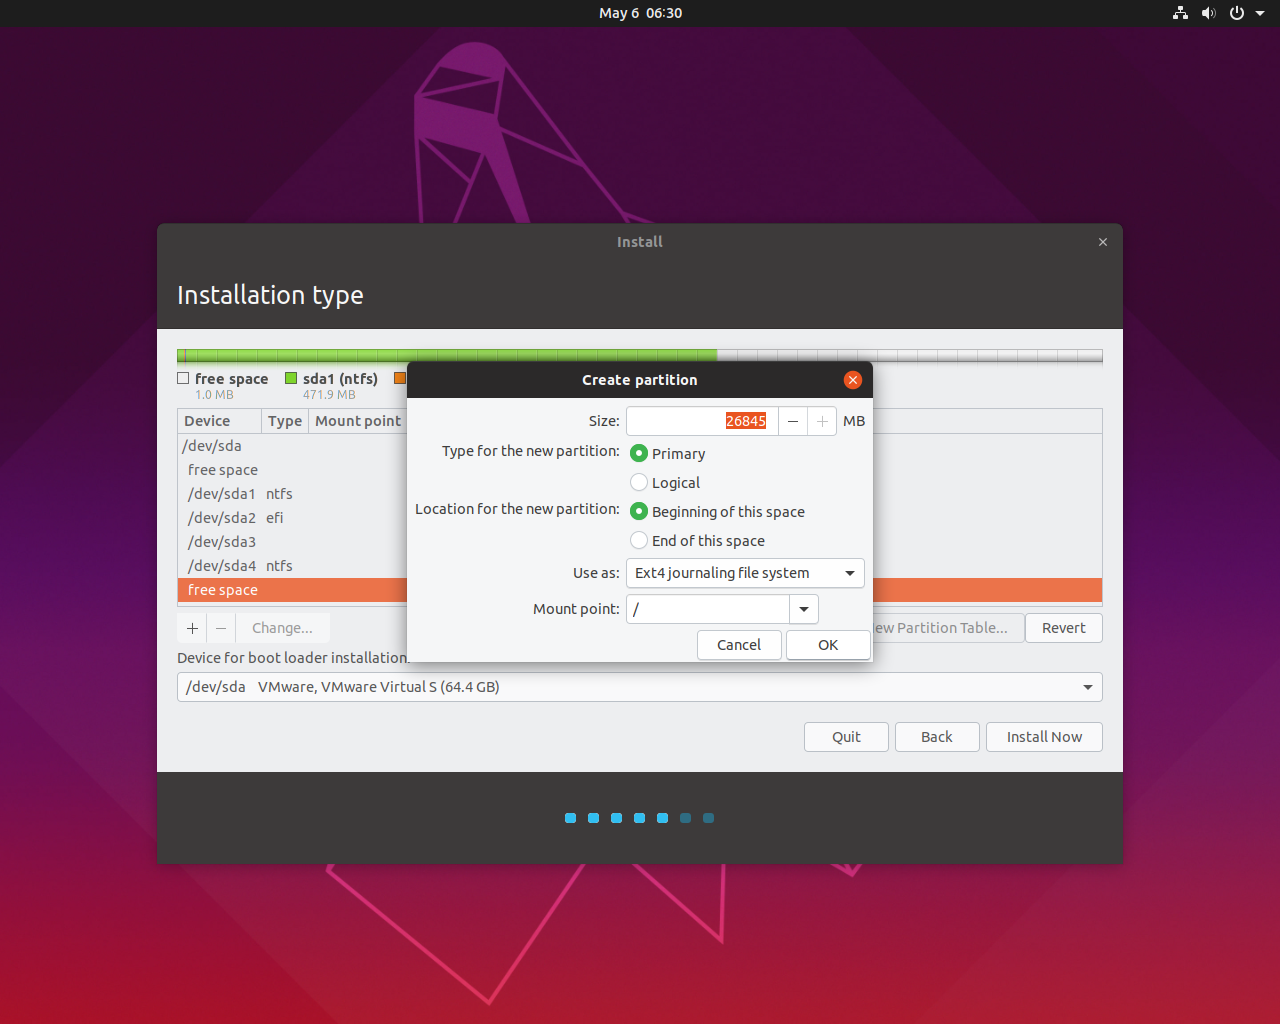
Click on + sign to create partition for Ubuntu.
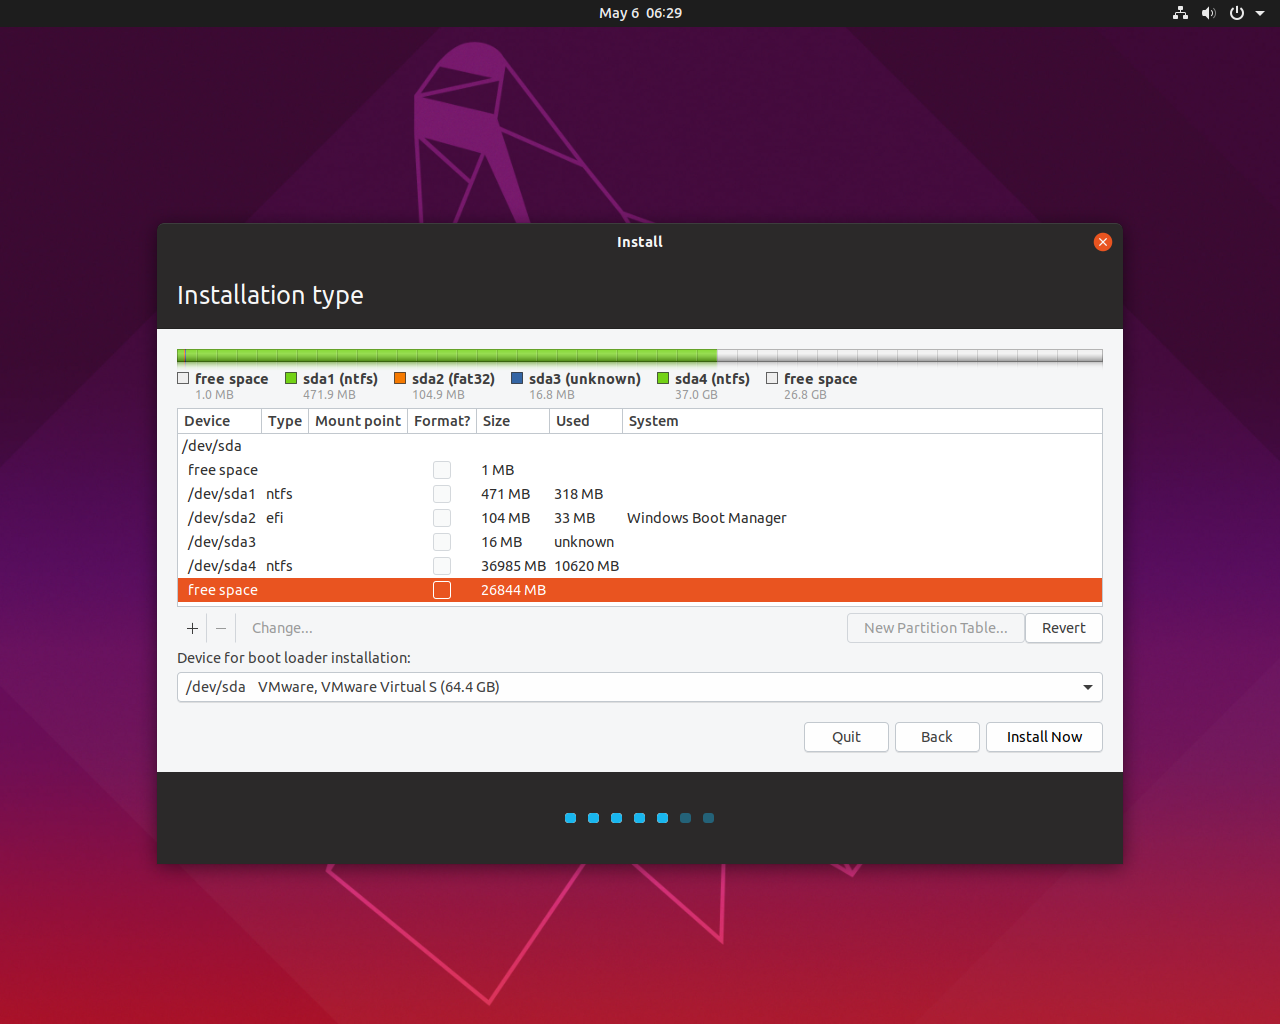
I will use entire 25 GB space for / mount point. If you need separate mount point for /home etc then you have to create those mount point with appropriate space if you have luxury of enough disk space unlike me.
Click Ok.
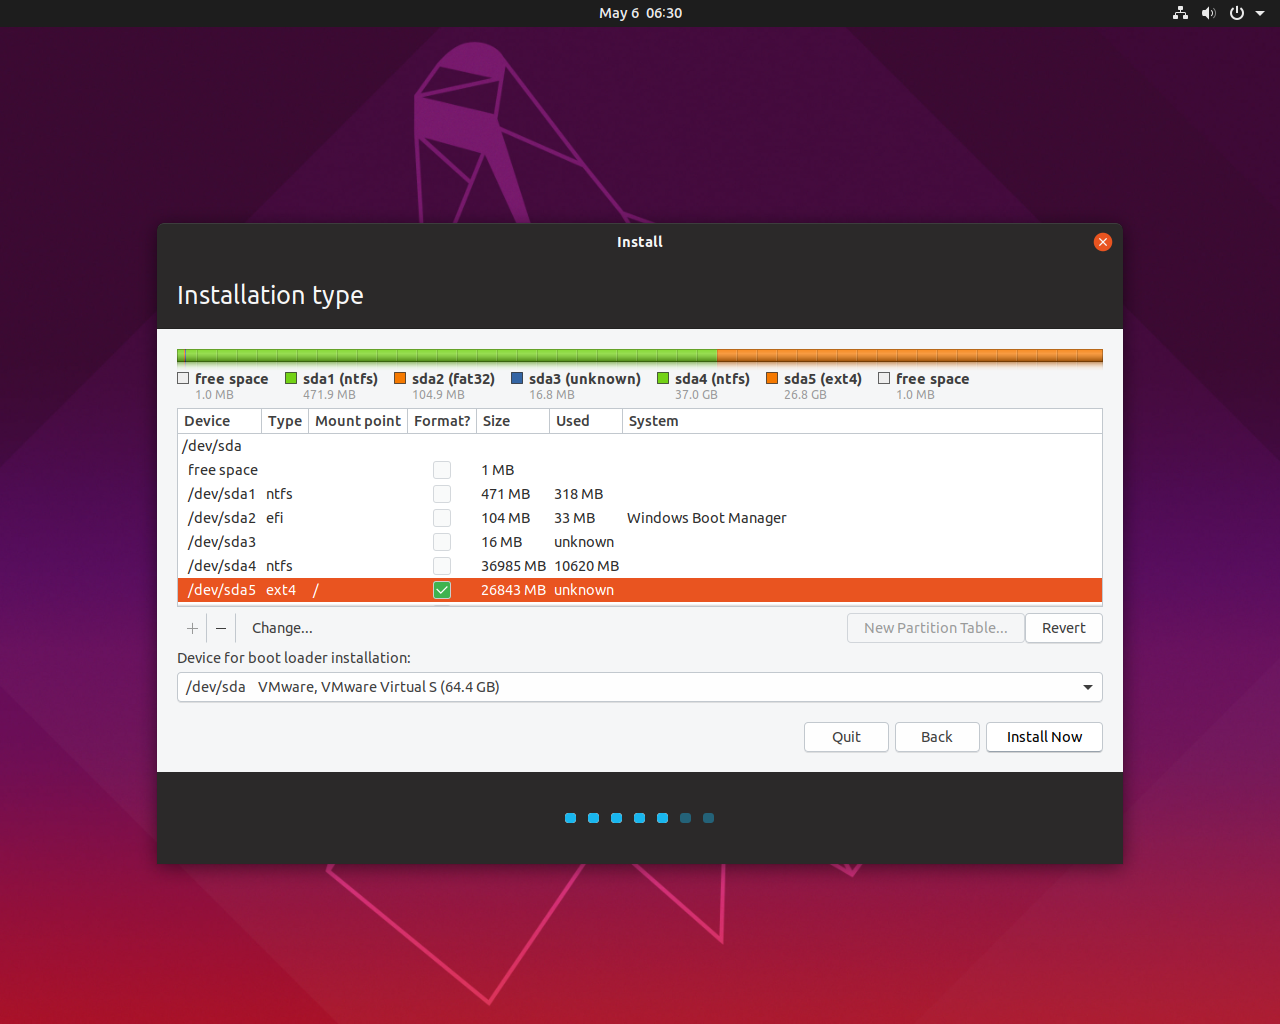
We have created ext4 file system for Ubuntu installation.
Click Install Now
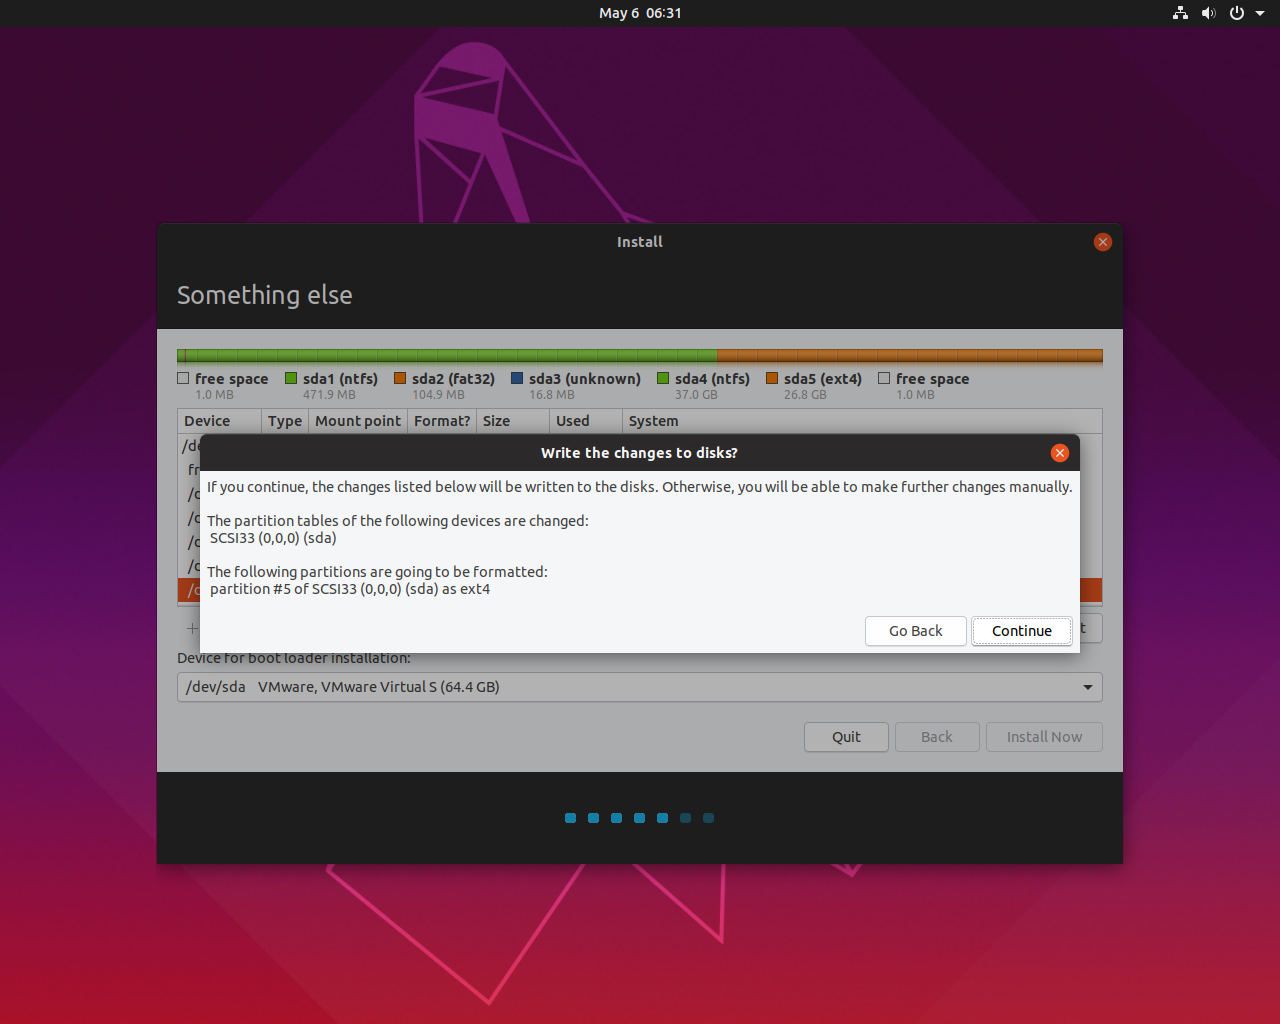
On write the changes to disks? click Continue.
Select your appropriate location from the map if it is not automatically selected and click Continue.

Provide login credentials here and memorize your password because you will need to log in into Ubuntu once installation completed.
Click Continue

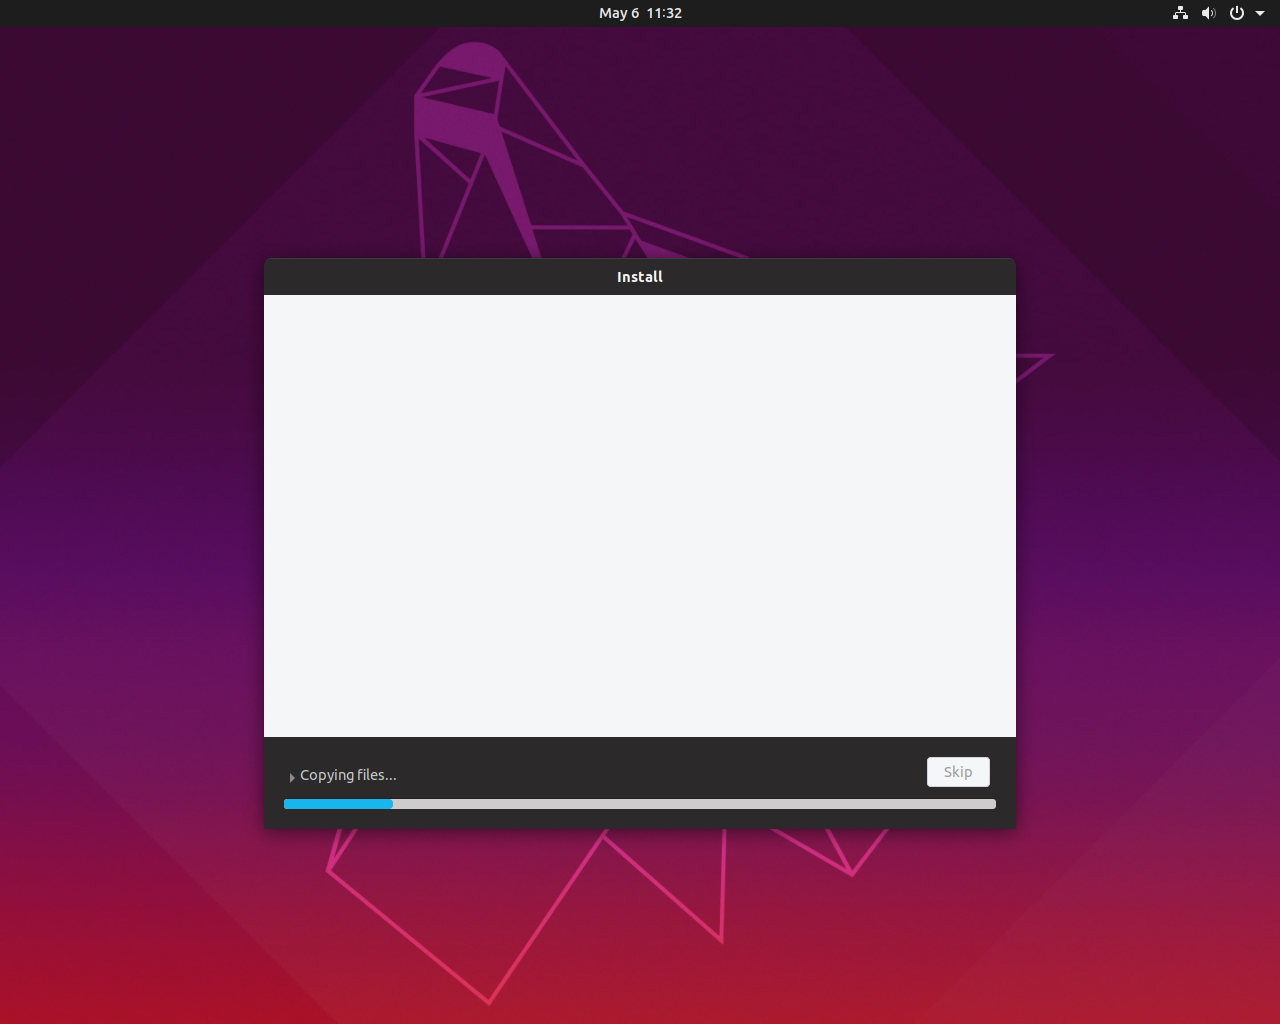
Installation begin.
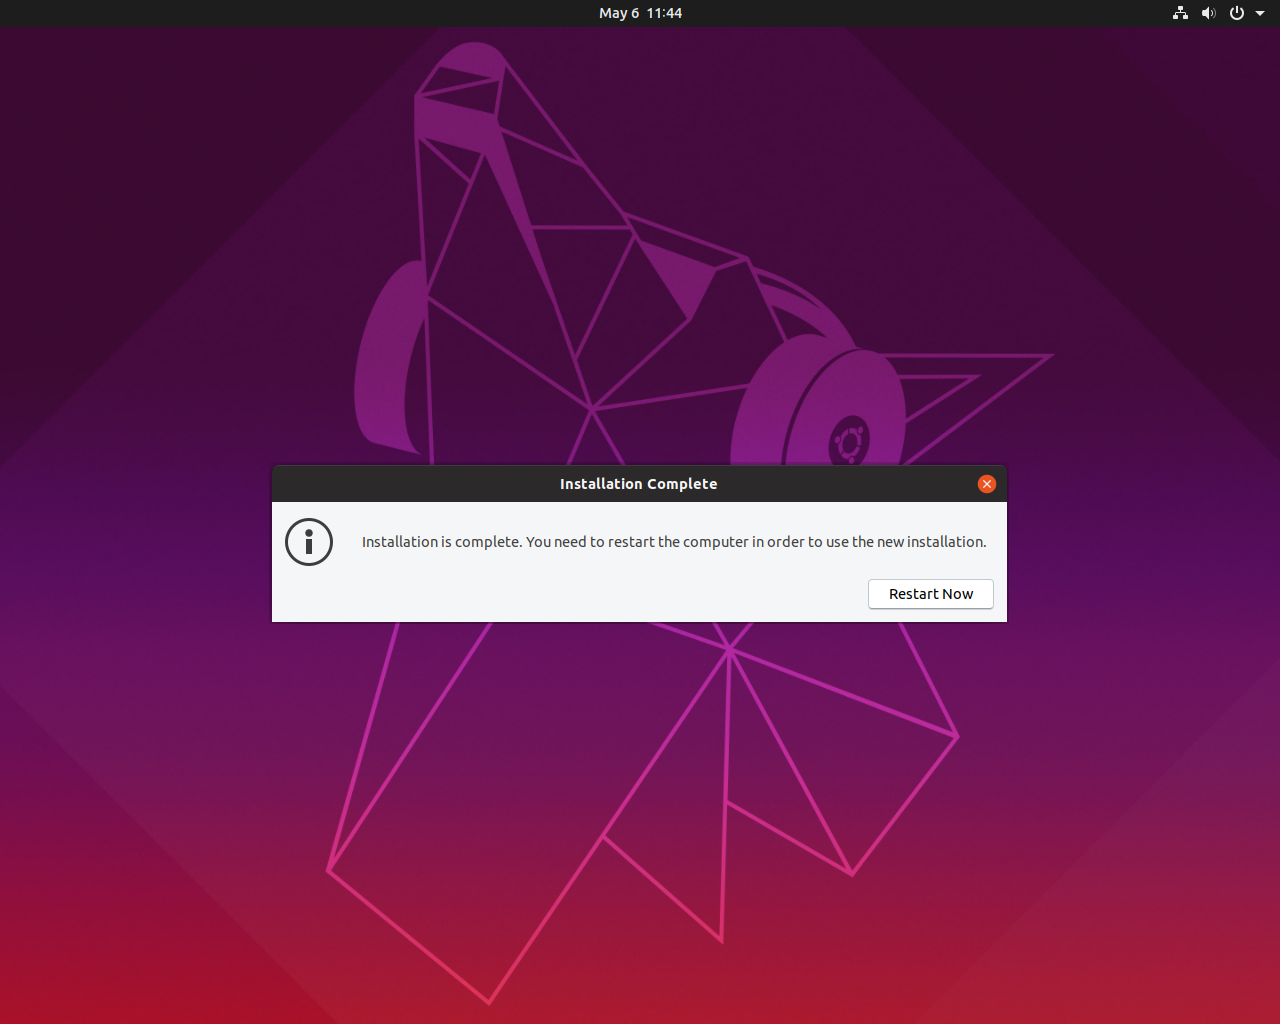
Click reboot
Remove Ubuntu installation media from your laptop or desktop and press ENTER.

You will see the following screen once reboot completes.
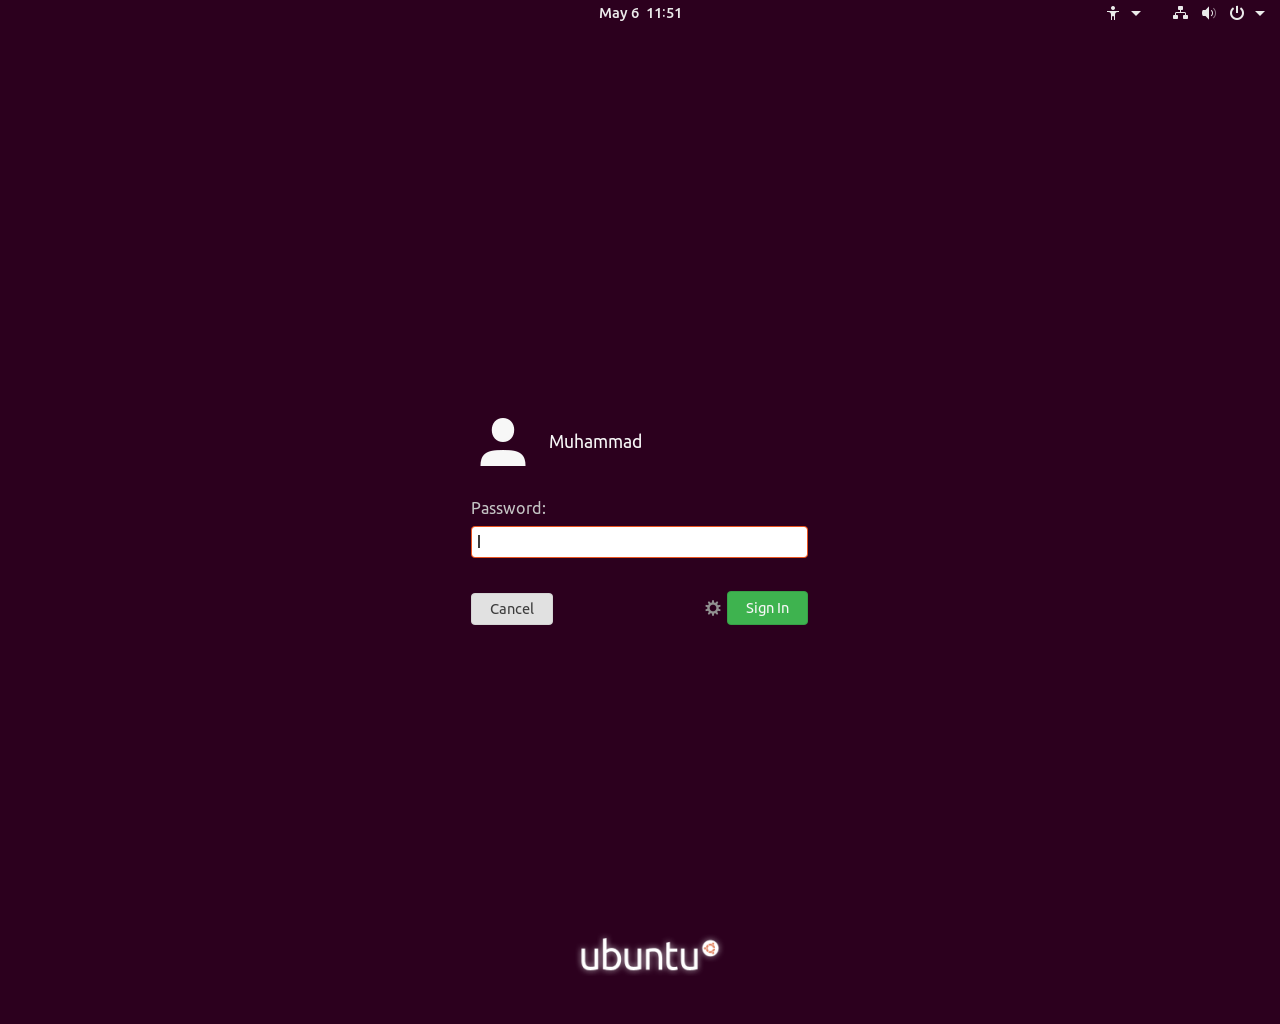
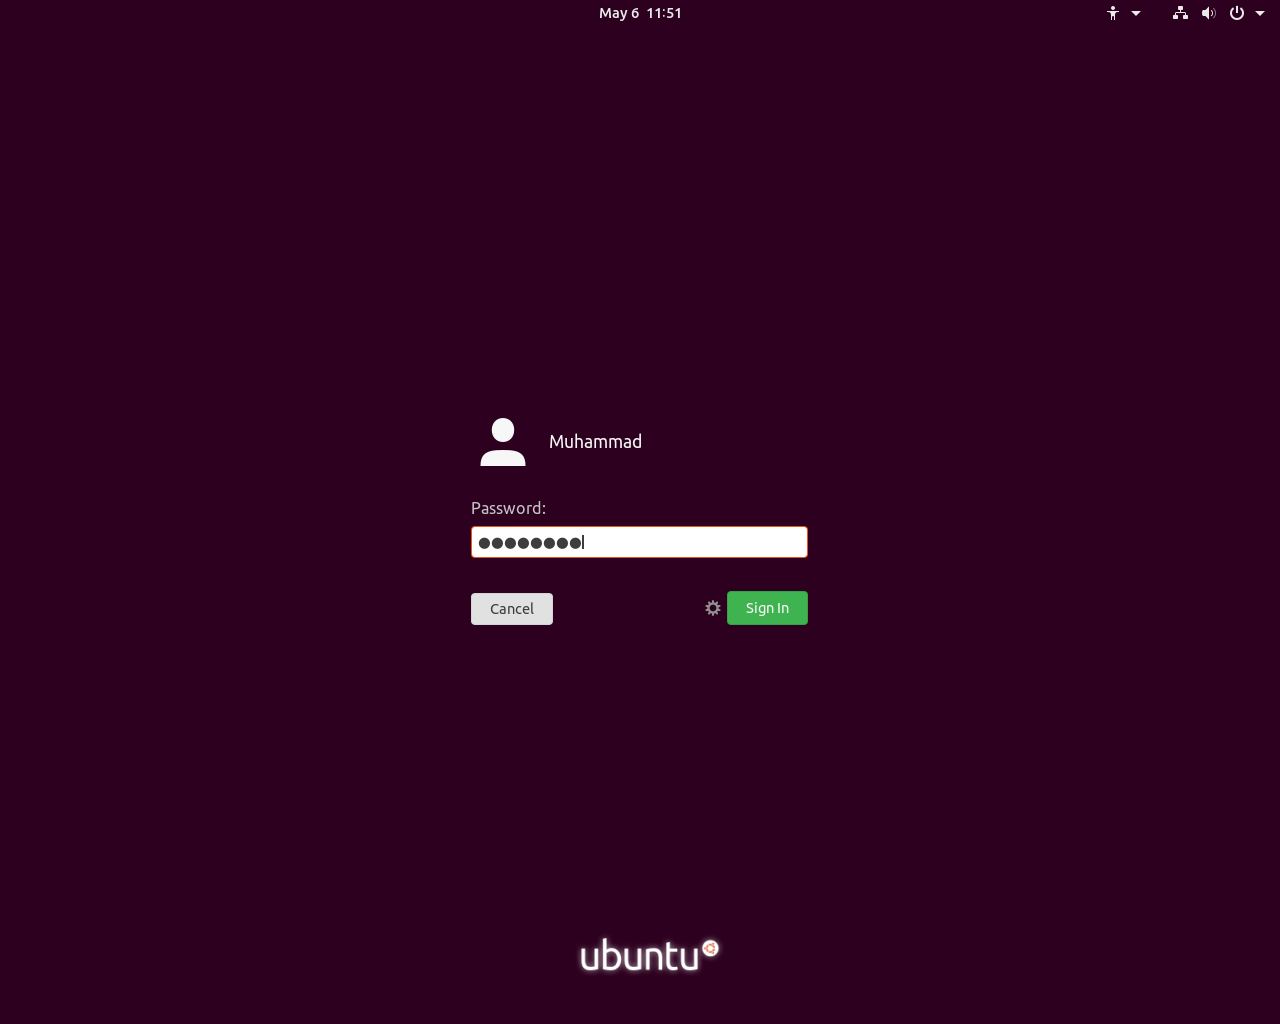
Log in with your Username and Password.
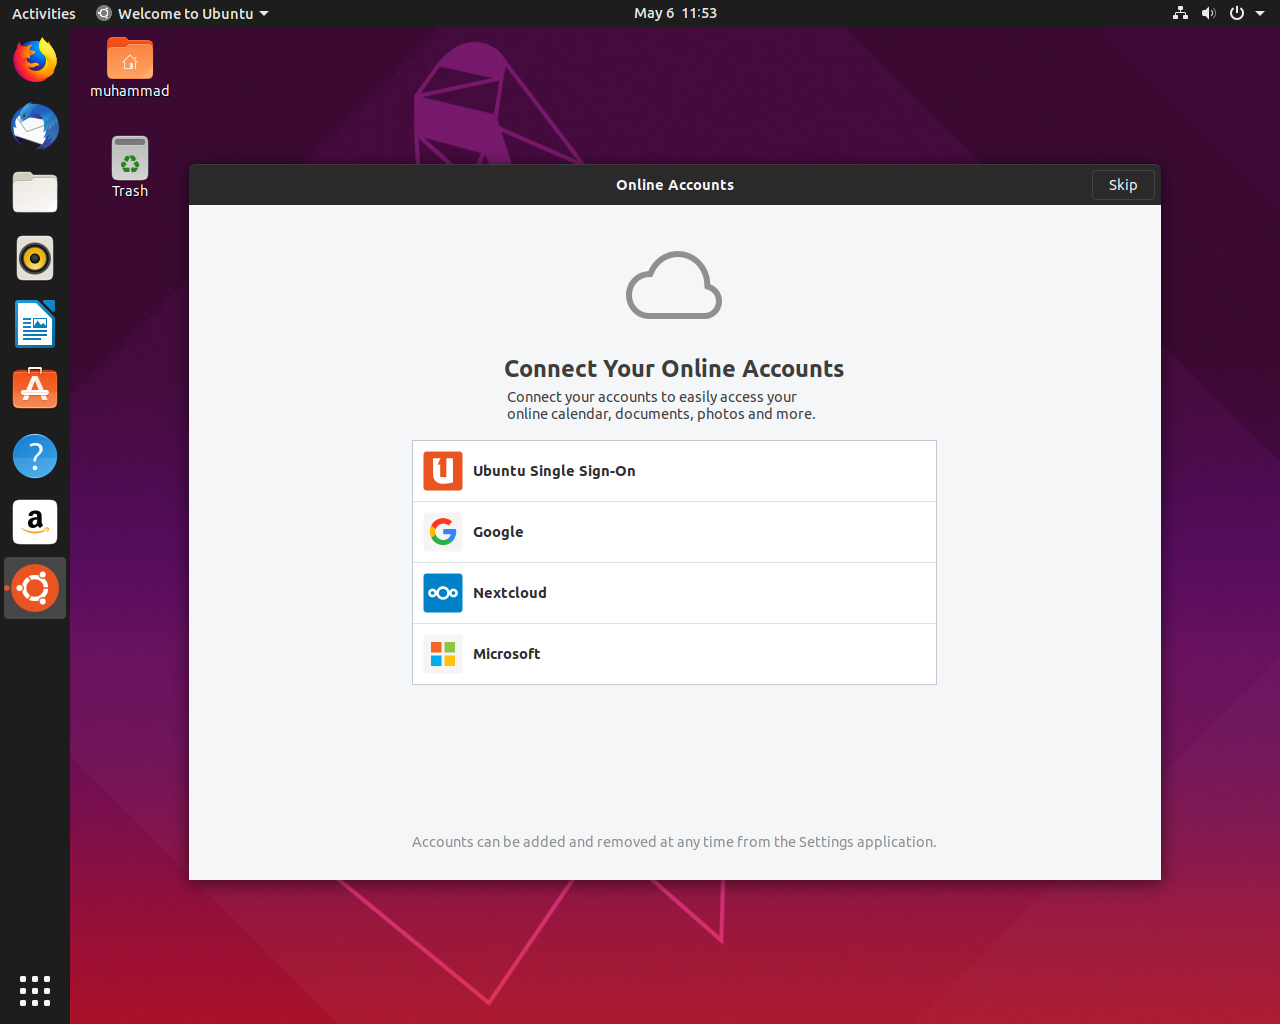
On the following screen, click Skip.
Click No, don't send system info and click Next

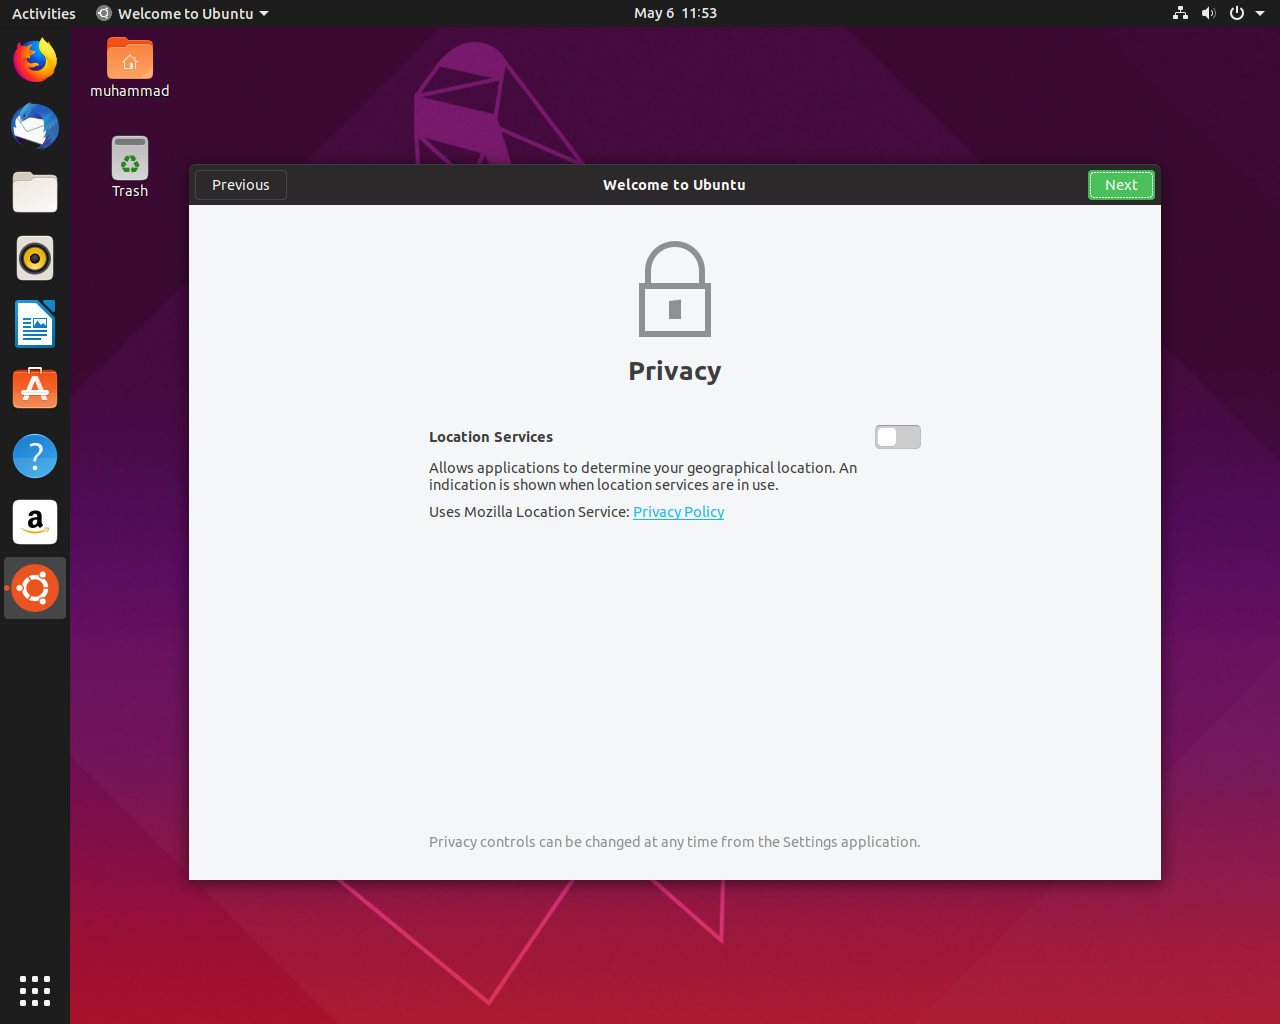
Taking privacy into consideration, i am not enabling location services.
Click Next
Click Next
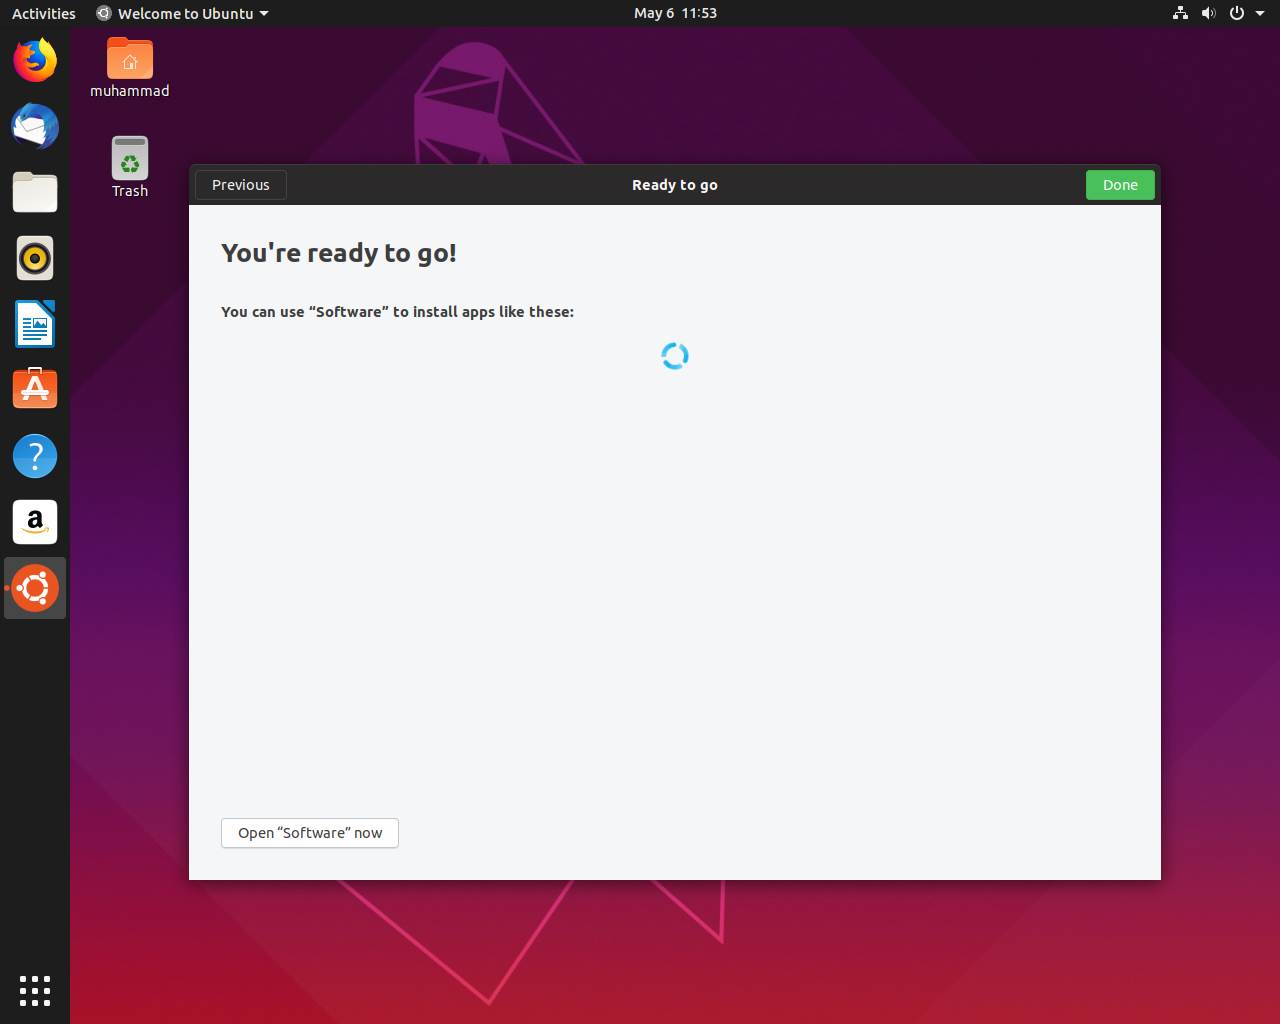
Click Done.

You have completed Ubuntu 19.04 desktop installation.
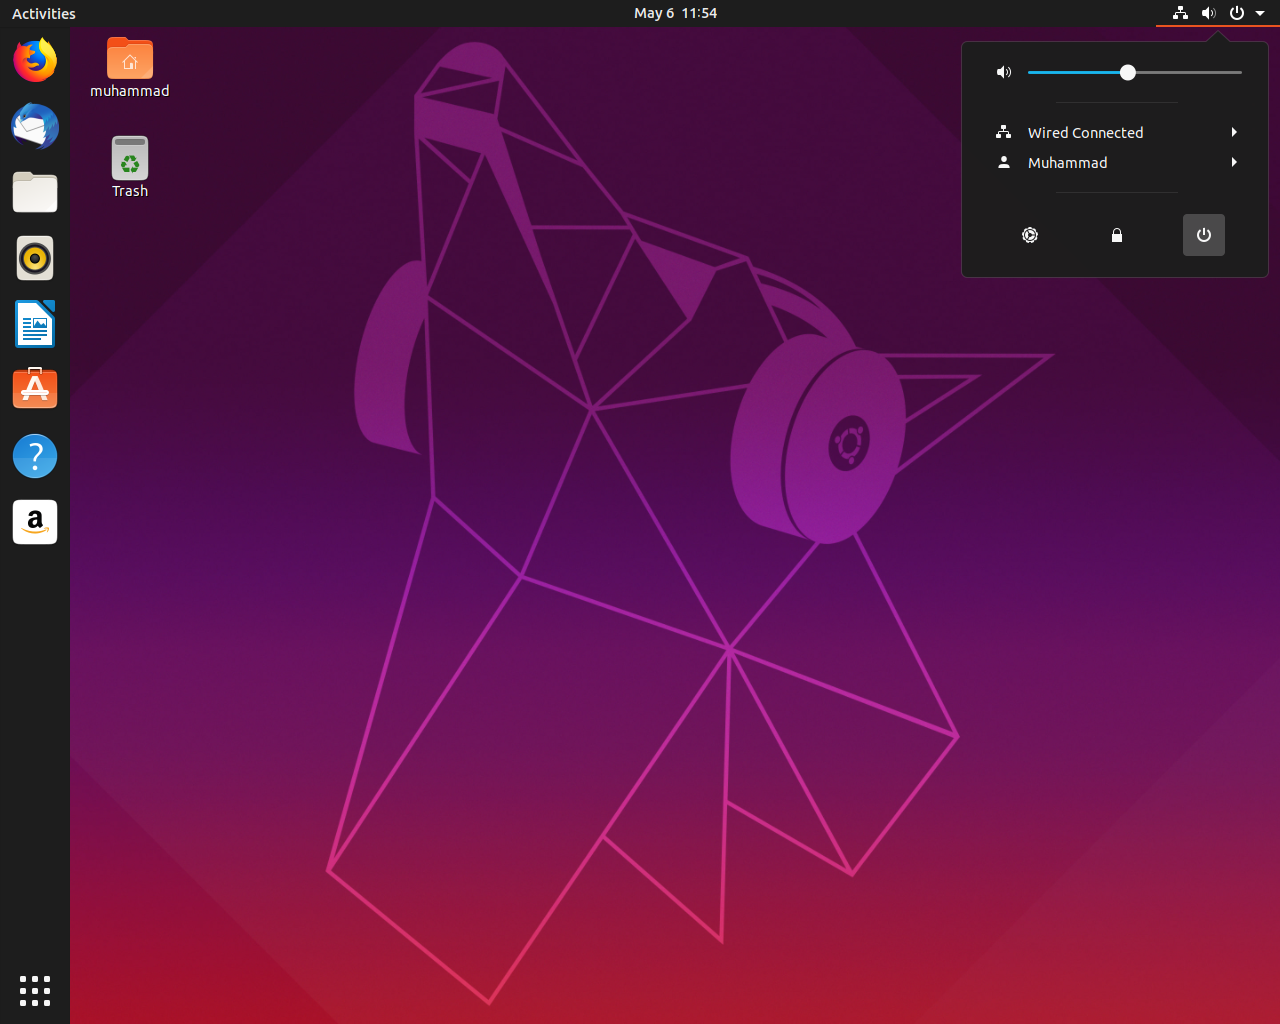
Now we need to check whether our Windows 10 is working in dual boot or not.
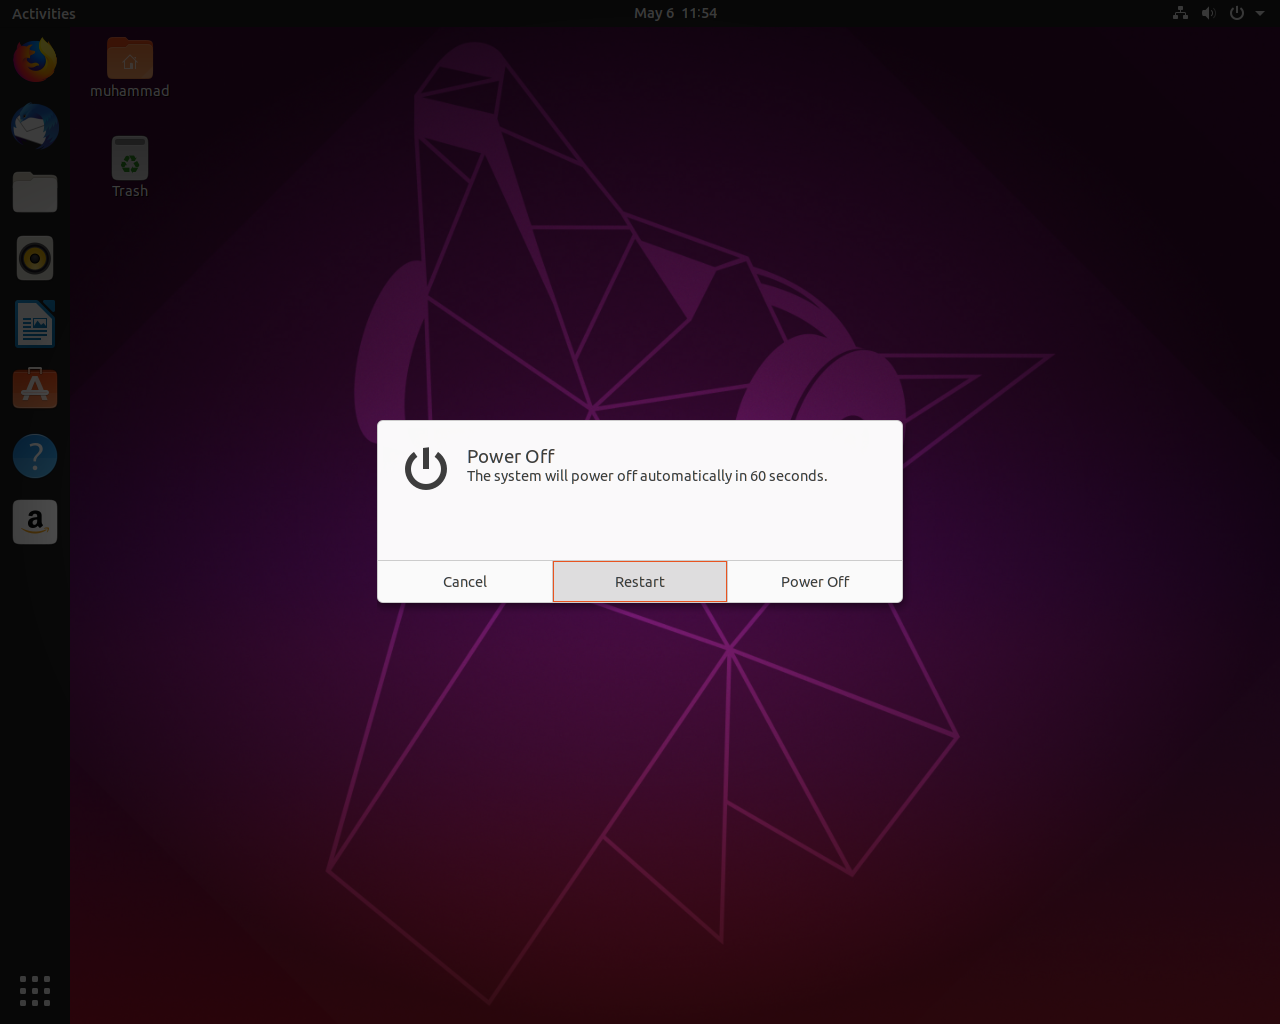
Let's reboot.
Click Restart
Choose *Windows Boot Manager..... to boot from Windows 10.
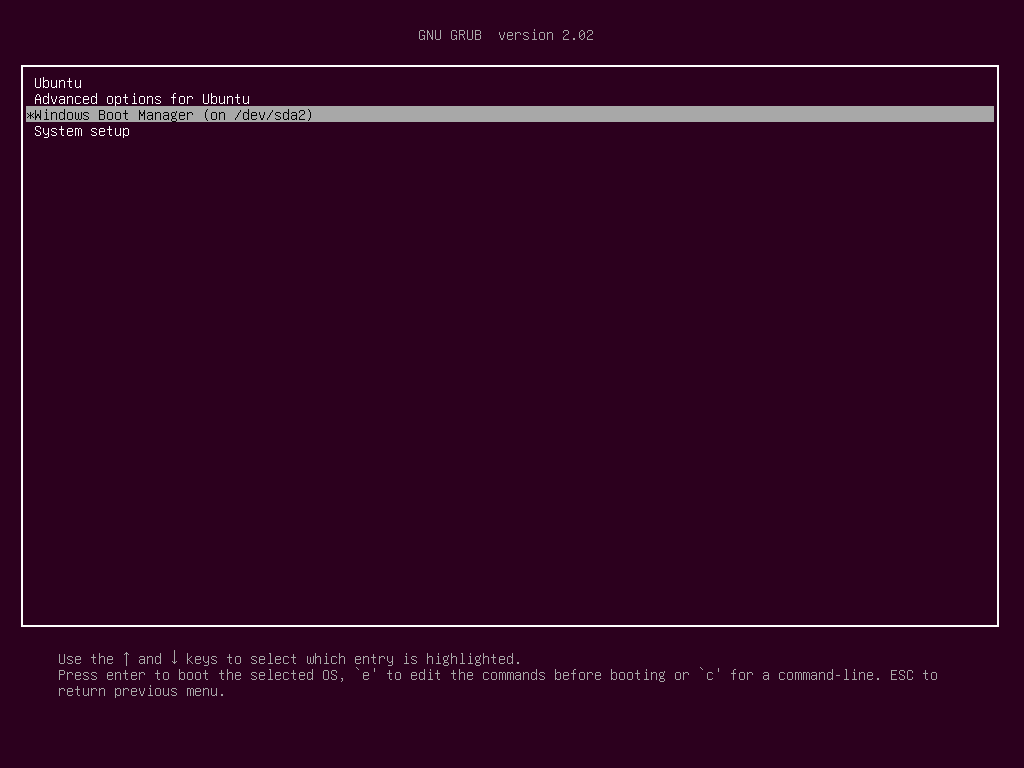
Excellent! Windows 10 has no issue at all.

Wrapping up
Now you have Ubuntu 19.04 desktop in a separate partition alongside Windows 10 in dual boot environment.