
Securing your network especially in current era of Cyber-attack is an incredibly challenging task, one that’s made even more difficult by software that adds yet another layer of complexity on top. IPFire, an open source Linux distribution geared specifically for the task of firewalls. This particular distribution is hardened, secure, easy to operate, and ready to serve enterprise, small-to-medium businesses, and even home users.
In this tutorial, we'll show you how to set up a linux based IPFire a user friendly firewall to protect your network from internal and external intruders.
Prerequisites
- You need to download IPFire ISO image file from here.
- Once you’ve downloaded the ISO image and burned it to either a CD/DVD or USB drive, insert the newly created media and boot the machine.
- You need at least two network interfaces, one for LAN and other for WAN network.
Installing IPFire
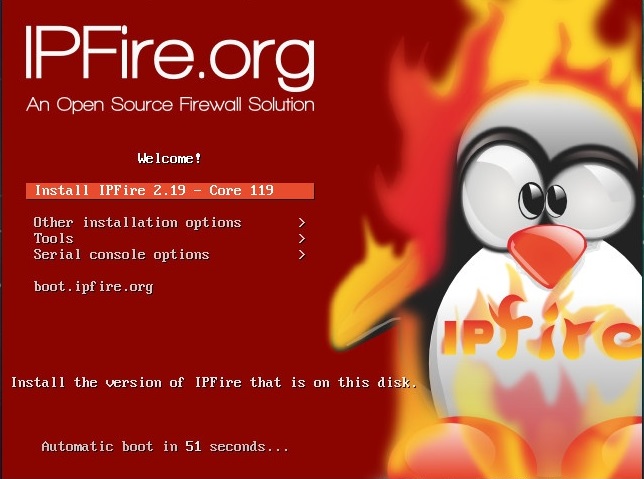
You will be presented following IPFire splash screen (Figure 1), where you need to select Install IPFire.
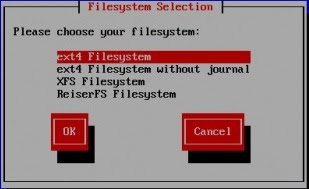
In the next few windows (Figure 2), you will have to accept the license, configure the language, and partition/format the drive.
This portion of the installation will complete very quickly and then require you to reboot. Once you’ve rebooted, you will be presented with the next phase of the installation, where you’ll configure the keyboard mapping, timezone (make sure this is correct), hostname, domain name, root user password, admin user (for the web interface) password, and then the network options.
Here (Figure 3), you must select from the four options:
- GREEN + RED
- GREEN + RED + ORANGE
- GREEN + RED + BLUE
- GREEN + RED + ORANGE + BLUE
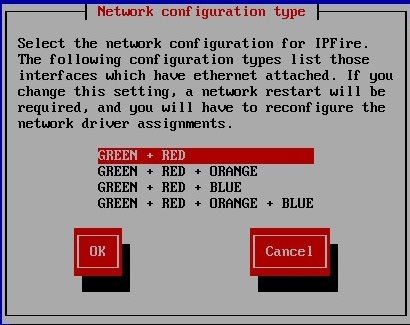
What do these choices all mean?
- Red - WAN - External network connected to the Internet
- Green - LAN - Internal/Private network connected locally
- Orange - DMZ - The DeMilitarized Zone, an unprotected/Server network accessible from the internet
- Blue - WLAN - Wireless Network
You will need to select the combination that best-suits your network. For my testing purpose, I’ve selected GREEN + RED. Once you’ve made that you will be returned to the Networking configuration menu. Select Drivers and card assignments. In this new window, you must assign a network card to a color. Select one of the colors and then, when prompted (Figure 4), assign an interface to the color.

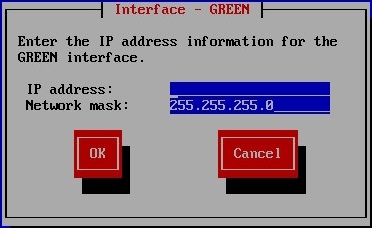
Once you’ve assigned the interfaces to colors, tab to Done and hit Enter on your keyboard. Back on the Network configuration menu, select Address settings. In the next window, select a color and then configure it for your network. You’ll need to give it an IP address and a network mask (Figure 5).
Make sure to configure both network interfaces. Once you’ve done that, tab to Done and hit Enter on your keyboard. The final network configuration is DNS and Gateway settings. Select that option and then, when prompted, enter the proper information (Figure 6).

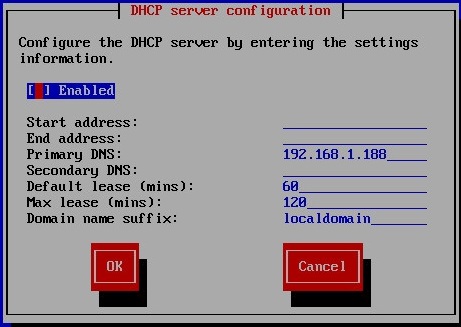
Once you’ve finished the network configuration, you can then set up an optional DHCP server (Figure 7).
At this point, IPFire will boot and land at a login prompt. You can either log in (using the user root and the password set during installation) or point your browser to http://SERVER_IP:444 (Where SERVER_IP is the IP address of the IPFire server).
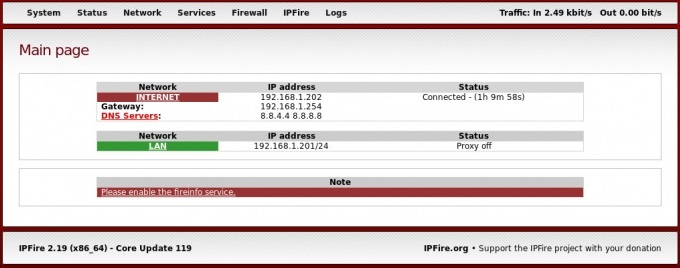
At the web interface, login with the user admin and the password you set for that user during installation. Once you’ve successfully logged in, you will be presented with the IPFire web-based interface (Figure 8).
At the web interface, login with the user admin and the password you set for that user during installation. Once you’ve successfully logged in, you will be presented with the IPFire web-based interface (Figure 8).
You are ready to start configuring your firewall. Let’s say you want to configure a port-forward rule (so that traffic from the WAN can be properly directed to an machine on your LAN). For this you’ll need an originating source and a target destination. To create the new rule, click Firewall > Firewall Rules. In the resulting window, click New rule.
You will now need to configure the port forwarding rule (Figure 9).
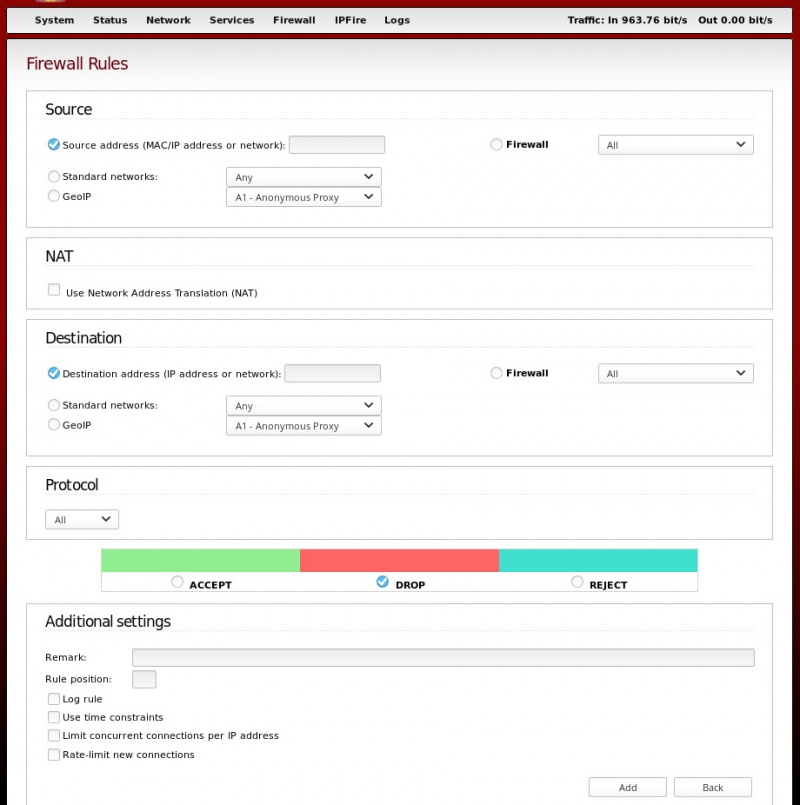
Select Source address and enter the address for the originating source. Next click the check box for User Network Address Translation (NAT) and select Destination NAT. Next you must select the firewall interface for the NAT rule.
In the Destination section, click the check box for Destination address and type the IP address for the destination. With the address added, select the necessary protocol for the translation. Once you’ve selected the protocol, you can then add the required source and destination port for the NAT (Figure 10).
In the Destination section, click the check box for Destination address and type the IP address for the destination. With the address added, select the necessary protocol for the translation. Once you’ve selected the protocol, you can then add the required source and destination port for the NAT (Figure 10).

Click Add (at the bottom of the window) and you will be presented with a window displaying your new rule. If everything is correct, click Apply changes and the new rule will be added to the system.
Wrapping up
That’s all there is to creating a new firewall rule with IPFire. For full documentation on firewall setup, check out the official IPFire Documentation.