If you share your computer with multiple people, you can use this guide to set time restrictions to their accounts using Command Prompt on Windows 10.
If you must share your device with other people using a local account, the operating system doesn't offer a way to set time restrictions to an account -- at least it doesn't make it easy. Fortunately, Windows 10 like in previous versions includes a command you can use to limit access to a local account.
In this article, we'll walk you through the steps to set limits to a local account when sharing a device with other people.
How to set limits to a local account
- Use the Windows key + X keyboard shortcut to open the Power User menu and select Command Prompt (admin).
- Type the following command to get a list of all the accounts on your computer and press Enter:
net user - Enter the following command and press Enter:
net user USERACCOUNT /times:DAYS, TIME

In addition, you can also set multiple time restrictions using a semicolon.
Here's an example of the command setting restrictions from Monday to Wednesday from 9 am to 4 pm, and on Thursday from 11 am to 8 pm:
net user WCUser /times:M-W,9:00-16:00;T,11:00-20:00Once you completed the steps, the user will only be able to sign in only within the allowed times.
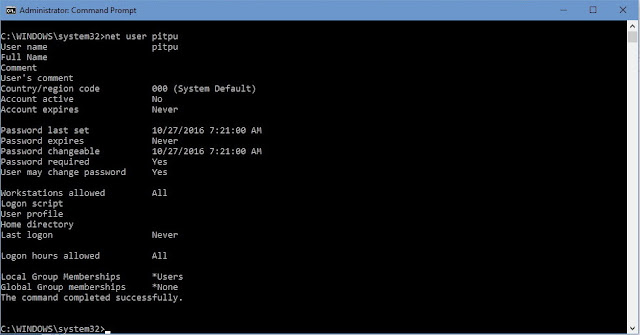
To view the current logon hours allowed for the account, do the following:
- Use the Windows key + X keyboard shortcut to open the Power User menu and select Command Prompt (admin).
- Type the following command and press Enter:
net user USERACCOUNT

To remove the time limits, do the following:
- Use the Windows key + X keyboard shortcut to open the Power User menu and select Command Prompt (admin).
- Type the following command and press Enter:
net user USERACCOUNT /times:all
Note: Remember to replace "USERACCOUNT" with the name of the account you want to remove the sign in restrictions.
Keep in mind that signed in users won't get kicked out of their accounts in the event they signed in within the allowed time. This is only to prevent users from accessing an account outside of the time limits.