This article will show you a simple upgrade of Enterprise Manager Cloud Control 13c Release 1 (13cR1) to 13c Release 2 (13cR2). Each upgrade potentially requires additional steps, so this article is not meant as a replacement for reading the documentation.
- Software
- Prerequisites
- Cloud Control 13c Installation and Upgrade
- Agent Upgrade
- Startup/Shutdown
Software
Download the following software:Prerequisites
Make sure the privileges for theDBMS_RANDOM package are as described in the documentation. This should already be done as it was a requirement for the 13.1 installation, but it's worth checking.export ORACLE_SID=emrep
export ORAENV_ASK=NO
. oraenv
export ORAENV_ASK=YES
sqlplus / as sysdba
GRANT EXECUTE ON dbms_random TO dbsnmp;
GRANT EXECUTE ON dbms_random TO sysman;
REVOKE EXECUTE ON dbms_random FROM public;Make sure there are no invalid objects in the repository database.
SELECT owner, object_name, object_type
FROM   dba_objects
WHERE  status = 'INVALID'
AND    owner IN ('SYS', 'SYSTEM', 'SYSMAN', 'MGMT_VIEW', 'DBSNMP', 'SYSMAN_MDS');
If you have any, recompile them using the following commands. Only pick the schemas that have invalid objects though.
EXEC UTL_RECOMP.recomp_serial('SYS');
EXEC UTL_RECOMP.recomp_serial('DBSNMP');
EXEC UTL_RECOMP.recomp_serial('SYSMAN');
Copy the emkey using the following commands, adjust as required. You will have to enter the Cloud Control sysman password.
$ export OMS_HOME=/u01/app/oracle/middleware
$ $OMS_HOME/bin/emctl config emkey -copy_to_repos
Oracle Enterprise Manager Cloud Control 13c Release 1
Copyright (c) 1996, 2015 Oracle Corporation. All rights reserved.
Enter Enterprise Manager Root (SYSMAN) Password :
The EMKey has been copied to the Management Repository. This operation will cause the EMKey to become unsecure.
After the required operation has been completed, secure the EMKey by running "emctl config emkey -remove_from_repos".
$
$ $OMS_HOME/bin/emctl status emkey
Oracle Enterprise Manager Cloud Control 13c Release 1
Copyright (c) 1996, 2015 Oracle Corporation. All rights reserved.
Enter Enterprise Manager Root (SYSMAN) Password :
The EMKey is configured properly, but is not secure. Secure the EMKey by running "emctl config emkey -remove_from_repos".
$
Stop the OMS and the agent.
export OMS_HOME=/u01/app/oracle/middleware
export AGENT_HOME=/u01/app/oracle/agent/agent_inst

$OMS_HOME/bin/emctl stop oms -all
$AGENT_HOME/bin/emctl stop agent
Create a directory for the new installation.
$ mkdir -p /u01/app/oracle/middleware2Backup your repository. In my case, Cloud Control runs on a VM, so a database backup was performed, as well as a whole VM backup.
For clarity, my starting 13cR1 installation had the following details.
HOSTNAME  : ol6-emcc.localdomain
DB Version: 12.1.0.2
ORACLE_SID: emrep
PORT      : 1521
URL       : https://ol6-emcc.localdomain:7802/em
Cloud Control 12c Installation and Upgrade
Run the installer.$ chmod u+x em13200_linux64.bin
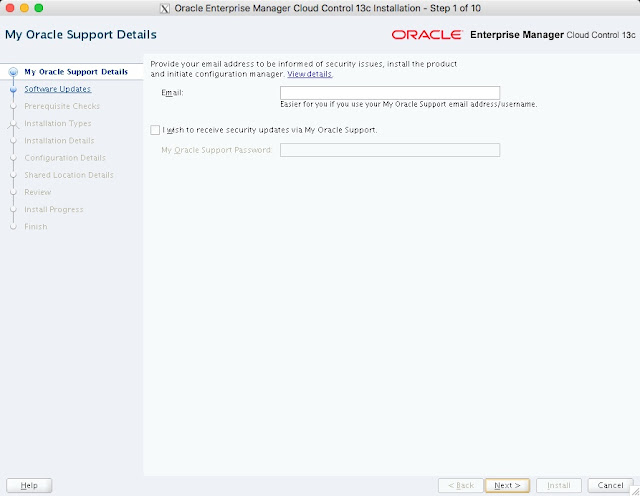
$ ./em13200_linux64.binIf you wish to receive support information, enter the required details, or uncheck the security updates checkbox and click the "Next" button. Click the "Yes" button the subsequent warning dialog.
If you wish to check for updates, enter the required details, or check the "Skip" option and click the "Next" button.

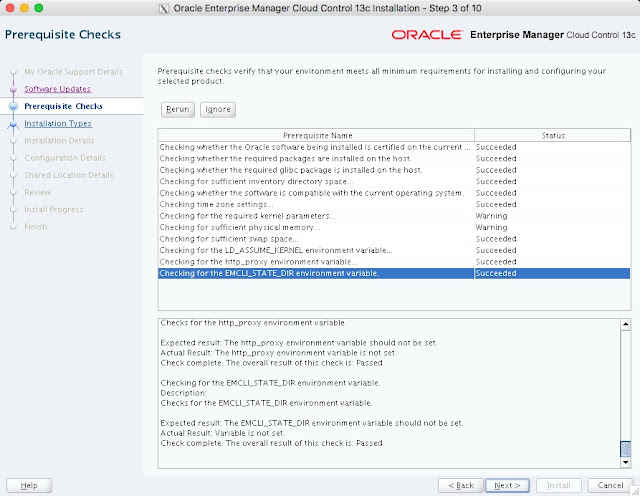
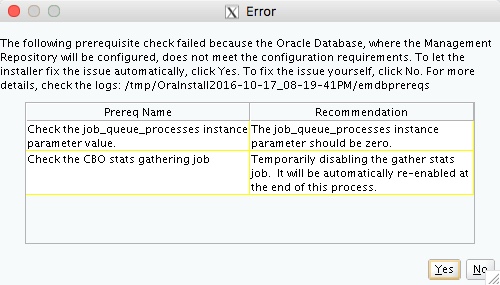
If you have performed the prerequisites as described, the installation should pass all prerequisite checks. Click the "Next" button. In this case I got a warning on the kernel parameters because my "ip_local_port_range" was larger than the required range and the basic memory check failure. I ignored them by clicking the "Ignore" button, then the "Next" button.
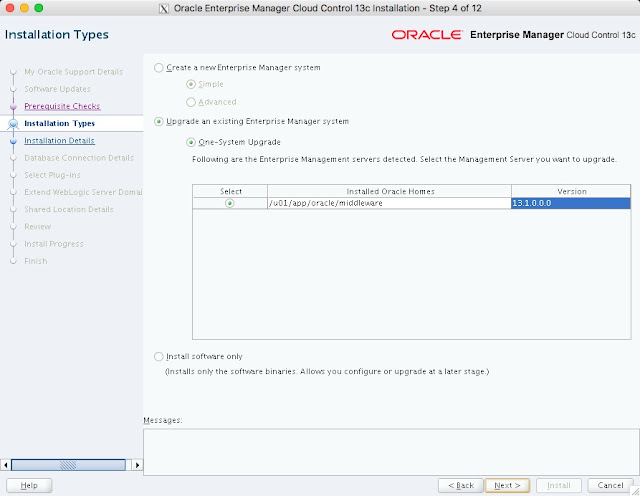
Select the "Upgrade an existing Enterprise Manager System" option. Select the "One-System Upgrade" option. Select the OMS to be upgraded, then click the "Next" button.
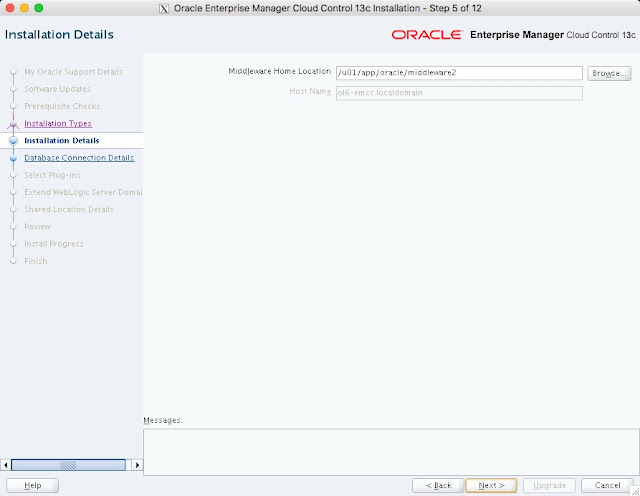
Enter the new middleware home location, I used "/u01/app/oracle/middleware2", then click the "Next" button.
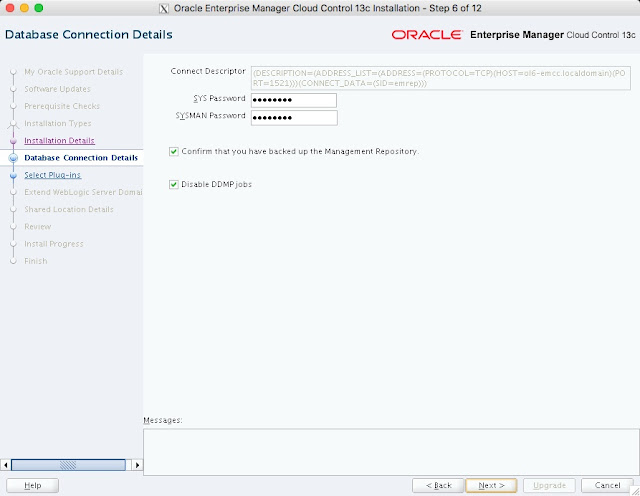
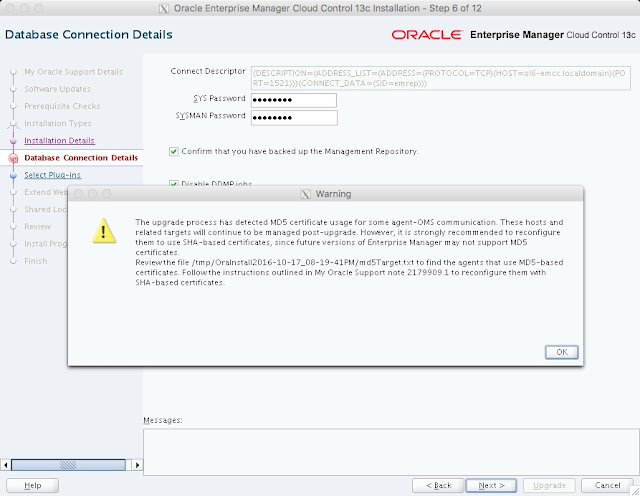
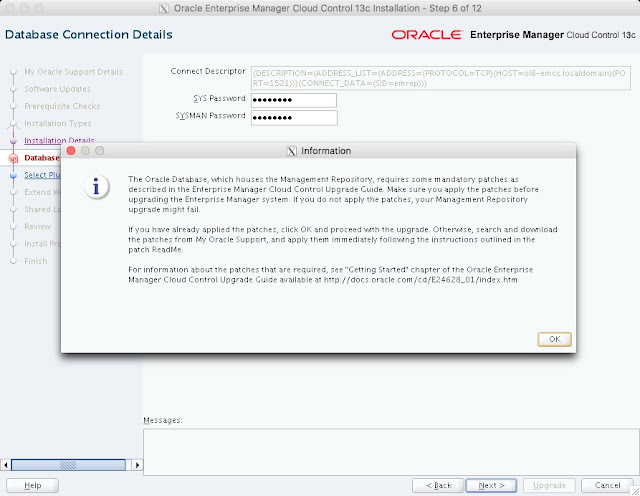
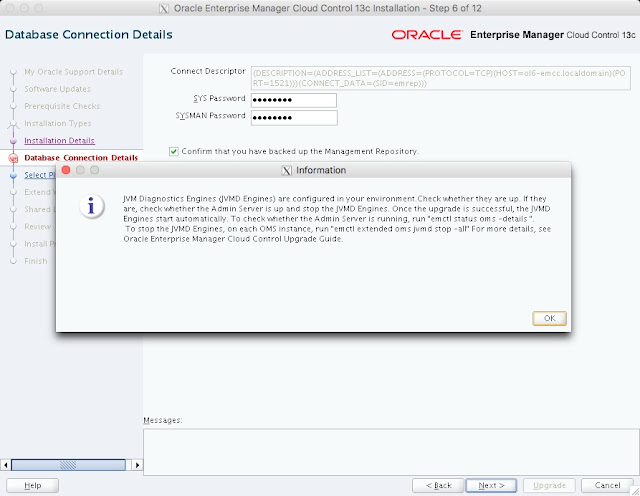
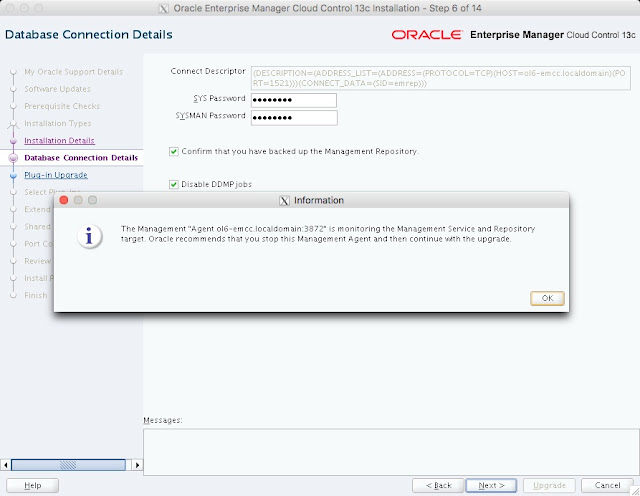
Enter the passwords for the SYS and SYSMAN users and check both the check boxes, then click the "Next" button.
Warning-1
Warning-2
Warning-3
Warning-4
Warning-5
Warning-6

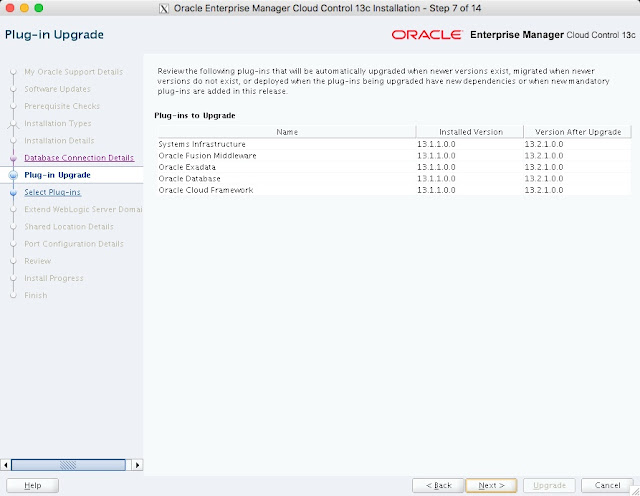
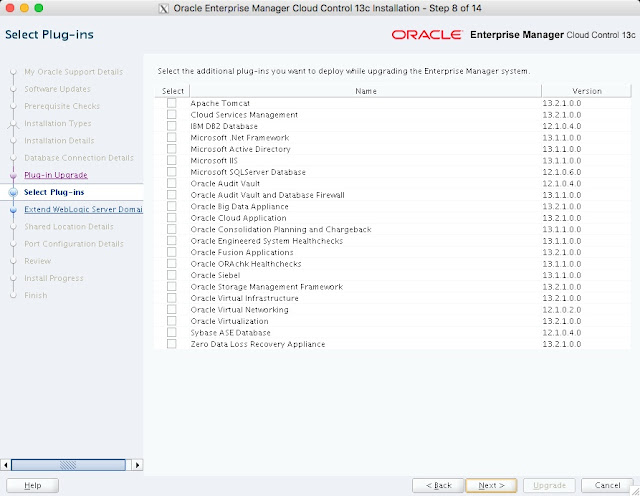
If you are happy with the plug-in upgrade information, click the "Next" button.
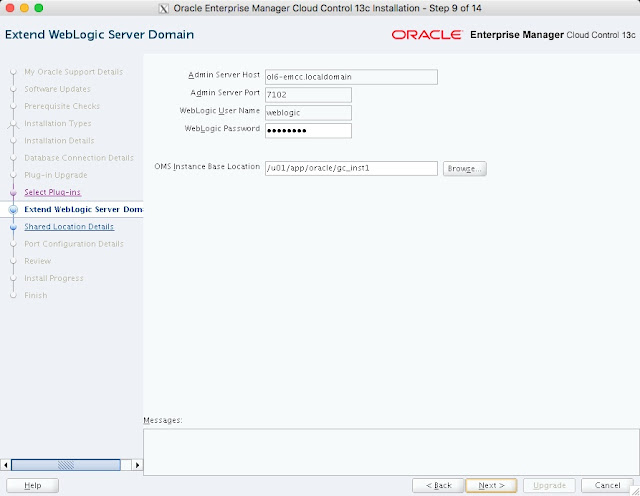
Enter the WebLogic details, then click the "Next" button. Just add a number on to the end of the OMS Instance Base Location specified by default. I used "/u01/app/oracle/gc_inst1".
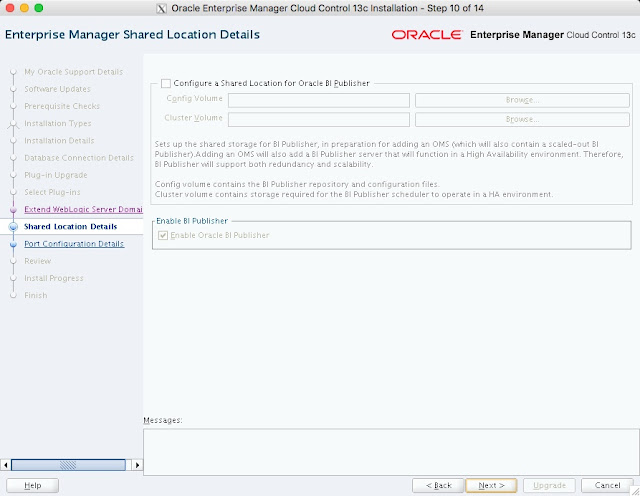
This is a simple installation, using just a single OMS, so I don't need a shared location for BI Publisher. As a result, I unchecked the "Configure a Shared Location for Oracle BI Publisher", but I left the "Enable Oracle BI Publisher" option checked. If you plan to use a multiple OMS setup, then configure shared storage, like NFS, and put the relevant paths in here. Click the "Next" button.
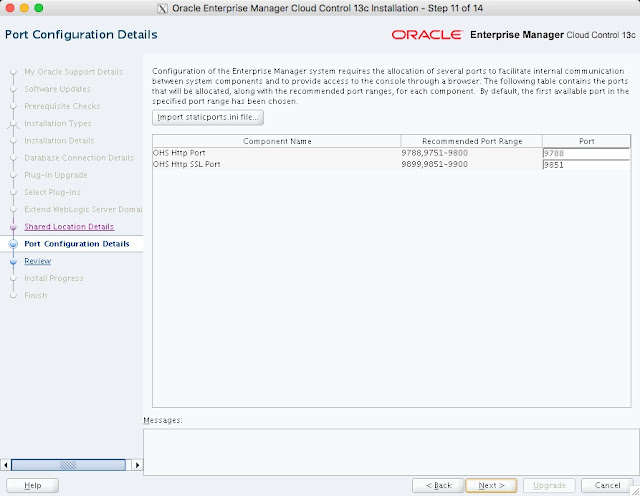
Accept the default ports by clicking the "Next" button.
If you are happy with the review information, click the "Upgrade" button.

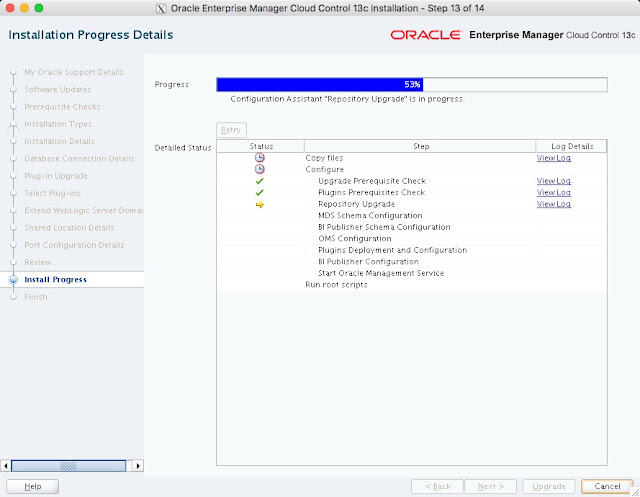
Wait while the installation and configuration take place.
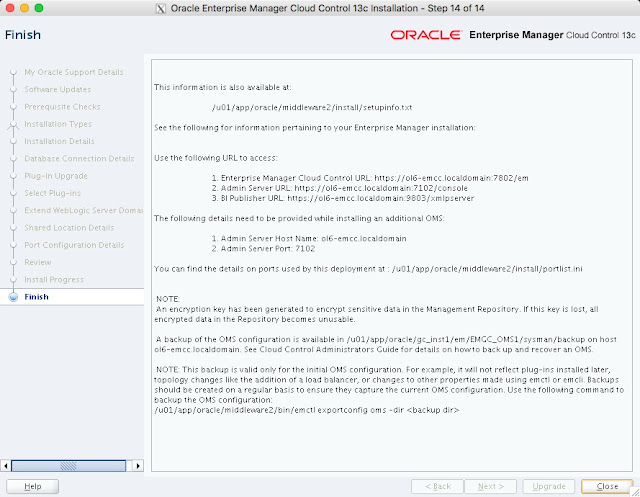
When prompted, run the root scripts, then click the "OK" button.

Make note of the URLs, then click the "Close" button to exit the installer. A copy of this information is available in the "/u01/app/oracle/middleware2/install/setupinfo.txt" file.
$ export AGENT_HOME=/u01/app/oracle/agent/agent_inst
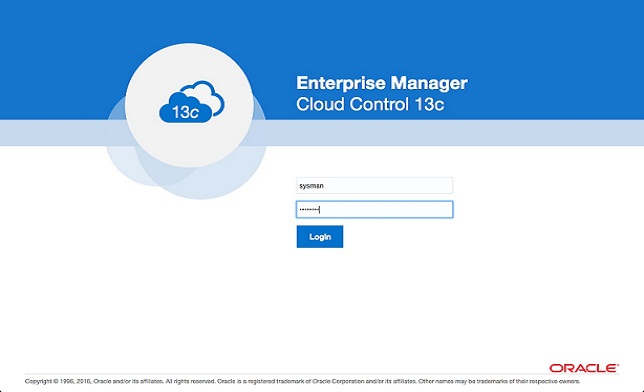
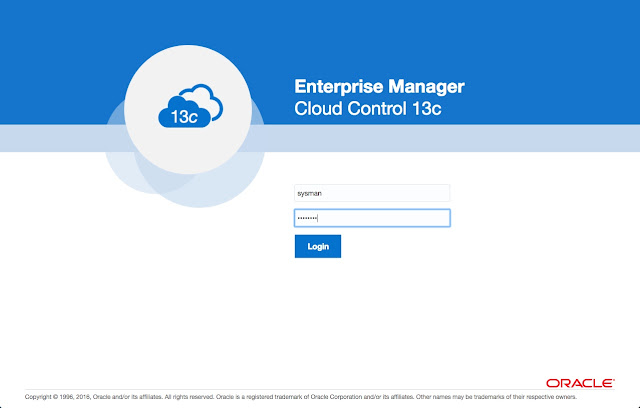
$ $AGENT_HOME/bin/emctl start agentThe login screen is available from a browser using the URL provided in the previous screen ("https://ol6-emcc.localdomain:7802/em"). Log in with the username "sysman" and the password you specified during your installation.
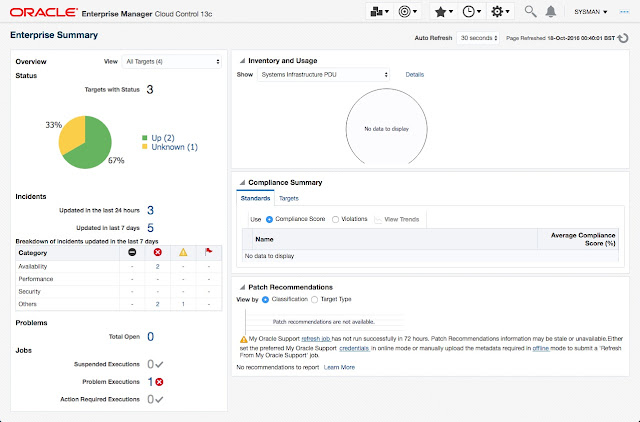
Once logged in, you are presented with a with the "Accessibility Preference" screen. Click the "Save and Continue" button and you are presented with the the "License Agreement" screen. Click the "I Accept" button and you are presented with the homepage selector screen. On the right side of the screen it lists the post-installation setup tasks you need to work through. I have these documented in a separate article. Select the desired homepage (I chose Summary).

You are presented with the selected screen as the console homepage.
Agent Upgrade
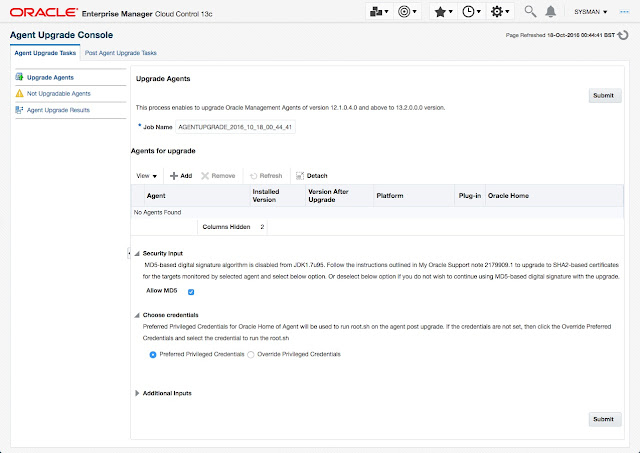
Navigate to "Setup (cog icon) > Manage Cloud Control > Upgrade Agents".
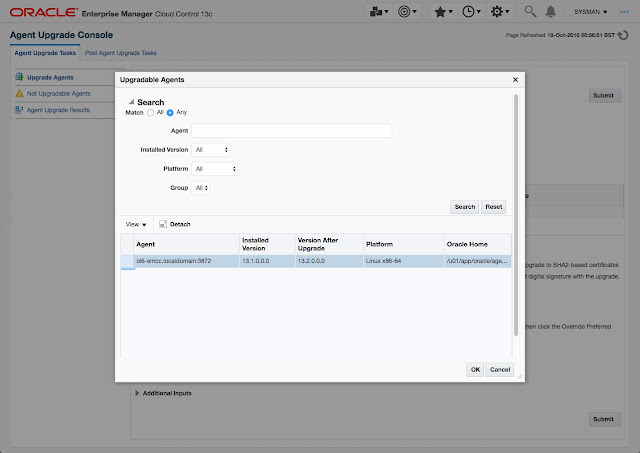
Click the "+ Add" button, highlight any agents to upgrade, then click the "OK" button.
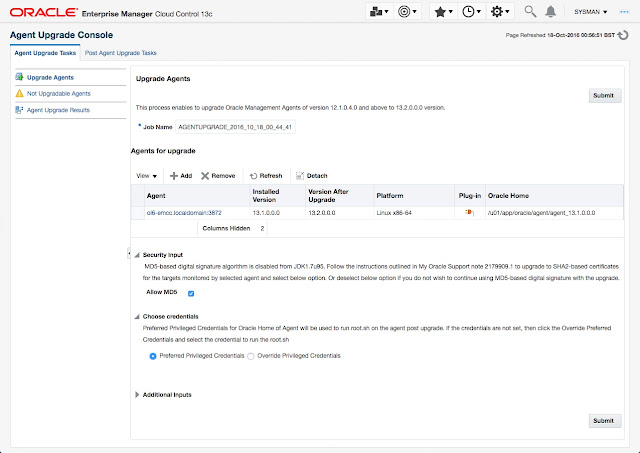
When you are happy with your selection, click the "Submit" button.
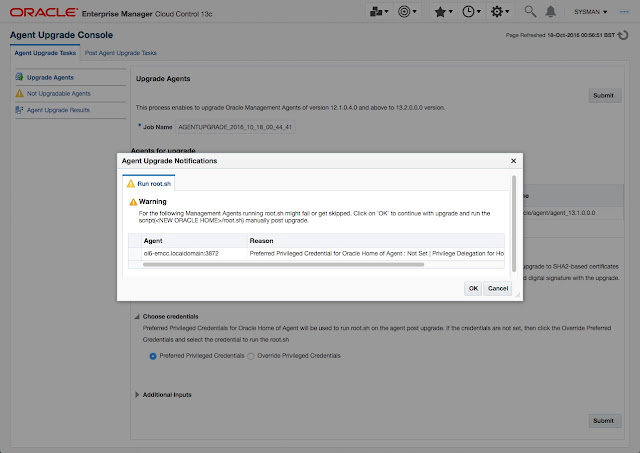
If you do not have "root" access or sudo configured to allow you to run the root scripts, click the "OK" on the warning message. The root scripts can be run after the installation completes.
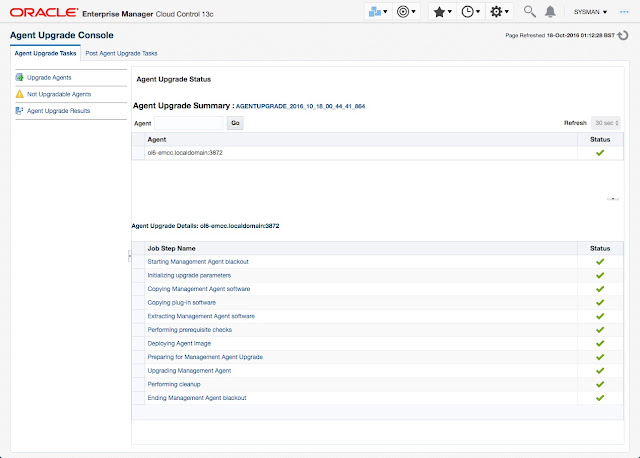
Wait while the upgrade takes place.
The main body of the upgrade is now complete.
Navigate to the "Post Upgrade Tasks" screen (Setup > Manage Cloud Control > Post Upgrade Tasks). Highlight each of the tasks in the list and click the "Start" button. This just performs some final data migration.
Startup/Shutdown
Cloud Control is set to auto-start using the "gcstartup" service. The "/etc/oragchomelist" file contains the items that will be started by the system. After the upgrade, it may list both OMS installations. If you want to use this auto-start, you will need to amend the contents of the file to make sure it is consistent with the new installation./u01/app/oracle/middleware2
/u01/app/oracle/agent12c/agent_13.2.0.0.0:/u01/app/oracle/agent/agent_instThe path to the agent is the same as that from the previous installation. If you included a version number in the agent home, this may look a little strange.
If the start/stop needs to be automated, you can do it in the usual way using Linux service that calls your start/stop scripts that include the database management.
Use the following commands to turn on all components installed by this article. If you have a startup/shutdown script, remember to amend it to take account of the new paths.
#!/bin/bash
export ORACLE_HOME=/u01/app/oracle/product/12.1.0.2/db_1
export OMS_HOME=/u01/app/oracle/middleware2
export AGENT_HOME=/u01/app/oracle/agent/agent_inst

# Start everything
$ORACLE_HOME/bin/dbstart $ORACLE_HOME

$OMS_HOME/bin/emctl start oms

$AGENT_HOME/bin/emctl start agent
Use the following commands to turn off all components installed by this article.#!/bin/bash
export ORACLE_HOME=/u01/app/oracle/product/12.1.0.2/db_1
export OMS_HOME=/u01/app/oracle/middleware2
export AGENT_HOME=/u01/app/oracle/agent/agent_inst
# Stop everything
$OMS_HOME/bin/emctl stop oms -all
$AGENT_HOME/bin/emctl stop agent
$ORACLE_HOME/bin/dbshut $ORACLE_HOMEThat's all for now.