
In this article series we will look at installing and configuring Citrix Provisioning Services. In this article series we will install and configure the whole product, so at the end of the article series we will have a fully functional OS streaming infrastructure.
If you would like to read the other parts in this article series please go to:
- Installing and Configuring Citrix Provisioning Services 7.6 (Part 2)
- Installing and Configuring Citrix Provisioning Services 7.6 (Part 3)
- Installing and Configuring Citrix Provisioning Services 7.6 (Part 4)
Introduction
Citrix Provisioning Services (PVS) has entered the Citrix portfolio with the acquisition of Ardence back in 2006. Citrix Provisioning Services is providing what can be called best OS Streaming. The Citrix Provisioning Services infrastructure has three basic components. One or more PVS servers, which are taking care of all the intelligence, a PVS Console to configure and manage the PVS infrastructure and a so called Target Device. This is a machine which will stream the OS from one of the PVS servers. In this first part we will start with the installation of all those components. We will start with the PVS server, followed by the PVS console and finally the Target Device Software.
Installation PVS Server
The installation software is available as a separate download from the Citrix website. As PVS is not available anymore as a separate product, you need to have XenApp or XenDesktop licenses to fully use the program. When mounting the ISO the installation wizard will be started.
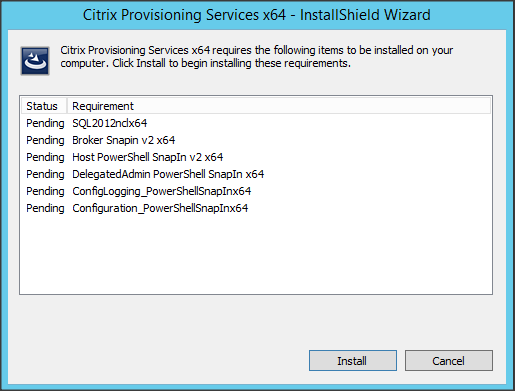
All installation options are shown (console, server installation and target device installation), for now we select server installation. The server installation can be executed on Windows 2008, Windows 2008R2, Windows 2012 and Windows 2012R2. It also requires that .Net Framework 4.0 and PowerShell 2.0 are installed on the machine. The server installation has some supporting component requirements, but those are installed automatically during the installation wizard. Actually those are installed as a starting point as shown in Figure 2.

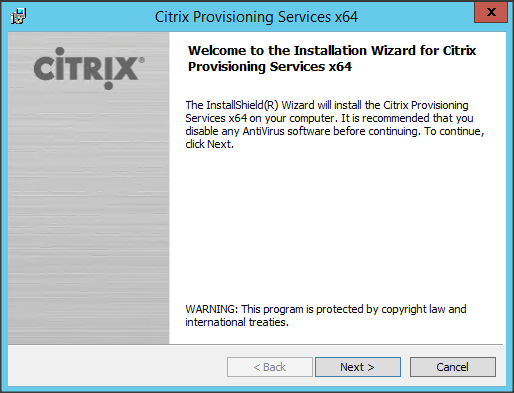
After the supporting software installation the PVS installation wizard continues with an informational window.
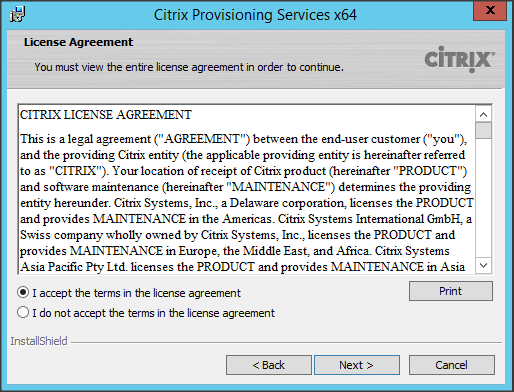
The following step is to read the license agreement and to accept these terms to continue with the installation wizard.
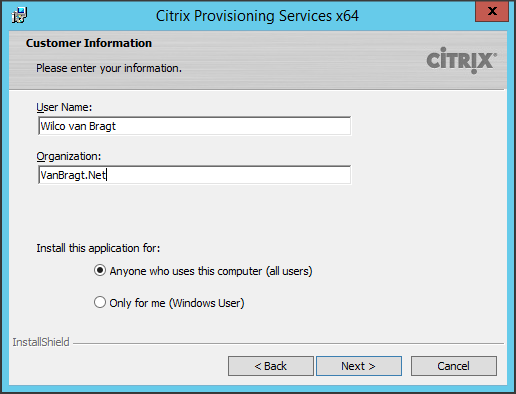
After the license agreement you need to provide the Customer Information and decide if the shortcuts are created in your own profile or in the “All Users” profile.
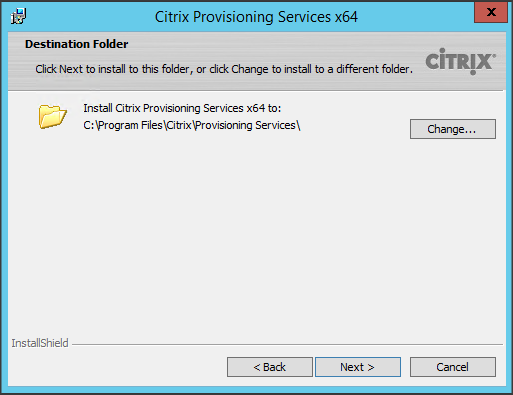
The next step is to select the Destination Folder where the actual PVS files are installed on the machine.
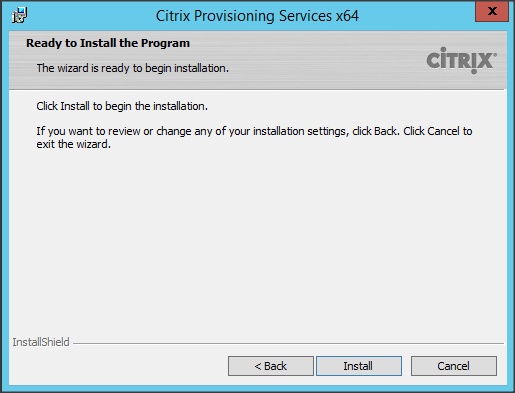
After selecting the destination folder, the actual installation can be started by using the Install button in the upcoming screen.
At that moment the actual installation is executed. When this part is finished the last installation wizard will be shown stating that the installation wizard is completed.

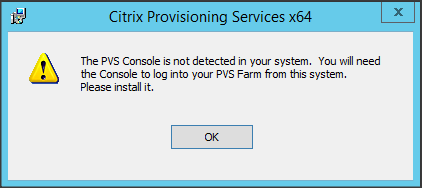
The installation will also show a message window that PVS Console is not detected. You can install the PVS console on any machine, so it’s not required to install the console on the PVS server. Logically it can be done and can be useful, but that’s up to you.
After this information message, the Provisioning Services Configuration Wizard is automatically started. This wizard can also be started later; it’s available as an application shortcut.

As you can see Citrix separated the installation and configuration of the product. As Target Devices have a continuous connection to the PVS server you would need to have at least two PVS servers for fault tolerant purposes. So for both servers the actual installation steps are identical. In this article series I have two PVS servers to show the fault tolerant and load balancing capabilities, so I executed the installation wizard on two systems.
Console Installation
For now I will first continue with the installation steps by installing the PVS Console first. As mentioned before it can be installed on both the PVS server, on a local machine (Windows 7, Windows 8 or Windows 8.1) or an admin server (Windows Server 2008, Window Server 2008R2, Windows Server 2012 or Windows Server 2012R2). The PVS server should be reachable for the PVS console on port 54321 (but more about this topic later in this article series). Also MMC 3.0, Microsoft .Net Framework 4.0 and PowerShell 2.0 are required for the console functionality.As shown in Figure 1 the PVS console installation is available from the auto run.
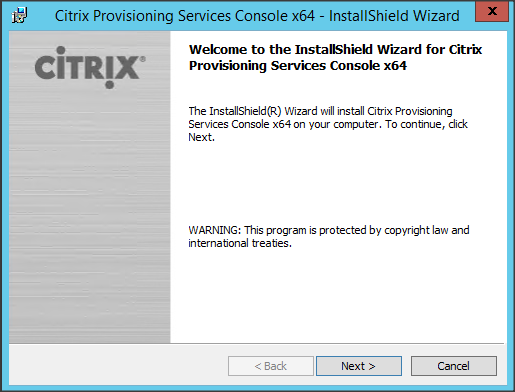
The installation wizards starts (again) with the license agreement, followed by the user information and selecting the destination folder of the actual files, just like the PVS server installation


Figure 13: PVS Console installation wizard screens
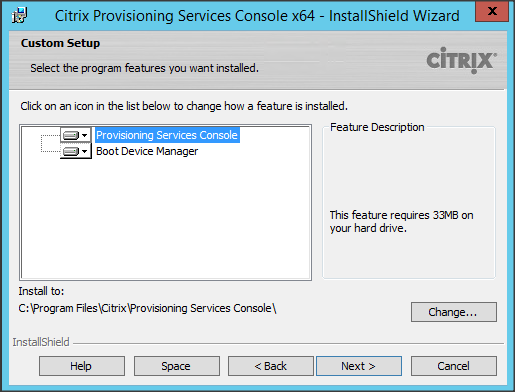
After these standard wizard windows, you have the possibility to do a full installation or a custom installation.

Figure 14: A Complete or Custom installation
When choosing Complete everything is installed, when choosing Custom you can decide if you want to install the Console only and don’t install the Boot Device Manager (BDM Creation Tool). I will go into more detail about BDM later in this series.
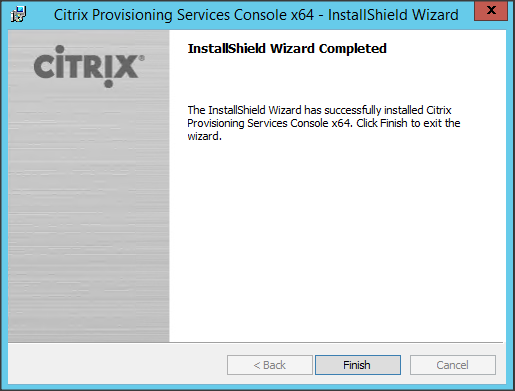
After the possibility to decide which items should be installed the actual installation can be started.

When the installation is finished the installation wizard will show that the installation is done.
Target Device Installation
With Provisioning Services you need to have a base machine where the vDisk is created from. It’s actual a kind of imaging technique that’s being used. On this base machine the client software (Target Device software) needs to be installed. So you install this machine traditionally (hopefully using a software deployment system) including all the applications that are required than start the Target Device installation.
The Target Device software can be installed on Windows 7 SP1 32 bit and 64 bit (Enterprise, Professional, Windows 8/8.1 32bit and 64 bit (All Editions), Windows XP Professional SP3 32 bit, Windows XP Professional SP2 64 bit, Windows Server 2008 R2 SP1 (all editions), Windows Server 2012 (all editions) and Windows Server 2012 R2 (all editions).

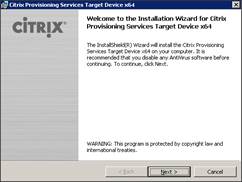
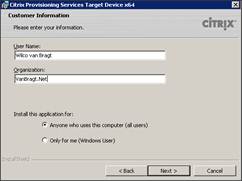
The target device installation wizard is very similar to the console and PVS server installation wizard. The wizard starts with a welcome window, followed by the license agreement, the user information and the location where the software will actually be installed. Just as the other installers finally the Install button is shown which starts the actual installation.


When the installation is finished a new window will appear. Within this window by default the option Launch Image Wizard is selected, which will logically start the wizard for creating the vDisk image for the PVS OS streaming. This wizard will be discussed later in this article series, as it’s a requirement that the back-end is fully configured. This wizard can also be started later via a shortcut in the Start Menu.

Figure 20: Target Device Installation Wizard Complete
Summary
In this article series we will go through the installation and configuration of Citrix Provisioning Services 7.6, so at the end of the series you will have a functional PVS infrastructure including OS streaming to the Target Devices. In this first part we went through the installation steps of the PVS Server, the PVS console and the PVS Target Device. In the upcoming article we will continue with the configuration of the PVS Server.
If you would like to read the other parts in this article series please go to: