
In the previous article we covered all steps required to prepare the Active Directory to support Exchange Server 2016, and we installed all prerequisites required on the future Exchange Server box. In this article we will cover how to deploy Exchange Server 2016 using command-line and setup wizard.
If you would like to read the first part in this article series please go to Deploying Exchange Server 2016 (Part 1).
Adding an Exchange Server 2016 into an existent Organization (setup wizard)
The process to add additional Exchange Server 2016 servers is always the same, and it does not matter if it is an Exchange Organization running only 2016, or running legacy versions (Exchange 2010 or 2013).Using Windows Explorer, go to the Exchange 2016 installation folder, right-click on setup.exe and then click on Run as administrator (Figure 01).

In the Check for Updates? page. If there are any available updates the Exchange 2016 setup can check and download those updates to be used in the current installation process. Select Connect to the Internet and check for updates and click next.
In the Downloading Updates page. A list of the updates found, or a message saying that no updates were found will be displayed, either way. Click on Next.
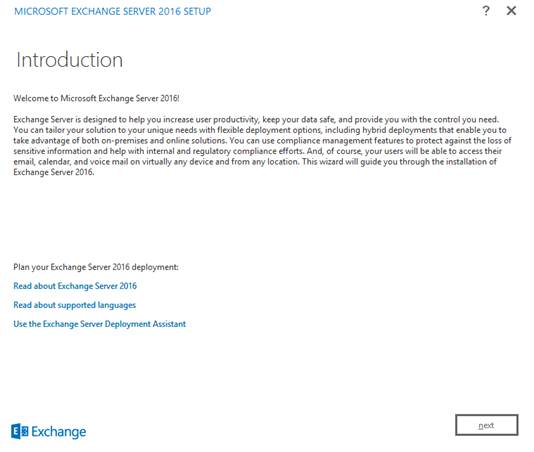
In the Introduction page (Figure 02). An Exchange Server 2016 welcome page will be displayed, nothing to configure here, just click next.
In the License Agreement page. After reading and accepting the license agreement, select I accept the terms in the license agreement and click next.
In the Recommended Settings page. The administrator can define usage feedback (information about utilization is sent to the product team for future improvements) and online checking for errors will be enable or disable. In this article we are using default value which is Use recommended settings, click next.
In the Server Role Selection page (Figure 03). Here is the biggest change when compared with Exchange Server 2013. In the new architecture of the product there are only two roles available: Mailbox and Edge Transport role. Select Mailbox Role, and click Next.
Note:We are selecting Automatically install Windows Server roles and features that are required to install Exchange Server for safety reasons, however we installed all prerequisites following the instructions of the first article of this series.

In the Installation Space and Location page. The disk space requirements and availability will be displayed, we will use default settings to store the Exchange 2016 Installation which is C:\Program Files\Microsoft\Exchange Server\V15, click next.
In the Malware Protection Settings page. By default, the malware protection is enabled, we will leave default values and then click next.
In the Readiness Checks page (Figure 04). All Warning and Errors items will be listed, if there are no error messages being listed, then the setup process can continue. We got a warning about MAPI over HTTP which is not currently enabled. Click on install to start the installation process.
Note:
If you are curious about the checks performed by the Exchange Server 2016 Setup, the following link will provide a detailed information for all checks: https://technet.microsoft.com/EN-US/library/jj150508(v=exchg.160).aspx.

The final page of the Exchange 2016 setup will be similar to the Figure 05, where the setup confirms the completion of the installation process, click on Finish.

Adding an Exchange Server 2016 into an existent Organization (command-line)
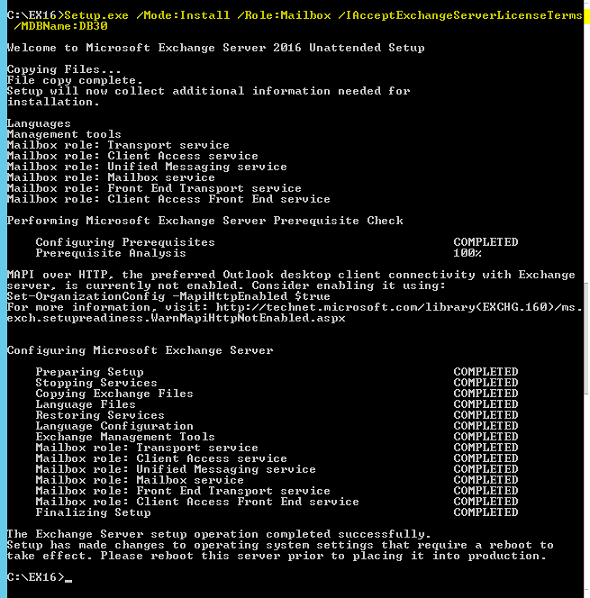
We will explore the second method to install Exchange Server 2016 which is using the command-line, it is important to know that all options (and more to be honest) that you have on the Exchange Server 2016 Setup wizard are also have available on the command-line. In order to identify all options for any specific action, we can use setup.exe /? to obtain more information and the switches available.If you just want to install an Exchange Server 2016 with a Mailbox role using default values, the following command line will be enough (Figure 06).
Setup.exe /Mode:Install /Role:Mailbox /IAcceptExchangeServerLicenseTerms
Certificate issues after adding a new Exchange Server 2016…
When the topic is certificate the recommended best practice is to use a Public Certificate and split-brain DNS. By doing that, a single set of namespace can be used for both internal and external web services on Exchange Server (the rule applies for Exchange 2016/2013/2010 and 2007).In the current scenario of this article series, we have an Exchange Server 2013 configured to use webmail.patricio.ca for all web services, and the DNS has an entry for that same host pointing out to the Exchange Server 2013 server. However, after completing the installation of the new Exchange Server 2016 the error message (Figure 07) will start to pop-up on some of the clients, and if we look closely we will see the name of the Exchange Server 2016 that we have just introduced in our Exchange Organization.

The reason is because any new Exchange Server 2016 (the same rule applies to older versions of the product) will configure the AutoDiscoverServiceInternalURI attribute with the FQDN (Full Qualified Domain Name) of the server and since the certificate does not match that name, the result is that certificate error. That issue will occur on the internal network on the Active Directory site where the new Exchange Server 2016 was installed.
In Exchange Server 2016 we have a new cmdlet to retrieve the internal autodiscover which is the Get-ClientAccessService (the former Get-ClientAccessServer is still valid but it will be removed in a future version).
In order to identify what is causing the issue in the configuration, we will run the following cmdlet and the results are shown in Figure 08.
Get-ClientAccessService | ft Name,AutoDiscoverServiceInternalURI -AutoSize

The faster way to solve the issue is to change the AutoDiscoverServiceInternalURI from the new server to point out to the existent and valid URL, this way the clients will no longer receive certificate pop-up messages, and all traffic will go to that host.
After installing the certificate on the new Exchange Server 2016 and certifying that the new server is ready for prime time, then the administrator can change the entry webmail.patricio.ca to point out to the new Exchange Server 2016 box, and at that time the clients will not notice the change.
In order to change the URL, the following cmdlet can be used:
Set-ClientAccessService
Creating the Exchange Organization through setup wizard
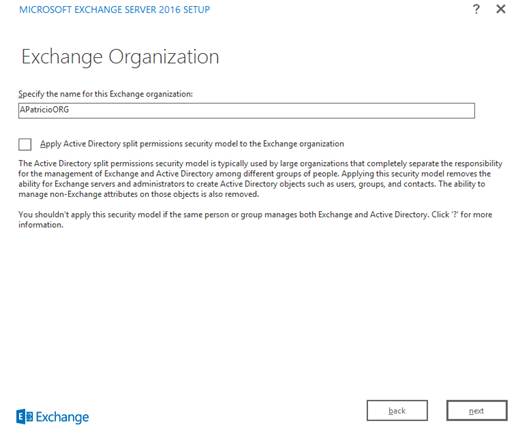
An Exchange Organization is created during the initial installation of an Exchange Server, and the Organization is at the Forest Level and it will stay in your Active Directory forever (you can remove the configuration manually but that is not the point).If that is the first time ever that Exchange Server is being installed, an additional step is required which is the definition of the Organization Name. That setting will show up as a new page during the wizard (Figure 09), that new page will be located between Installation Space and Location page and Malware Protection Settings page.
The installation process when creating a new organization and an additional server are the same (the only exception is the additional page).
Checking the installation and basic troubleshooting…
Independent of the process used to install Exchange Server 2016, there are a couple of basic steps that can be used to test the brand new server. The first thing that the administrator will notice after the installation of the product is a new set of icons on the application list (Figure 10), and we will be using Exchange Management Shell to perform a couple of tests.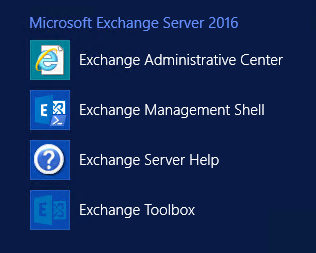
A basic cmdlet for troubleshooting and to get an overall status of the service is Test-ServiceHealth and we can see it in action in Figure 11. This cmdlet will list all services required for each component and it will help the administrator to identify services that are not running.

In some cases, the Exchange Server 2016 setup may fail, and in order to identify the issue the first step is to check the log files created during the installation process, and they can be found at C:\ExchangeSetupLogs folder (Figure 12). Those log files will have a lot of information about the process, and if you take your time going through those files you probably will be able to pin point the issue.

Conclusion
After working on the Active Directory preparation and prerequisites on the first article, we completed our series going over the process to install Exchange Server 2016 using both methods (command-line and setup wizard), and we finished the article by showing how the administrator can check the services after installation, avoid certificates pop-ups and checking the logs created during the installation.If you would like to read the first part in this article series please go to Deploying Exchange Server 2016 (Part 1).


